YMS: Entries — gate check-in and check-out
Check trucks in under Entries, print the Entry Ticket (ET-000001), and scan the same ticket to check out; on mobile, link a receipt or load by Reference # and take driver and vehicle photos.
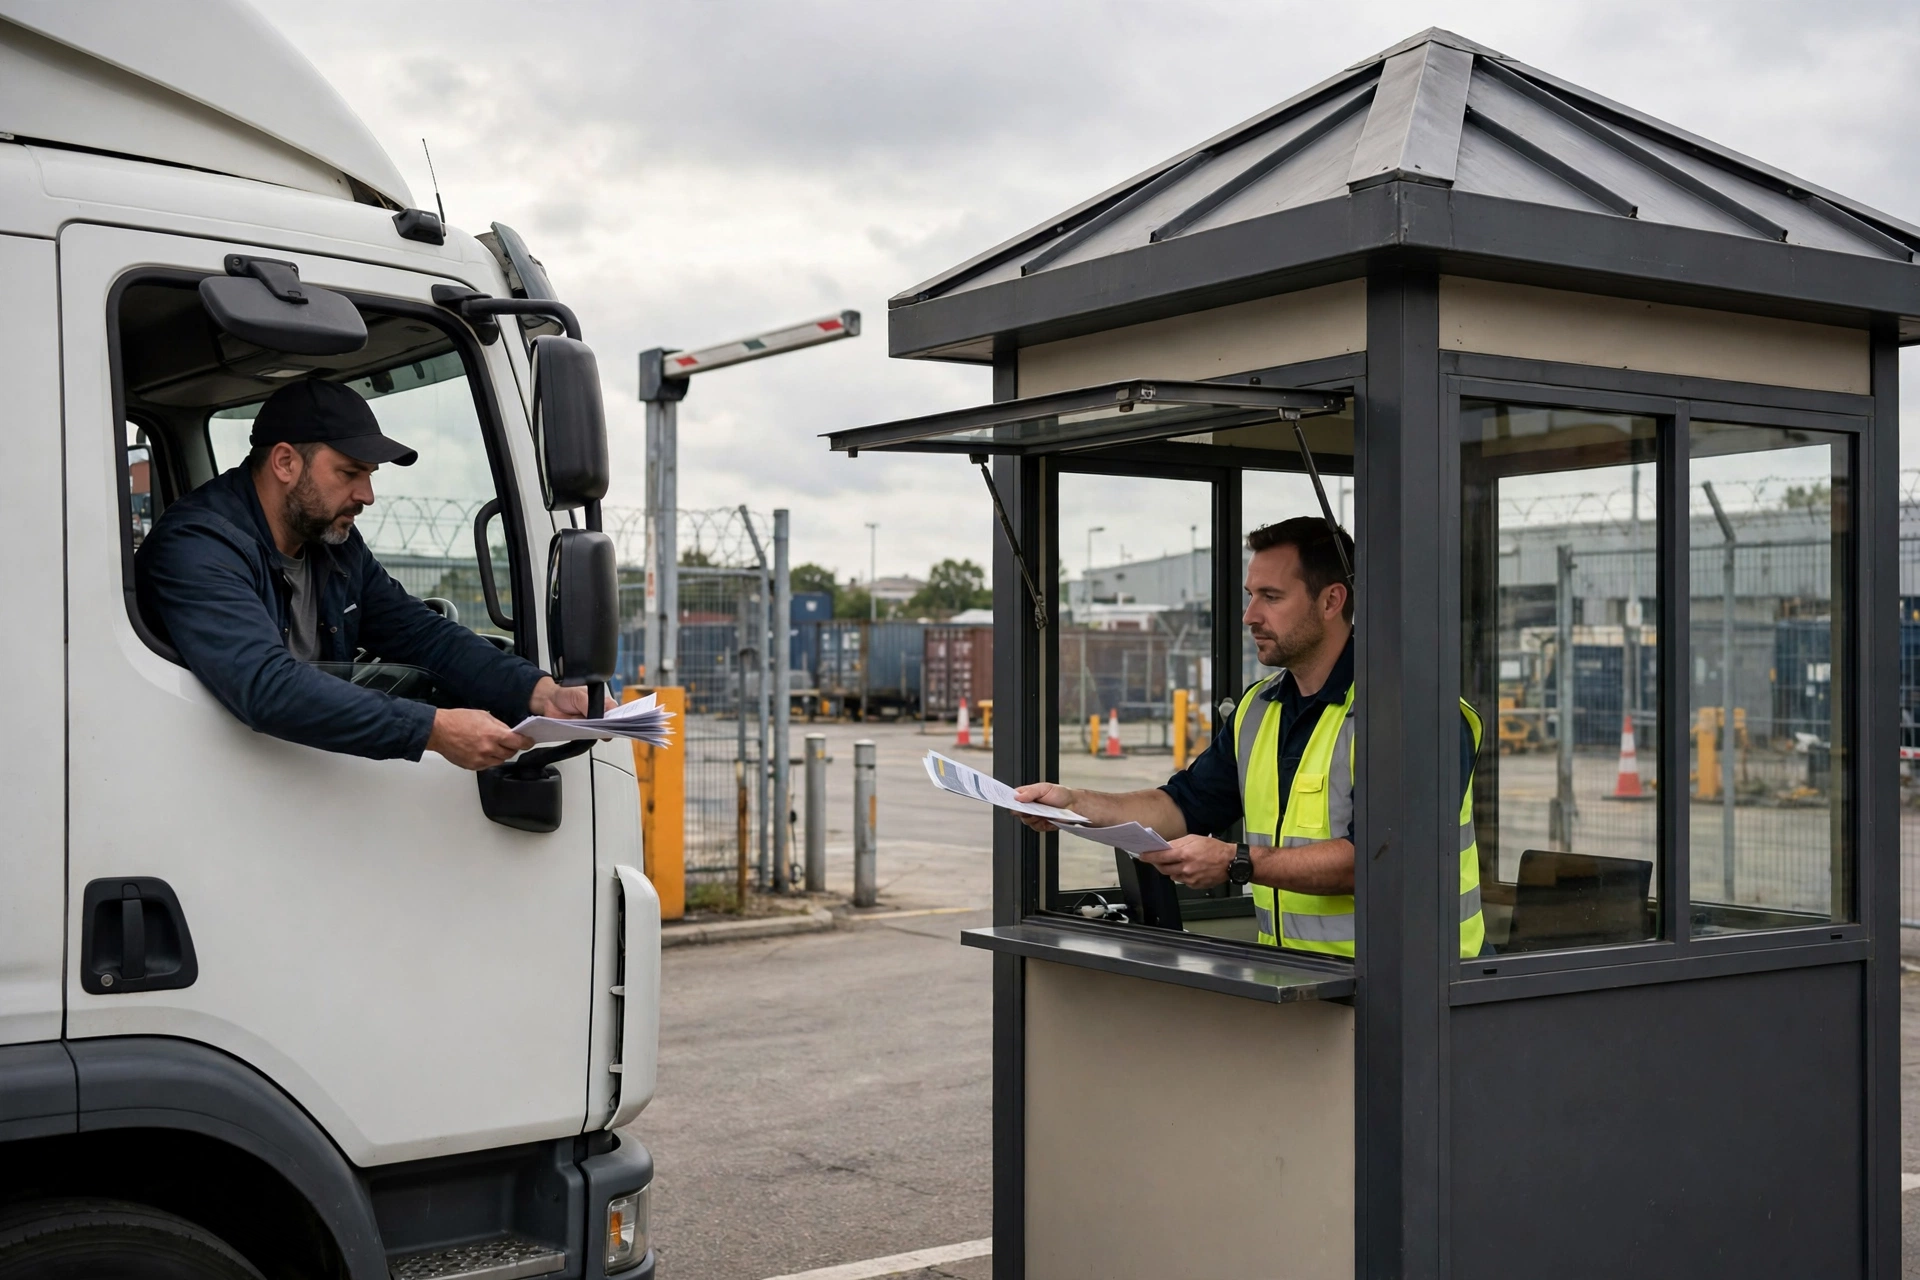
The gate is the front door of your yard: every truck that enters or leaves gets recorded here. Check-in captures who came, with what, and prints an Entry Ticket — a paper slip whose number (ET-000001) is the truck’s identity for the whole visit. On the way out, the gate scans that same ticket to verify it and let the truck go. The gate log is append-only: entries are never edited or deleted.
Check-in at the gate#
- Look up the appointment (if there is one): driver, carrier and equipment fill in automatically — and so do the business fields (direction, type, linked receipt/load, client). Anything filled in can still be corrected before saving.
- Enter the driver name (required) plus at least one equipment number: trailer, container, or tractor. Pick the carriers from the list — the tractor carrier fills in its MC/USDOT automatically; if a carrier is missing, use "+ New" to create it on the spot (name is enough).
- In Business, pick the direction first: Inbound (delivering) or Outbound (picking up). Then pick the client, and pick the receipt or load by searching any number the driver gives you — receipt/load number, PO, container, trailer, BOL or PRO. A document already bound to a truck that is still in the yard shows as bound and cannot be picked again.
- Capture the seal number and photos of the truck and equipment.
- Optionally pick a dock or spot from the list: the equipment counts as sitting on that dock. On the receipt or load itself, the detail page now shows this entry (ET number, dock, equipment) so the warehouse sees which truck is in the yard for it.
- Print the Entry Ticket (ET-000001) and hand it to the driver — the equipment is now in_yard.
On mobile: the Entries tab#
On the phone, these gate screens are called Entries (the YMS tab at the bottom). Links or tickets that still say Gate open the same Entries screens. The Entries home shows Check In and Check Out at the top, and below them Recent entries — the latest arrivals first. Each row shows the entry number, driver, vehicle number, dock, check-in time and status; tap a row to open its ticket.
Mobile Check In: reference and photos#
- Fill the three cards — Driver, Vehicle, Job. The tractor, trailer, seal and driver licence fields take typing or scanning: tap the scan icon in the field and point the camera at the code. Dock and appointment stay tap-to-pick lists.
- Link a document with Reference # (optional): in the Job card, type or scan any number the driver gives you — receipt/load number, PO, container, trailer, BOL or PRO — and tap Look up. Pick the matching receipt (for a delivery) or load (for a pickup) from the results; it appears as a chip you can clear with ×. You can also submit without linking anything.
- If that document is already linked to another truck that is still in the yard, the screen tells you in plain words and the entry is not created twice — sort out the earlier entry first, then try again.
- Take photos of the driver and the vehicle: the Driver card and the Vehicle card each have a photo area — tap it to take a photo or pick from the album. You can add several photos per card, preview them, and delete any you don’t want before submitting.
- Photos upload right after the entry is created. If one photo fails (for example, a weak signal), the entry itself is already saved — the screen says so and offers Retry or Skip, so a photo problem never blocks the truck from coming in.
Window check-in and rejection#
When a truck reaches the dock and starts loading/unloading, run window check-in on the entry — status becomes WINDOW_CHECKED_IN and the timeline records it. If something is wrong (bad appointment, damaged goods, wrong seal), reject the entry with a reject_reason; a rejected entry can never be changed again.
Driver self check-in and QR verification#
Drivers can now do the paperwork themselves before the guard even sees them. A driver with an appointment who accepted it in the driver app shows a gate QR code on their phone (it works from 4 hours before the time window). A driver without an appointment scans the QR poster at your warehouse gate — print it from WMS → Appointments → Setting, in the “Self Check-in & Gate QR” card — and fills in the self check-in form on their phone: name, phone, licence, plate, trailer or container number, plus photos of the licence, the front of the truck and the equipment number (a seal photo too, when there is a seal). After submitting, their screen shows a 6-digit short code and a QR code, and the registration waits in the verification queue — the YMS → Entries page shows a banner with how many drivers are waiting.
- Open Gate Verification (YMS → Gate Verification on desktop, or YMS → Entries → Gate Verification on the phone). Scan the driver’s QR code, type the 6-digit short code, pick the driver from the waiting queue, or search by plate when there is no code.
- Compare the screen with the truck in front of you: the plate is shown in large type, and self check-in photos sit next to it. Then type the last 4 characters of the plate you actually see — the system checks them against the booking before anything is confirmed.
- Pick a dock or spot (you can also decide later) and tap Confirm: the entry is created, the Entry Ticket prints, and an appointment behind it flips to checked in automatically. The driver gets a text with the entry number and the dock.
- If the truck cannot come in, tap Turn away and pick a reason — the wrong driver or vehicle, a document problem, no appointment at an appointment-only warehouse, a vehicle problem, or other. A reason is required, and the driver receives it by text, so nobody is left guessing at the gate.
Two things then happen on their own. A self check-in that nobody verifies expires by itself — the driver gets a text and can register again — so the queue never fills with stale registrations. And a confirmed appointment whose truck never shows up is marked as a no-show after the window plus the late grace period; the client, the carrier and the warehouse are all told, and the slot story stays honest for reporting.
Check-out: scan the same ticket#
- The driver hands back the Entry Ticket. Scan it: the ticket_code must match the entry’s ticket_code, or the gate refuses to release.
- Record the checkout check: is the equipment and seal the same as at check-in, plus a note.
- Confirm: the entry becomes CHECKED_OUT, the equipment status becomes departed, and its spot is released.
Docklify features used in this article#
- Gate check-in in 5 steps — look up the appointment (driver, carrier, equipment and business fields fill in), enter the driver and equipment numbers, pick carriers from the list (use “+ New” when one is missing), pick the direction first then the client and the receipt/load by searching any number the driver gives, optionally pick a dock or spot, and print the Entry Ticket (ET).
- Window check-in and rejection — a truck with an appointment checks in at the dock window; a rejected truck is recorded with a reason.
- Check-out and the gate log — scan the same ticket on the way out; the gate log is append-only (a database trigger blocks edits and deletes), so a mistaken entry is corrected with a correction note, not by editing the log.
- Mobile Entries — the Entries tab shows recent entries newest-first; Check In links a receipt or load by Reference # (optional) and takes multiple driver and vehicle photos, which upload right after the entry is created (a failed photo can be retried or skipped without blocking check-in).
- Driver self check-in and QR verification — appointment drivers show a gate QR from the driver app; walk-ins scan the gate poster and self-register with photos; the guard verifies from the Gate Verification page or the waiting queue on Entries (plate last-4 check, dock pick, ticket prints), and turning a truck away requires a reason the driver receives by text.
- Automatic no-shows and queue expiry — unverified self check-ins expire on their own (driver is texted), and a confirmed appointment whose truck never arrives is marked no-show after the window plus late grace, with the client, carrier and warehouse notified.