What a standard packing station looks like: kit list and layout
A packing station is a small production line on one bench: bench, scanner, label printer, bench scale, display, sealer, consumables rack and tote positions. This guide lists the full kit, how to arrange it within arm’s reach, and how a one-person bench differs from a packing line.
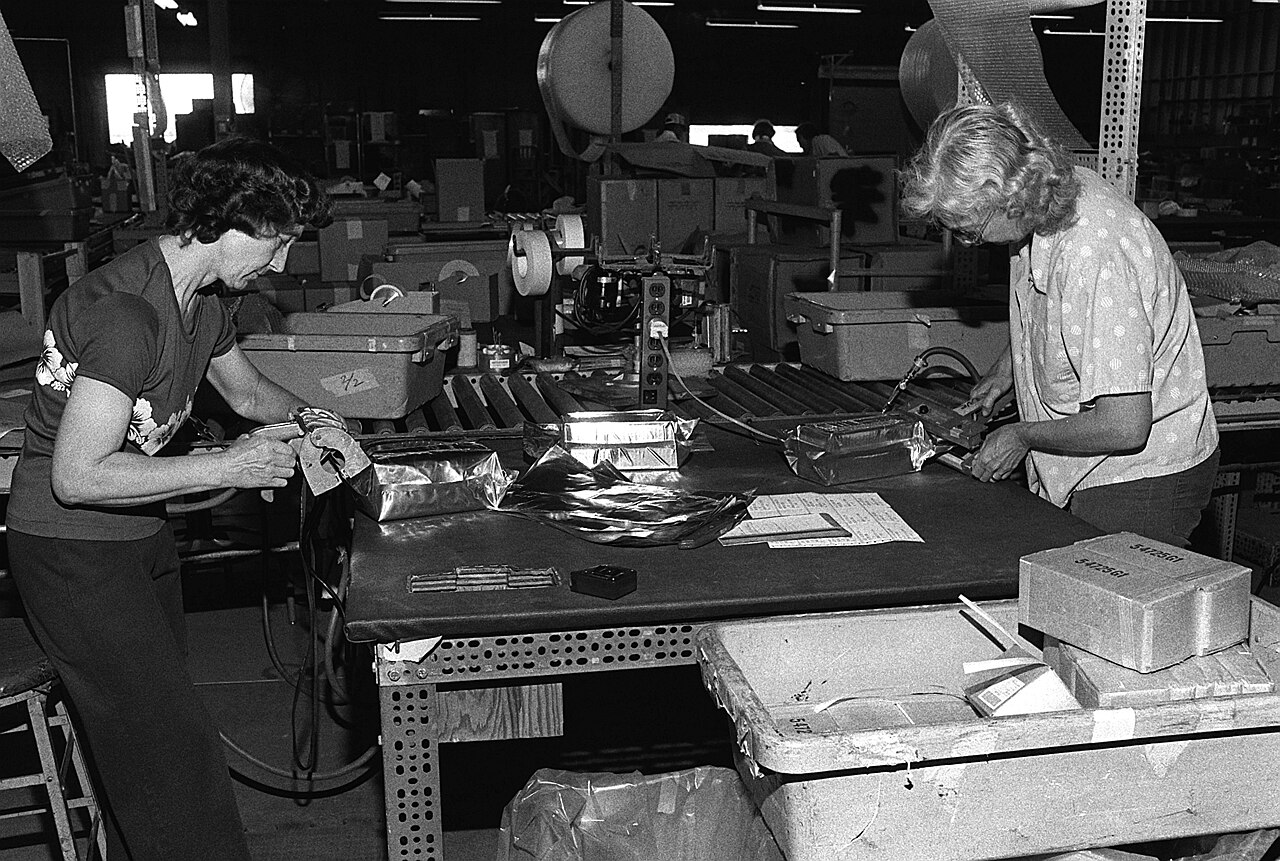
Every warehouse has a packing bench; not every warehouse has a packing station. The difference is whether the packer has to walk. On a bad bench, the scale is two steps away, the labels print in the office, the tape lives in a drawer and the right size of carton is “somewhere over there” — the packer walks a small marathon per shift and still makes mistakes, because every trip away from the bench is a chance to lose track of which order is in which box. On a good station, goods flow in one direction past a standing packer, everything is within arm’s reach, and the order on the screen, the goods in the box and the label on the outside always belong together.
This guide walks through a standard station piece by piece: the full kit list with sizes, where each piece sits and why, the daily flow that runs across it, and the point where one bench stops being enough and a packing line takes over. Prices are rough US figures for the equipment itself, the same way the other guides in this series handle them.
The full kit list#
| Item | What it does | Size / spec to aim for |
|---|---|---|
| Bench (worktop) | The surface everything happens on | About 1.8–2.4 m long × 0.8–0.9 m deep, top at 85–95 cm; steel or thick laminate |
| Barcode scanner | Pulls up the order and verifies each item | 2D imaging scanner; wired is fine at a fixed bench ($30–80) |
| Label printer | Prints the 4×6 carrier label and the packing list | Thermal, max width ≥4 in; desktop $100–400, industrial above that |
| Bench scale | Weighs every parcel; weight feeds label and billing | 30–60 kg capacity, 5–10 g division, pan fits your largest carton ($80–300) |
| Display + PC | Shows the order, the check-off list and label status | Monitor at eye level on an arm; keyboard out of the carton path |
| Sealing: tape gun or case sealer | Closes the carton: hand gun for low volume, semi-auto sealer on a line | Tape gun $10–25; semi-auto case sealer roughly $800–2,500 |
| Consumables rack | Flat cartons by size, tape, void fill, labels — stocked at the bench | Within one step of the bench; smallest stack = half a shift’s use |
| Tote / carton staging positions | Marked spots: picked totes in, sealed parcels out by carrier | Floor tape or a short roller section on each side of the bench |
Two numbers on that list cause the most regret when they are guessed wrong. Bench height: a top at 85–95 cm lets most people pack standing without hunching or reaching up; a kitchen-table-height bench will hurt backs by the second week. And bench length: at 1.8 m you fit one order at a time with the scale on the top; at 2.4 m the scale and a second order’s tote both fit without crowding. Measure your largest common carton before you order the bench — the carton, open with flaps up, plus the scale pan, plus working room, is the real minimum depth.
Layout: one direction, everything within reach#
- Flow runs one way: picked tote in on one side, packed parcel out on the other. In and out never share the same pile — that is how sealed orders end up back in the pick area.
- The work order on the bench follows the flow: build the carton, check and load the goods, add dunnage, seal, weigh, label. Each tool sits where its step happens — tape at the sealing spot, scale after it, printer after the scale.
- The screen faces the packer, not the wall. The packer should read the order and glance at the box in the same head position; a screen turned sideways means orders get read from memory.
- Nothing lives on the floor in the working zone. Cartons, tape and totes on the floor are trip hazards and get kicked, spilled and rained on by forklift dust; use the rack under or beside the bench.
- Keep a small “exception corner” at the far end: damaged goods, missing items, orders on hold. Exceptions that sit in the main flow silently join the next order.
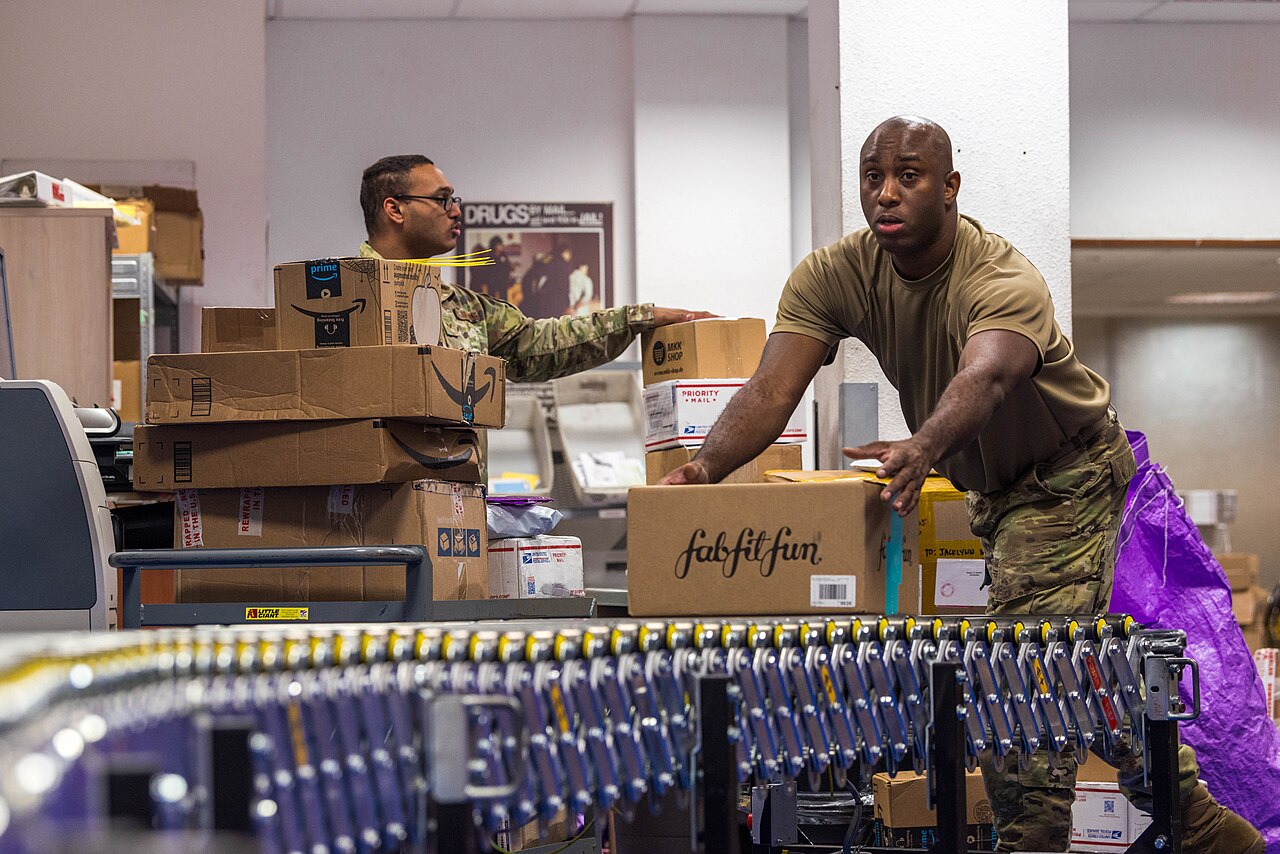
Run the daily flow across that layout and the station’s software side should follow the same one-way pattern. In Docklify, packing runs in the Packing Station (SaaS → WMS → Packing Station): scan the order or parcel barcode and the order comes up on the screen, check each item off by scanning it, then confirm the packing. The packer never types an order number and never opens the wrong order — the scan, the screen and the box stay tied together from the first item to the sealed carton.
Printer and packing list: the label is the last thing on#
Place the label printer at the out end of the bench, within reach of the sealing spot, with the label path unobstructed and a spare roll stored next to it — never across the room, or packers will batch-print labels and carry stacks of them back, which is exactly how the right label lands on the wrong box. The work rhythm is one parcel, one label: weigh the sealed parcel, print its label, stick it on, move it out. A label printed before its parcel is sealed and weighed is a label waiting to be mixed up.
Many orders also need a paper packing list inside the box, and retail orders are strict about its format. In Docklify’s Packing Station, the Print Packing List button sits on the same screen, at the right end of the packing progress row: if the retailer has its own assigned template, that template is used first; if not, the default 4×6 template is used. The templates themselves are maintained in WMS → UCC Templates, where a dedicated template is assigned to a retailer once — after that, every bench prints that retailer’s format the same way, and nobody picks files by hand or keeps a “correct version” on a USB stick.
The default packing list is a full standard slip, not just an item list. At the top it prints your client’s name (a packing list carries the goods owner’s brand, not the warehouse’s), the order number with a scannable barcode, the order and ship dates, and any PO or reference number on the order. Ship From shows your warehouse’s name and full address from its warehouse record, and Ship To shows the recipient’s name, full address and phone. A carrier line shows the carrier, the shipping service and the tracking number; the item table lists SKU, description and quantity; and the footer totals the pieces, the weight and the number of packages, with room for the order’s pack note. A field with nothing behind it simply prints blank — it never blocks printing. If you maintain your own packing list template in UCC Templates, it can use these same fields: everything the default template prints is available as a placeholder in your template too.
The scale: end of the bench, wired into the record#
The scale sits after sealing, at the end of the flow, with its pan clear on all sides — a scale squeezed between carton stacks reads whatever is leaning on it. Weigh every parcel, not a sample: the weight on the label is what the carrier bills against, and what your client gets charged for. Two habits keep readings honest: check zero with an empty pan at the start of the shift, and wait for the stable indicator before accepting a number. A swinging or half-on parcel gives you a number, just not the parcel’s.
Typing that weight by hand is where typos are born — one missing digit turns 12.5 kg into 1.25 kg, and a carrier correction fee follows. In Docklify, the printer and the scale on the bench are local devices, and the bridge to the web system is Device Hub: install it on the bench computer (download page: docklify.com/download), connect the printer and the scale to that computer, and print jobs and scale readings travel through it. When packing is confirmed in the Packing Station, the parcel weight is recorded with the shipment record — the same number then feeds the carrier label and, for a 3PL, the weight-based client billing settled in SaaS → Accounting → 3PL Billing. Weigh once, and that one number is the number everywhere.

Sealing and consumables: the rack that keeps the bench fed#
Sealing choice follows volume. A hand tape gun and a bench tape dispenser cover a one-person bench fine; the sealed seam to aim for is a single strip down the centre with a short overlap onto the ends — tape sculptures with five strips are slow and still leak dust. Once several benches run all day, a semi-automatic case sealer earns its place: the carton is pushed in, flaps are folded and taped top and bottom at a fixed height, and every box comes out sealed the same way. Fragile or high-value goods are the exception that stays manual: they need dunnage placed by a person who can see the contents.
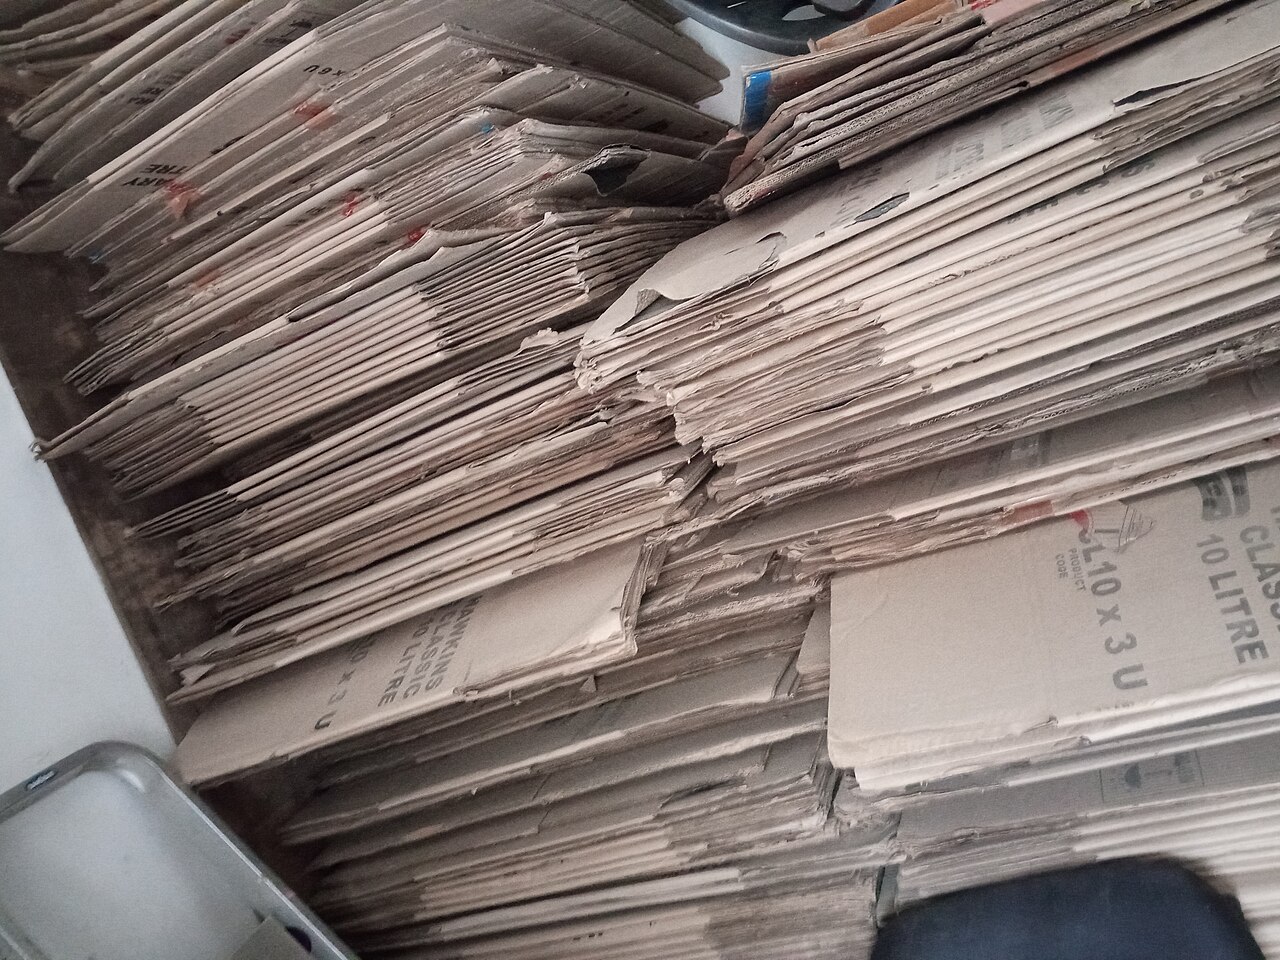
Consumables discipline is boring and decisive. Keep two or three standard carton sizes at the bench — the ones that cover most of your orders — and let odd sizes live in a shared rack a few steps away. Tape, void fill and label rolls are stocked to a simple rule: when the stack drops below the half-shift mark painted on the rack, the packer calls for a refill during a natural pause, not mid-order. A bench that runs out of the main carton size at peak hour does not slow down politely; it starts shipping air in oversized boxes and paying dimensional weight for it.
One-person bench vs packing line#
| Point | One-person bench | Packing line |
|---|---|---|
| How it works | One packer does every step for one order, start to finish | Steps are split: check / pack / seal-weigh along a conveyor, each station repeats one step |
| Typical volume | Up to a few hundred parcels a day per bench | Thousands a day across the line at peak |
| Equipment that pays off | Hand tape gun, bench scale, desktop label printer | Semi-auto case sealer, in-motion checkweigher, industrial printer, print-and-apply on the big end |
| Order mix it suits | Mixed orders, gift wrap, special instructions — one brain follows the order | Many similar orders, few carton sizes, standard packing |
| Main risk | The bench is the bottleneck: one absence or one peak stops shipping | A stop anywhere stops the line; changeovers between carton sizes eat the gain |
The honest way to choose is by order shape, not by ambition. A warehouse shipping 150 mixed orders a day gains nothing from a line — the conveyor just moves the waiting around. A warehouse shipping 3,000 near-identical orders a day is paying line money in bench labour whether it buys the line or not. Most growing warehouses land in between: two or three one-person benches, identical in layout, plus a shared roller lane for finished parcels — and they put the second bench in before the first one becomes the reason orders miss the carrier cut-off.
Open and close the bench: a five-minute checklist#
- Start of shift: scale zero checked, test label printed and scanned, scanner awake, tape and label rolls above the half mark, carton stacks full.
- During the shift: one order on the bench at a time, exceptions to the exception corner, finished parcels out on the lane — never stacked behind the packer.
- End of shift: bench cleared, scale pan empty, part-used rolls stay on the machines (not in a drawer), tomorrow’s first carton size restocked, problems written down where the next shift will see them.
Docklify features used in this article#
- Packing flow: scan to pull the order, scan-verify items, confirm packing — SaaS → WMS → Packing Station
- Print carrier shipping labels at the bench — SaaS → WMS → Packing Station
- Print Packing List (retailer template first, default 4×6 fallback) — SaaS → WMS → Packing Station
- Label and packing-list templates per retailer — SaaS → WMS → UCC Templates
- Local printer and scale via Device Hub — install from docklify.com/download
- Parcel weight recorded with the shipment and used for weight-based 3PL billing — SaaS → WMS → Packing Station / SaaS → Accounting → 3PL Billing