Wave Template: define how orders become waves
One template, reused every day: who the orders belong to, how many per wave, which pick strategy, and who picks. Six sections, five minutes to set up.
A Wave Template is the rulebook for turning outbound orders into waves: which orders qualify, how many go into one wave, how they get picked, and who picks them. You build it once; every release (manual or scheduled) reuses it. Find it at WMS → Wave Release → Wave Templates.
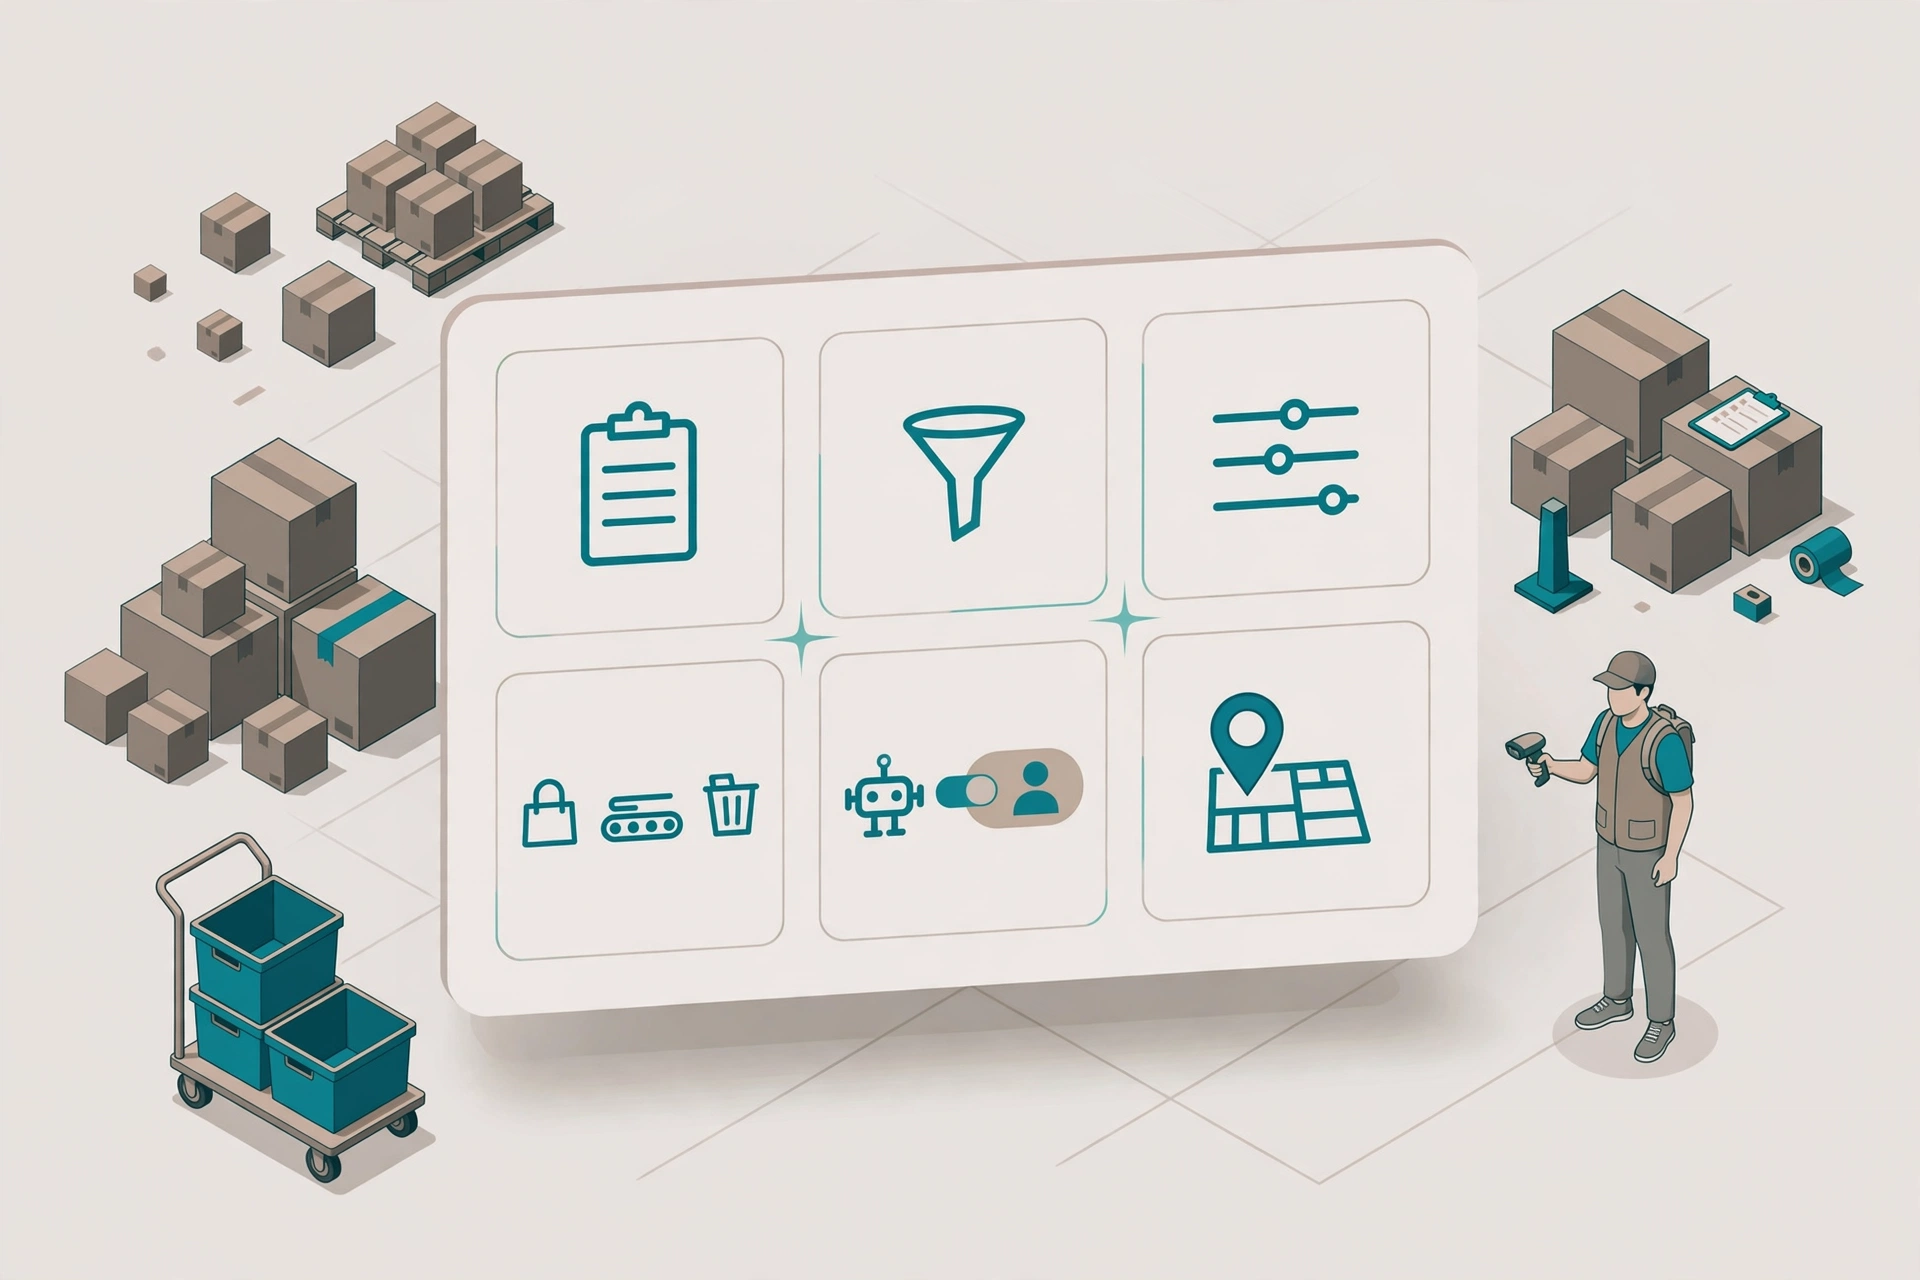
The six sections#
1. Basic
- Template Name (required): give it a name the shift lead recognizes, e.g. "B2C small-parcel day wave".
- Description: what this template is for, in one line.
- Client (required): the template belongs to one client. Orders from other clients never enter its waves.
- Status: Active / Inactive. Inactive templates are skipped by both manual and scheduled release.
2. Order Selection
Pick an Order Filter (required): only orders matching the filter can enter waves from this template. Filters are maintained under Wave Release → Wave Filters — e.g. "allocated parcel orders, standard shipping".
3. Wave Size
- Min Orders (required): a chunk smaller than this waits for the next wave — it is never force-released.
- Max Orders (required): orders are cut into chunks of at most this many.
- Min cannot exceed Max — the form blocks it.
4. Pick Strategy
- Order Pick: one picker, one order at a time. Safest for big multi-line orders.
- Cluster Pick: one picker, multiple orders, one tote per order (physically separated).
- Wave Pick: pick by SKU across orders, then sort at consolidation. Best for masses of single-unit parcels.
5. Assignment Mode
- Auto-assign: the system assigns pickers when the wave is released.
- How auto-assign picks: it follows the picking assignment rules you configure in Task Rules → Picking (per client): matching skills first, then service area, then who is on duty today, and finally whoever has the fewest open tasks — if nobody matches, it uses the fallback list from the same rules page. The template page links straight to Task Rules when Auto-assign is selected.
- If the rules are not configured yet, or nobody is available, the pick task is still created — just unassigned, so no order is ever lost. The release Log on the Release Waves page shows an Assignment result for every task (and can filter to "All unassigned"), so a supervisor can spot them and reassign manually in the task list.
- Dedicated picker: every pick task from this template goes to one named picker (e.g. the night-shift lead).
6. Pick Zone
Optional: restrict picking to one Location Group (e.g. only the PCK picking area). Leave empty to pick from the whole warehouse.
Releasing waves#
- Manual: go to Wave Release → Release Waves. Each template shows how many orders are ready right now; click Release to drop one wave.
- Scheduled: Wave Release → Wave Scheduler. Set work days + time window (e.g. weekdays 14:00); the system releases automatically. No customer field needed — the template already carries its client.
Order Attributes: filter waves by order flags#
Every outbound order now carries 11 read-only attributes. They are calculated automatically when the order is created and recalculated every time the order changes — nobody types them in: Single Unit (one line, quantity of 1), International (ship-to country differs from the warehouse country), Repack Required (at least one product needs repack), Pick Zones (a snapshot of zones that have available stock), Hazmat (contains lithium batteries), Temp Control, Serial Capture, Batch Tracking, Lines, Total Units, and Oversize (exceeds the warehouse oversize thresholds).
On the Release Waves page you can filter ready orders by Single Unit, International, Oversize, Gift, and Zone — e.g. release only the single-unit parcels as one wave. Tick a flag before Search, and the counts and the released waves use the same flags, so what you see is what you ship.
The same flags are also available inside Order Filters (Wave Release → Wave Filters → Support Search Field): Single Unit, International, Repack Required, Hazmat, Temp Control, Serial Capture (whole order needs serial capture — different from "Include Serial Number Item", which only means a line contains a serial-tracked product), Batch Tracking, Oversize, and Gift. Save them as a filter once and every template that uses the filter picks up the same rules.
Custom fields defined for outbound orders also appear in that list under a "Custom Fields" group — define the field once (Settings → Custom Fields, entity: Outbound Order) and it can be used as a filter condition with operators that match its type: text supports equals and contains, numbers and dates support ranges, dropdowns are multi-select, and yes/no fields take Yes or No.
Three gift fields are editable: Gift, Wrap Type (Standard / Deluxe / Seasonal), and Gift Message — check Gift when creating the order and fill in the wrap type and message. Oversize thresholds are set per warehouse in Warehouse Settings → "Oversize Definition": single-item max weight (kg), single-item max length (cm), single-item max girth (cm), and max order weight (kg). Leave a threshold empty to mean unlimited. Changing the thresholds only affects orders created or updated afterwards — existing orders are not re-evaluated.