Location codes and types: giving every shelf slot an address
How to build a location code like A-03-12-2 (zone–aisle–bay–level), the practical rules for numbering and labelling, and the four location types — picking, storage, staging and dock — and how they work together.
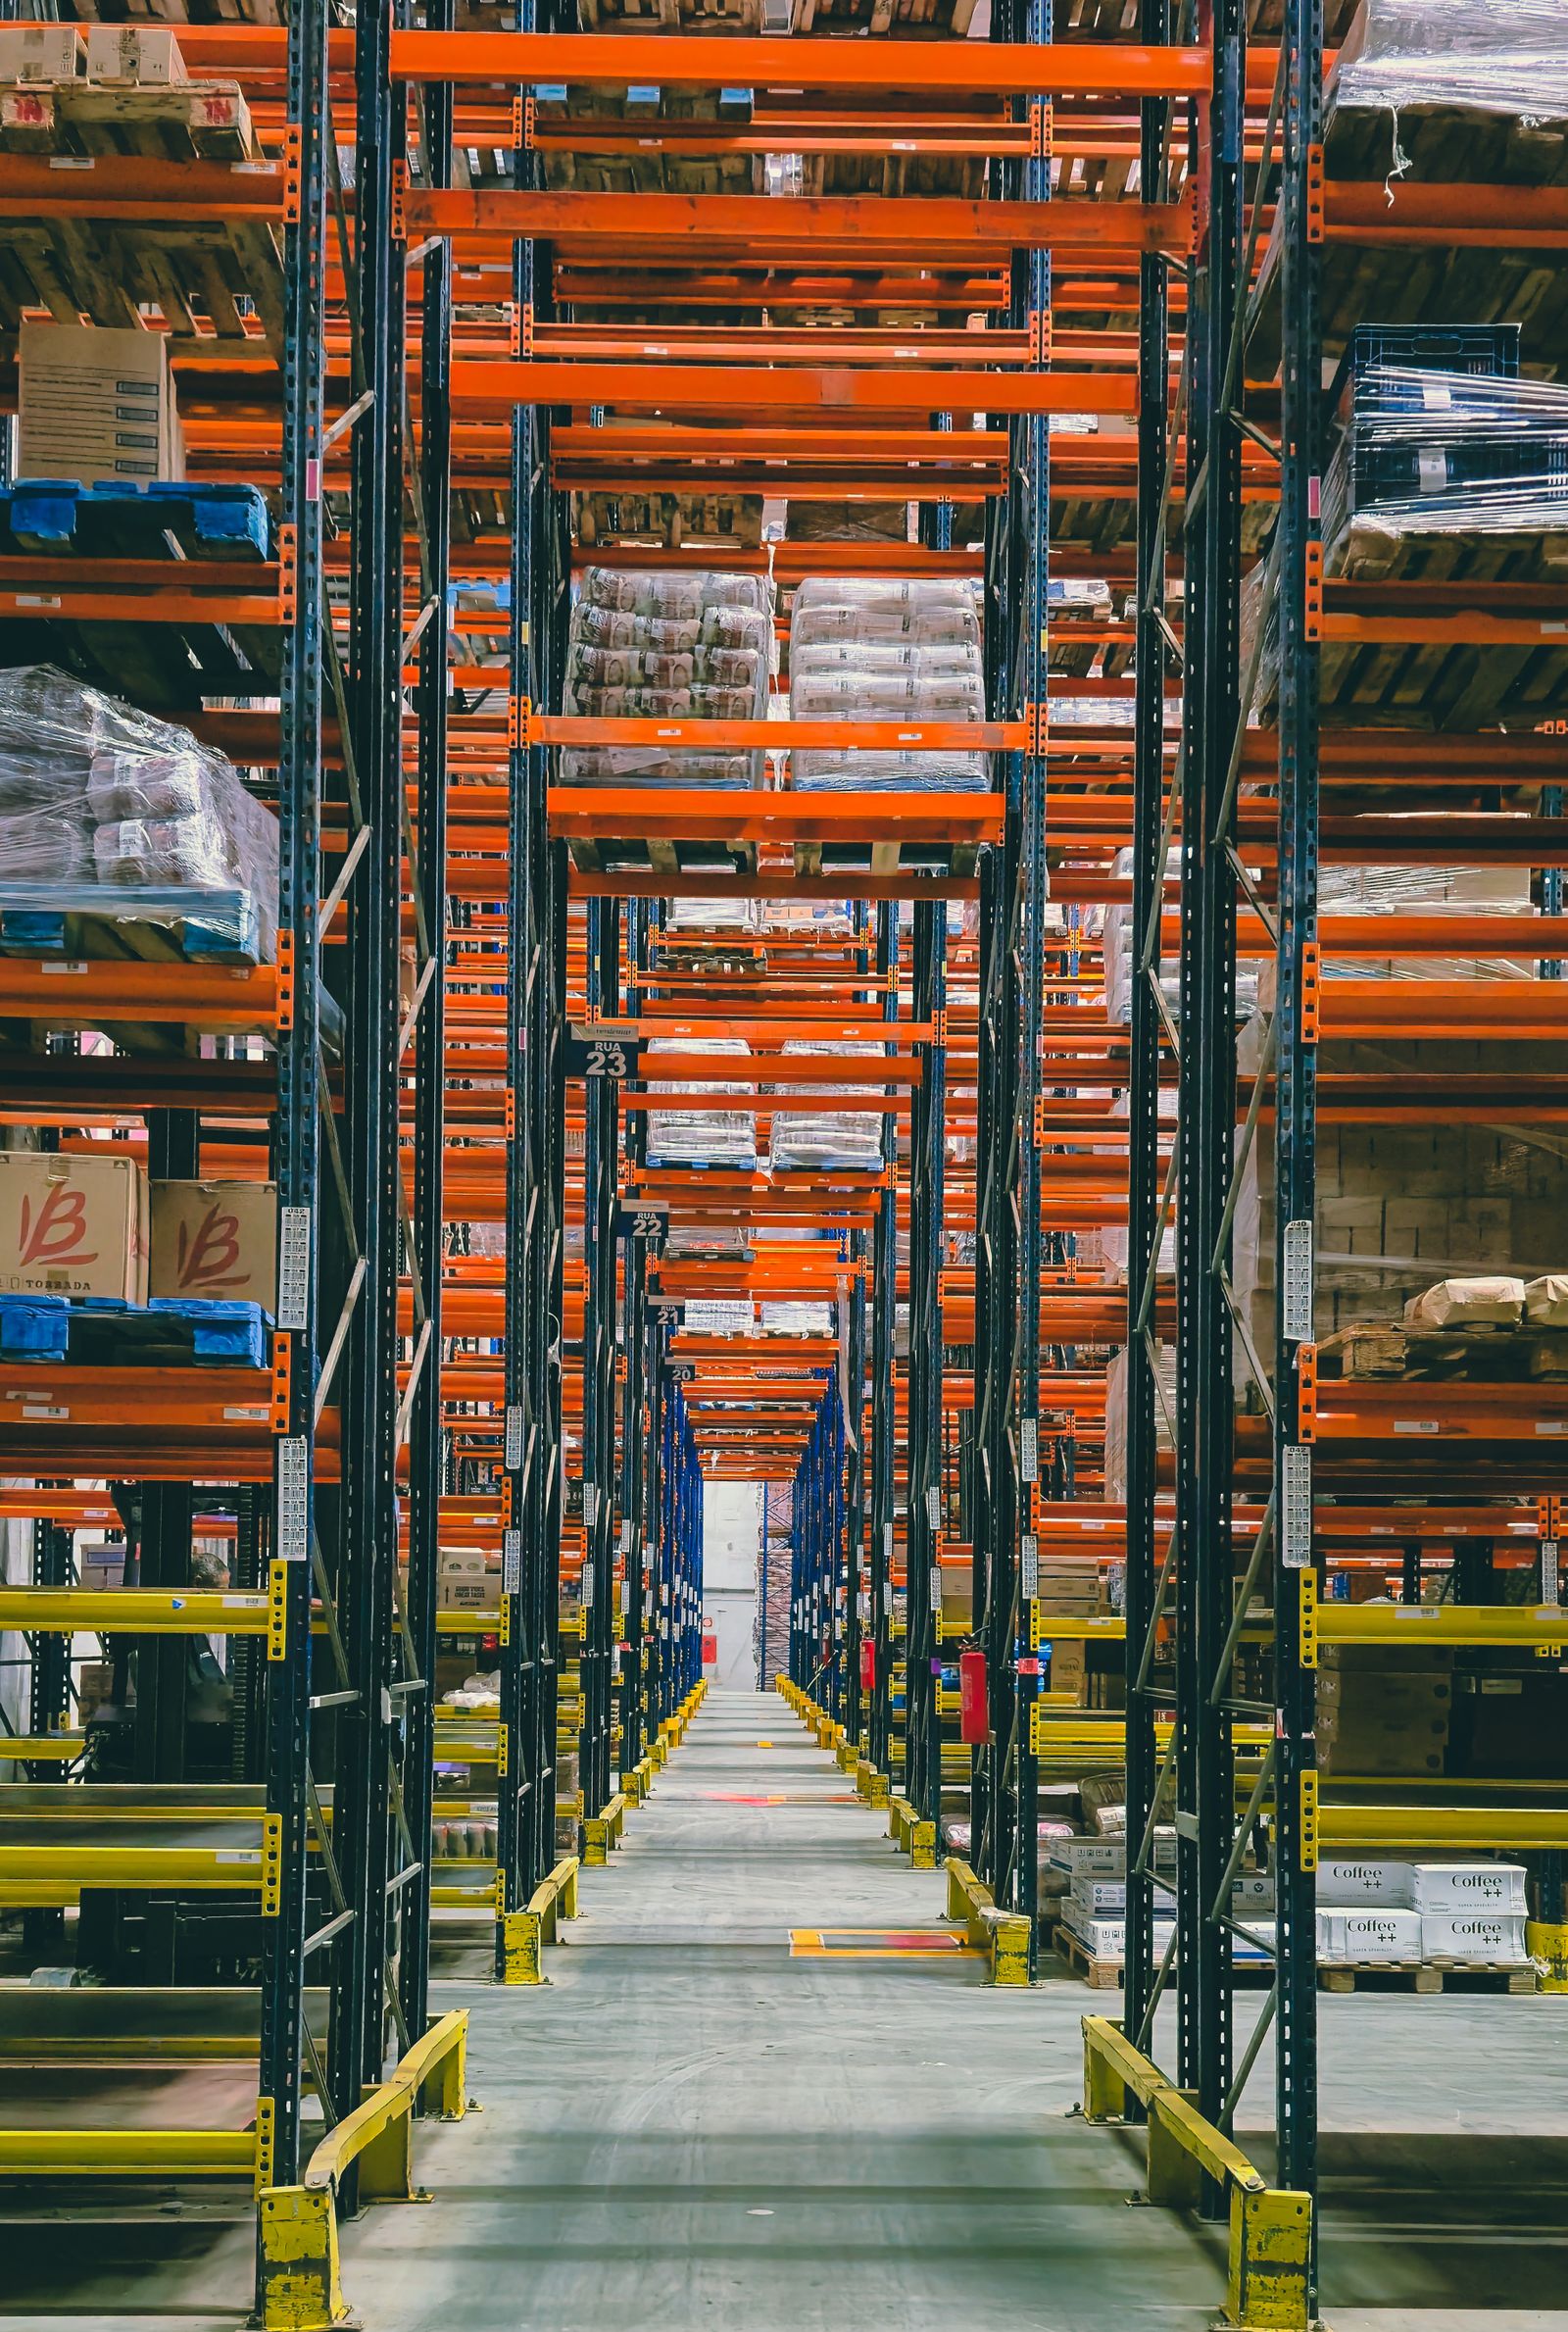
A location code is the street address of a shelf slot. Without it, a warehouse runs on memory: the veteran knows the blue cartons live “somewhere behind aisle 3”, the new hire walks the whole floor twice, and the day the veteran is off sick, stock that is physically in the building counts as lost. Orders wait, pickers wander, and a cycle count turns into a treasure hunt.
With codes, the conversation changes completely. A task says “pick 6 from A-03-12-2” and anyone — first day on the job included — can walk straight there, scan the label to confirm, and pick. The code is also the key the system uses to remember what is stored where, so every put-away, pick, move and count has to speak in codes, not in descriptions like “near the door”.
Anatomy of a code: zone – aisle – bay – level#
The most common pattern reads from big to small, like an address: zone, then aisle (row), then bay (column), then level. Take A-03-12-2. A is the zone — a large area of the warehouse, often one per building section, temperature band or tenant. 03 is the aisle: the third rack row in that zone. 12 is the bay: the twelfth upright frame along that aisle — one bay is usually one pallet wide, about 2.7 m for a standard beam rack. 2 is the level: the second beam level up from the floor.
- Zone — 1 letter or 1–2 digits is enough for most warehouses. Zones also carry meaning: A might be ambient, C might be cold storage, so the first character already tells a picker what jacket to bring.
- Aisle / row — 2 digits (01–99) covers almost any building. Never start at 0 or 1 without the leading zero: A-3-12-2 and A-03-12-2 will sort differently in every list and report.
- Bay / column — 2 digits is typical. Count bays along the aisle in the direction people actually walk it, so codes rise in walking order and a picker never has to double back.
- Level — 1 digit or 1 letter. Decide once whether the floor itself is level 0 or level 1, and whether you count beams or shelf boards. Most pallet racks count the floor pallet as level 1, then 2, 3, 4 upward. Small-parts shelving often uses letters or a two-part level+position, such as 2-B for the second shelf, second bin from the left.
| Code | How to read it | What you will find there |
|---|---|---|
| A-03-12-1 | Zone A, aisle 03, bay 12, level 1 (floor level) | A full pallet you can pick with a pallet jack — no forklift needed |
| A-03-12-4 | Same bay, level 4 — high up | Reserve stock on a pallet; a reach truck or forklift has to bring it down |
| B-01-05-2 | Zone B, aisle 01, bay 05, level 2 | A different zone entirely — check the first letter before you start walking |
| P-07-22-3-C | Picking zone P, aisle 07, bay 22, shelf 3, bin C | Small parts in a bin — screws, fittings, phone cases |
How many digits are enough? Work backwards from the biggest warehouse you might grow into in five years, not the one you have today. 99 aisles, 99 bays per aisle and 9 levels cover a very large building; going wider than that makes codes long to read, long to type and easy to mistype. Keep the pattern the same length for every location — fixed-width codes scan, sort and spot-check far better than a mix of short and long ones.
In Docklify, a code becomes a real location the moment you create it: go to WMS → Locations → New location and fill in the form — Name (that is your code, for example A-03-12-2), Location Type, Warehouse, plus Occupancy, Barcode and Aka Name when you use them. The name you type here is exactly what appears on tasks, labels and reports, so type the code in the same fixed format every time.
Nobody creates thousands of locations one by one. Docklify Locations supports a downloadable template and Excel bulk import (WMS → Locations → Import): fill one row per location — code, type, warehouse — upload the file, and a whole rack row of locations is created in one go. Import first, print labels second, and only then start putting stock away, so the physical labels and the system records are born together. The address columns are zone, aisle, bay, level and slot. The template still accepts the legacy bin and section columns, but they are optional and no longer recommended — leave them empty. The receiving, pack and ship location types have been retired: import rows that use them are rejected with a per-row error, while the rest of the file imports as usual.
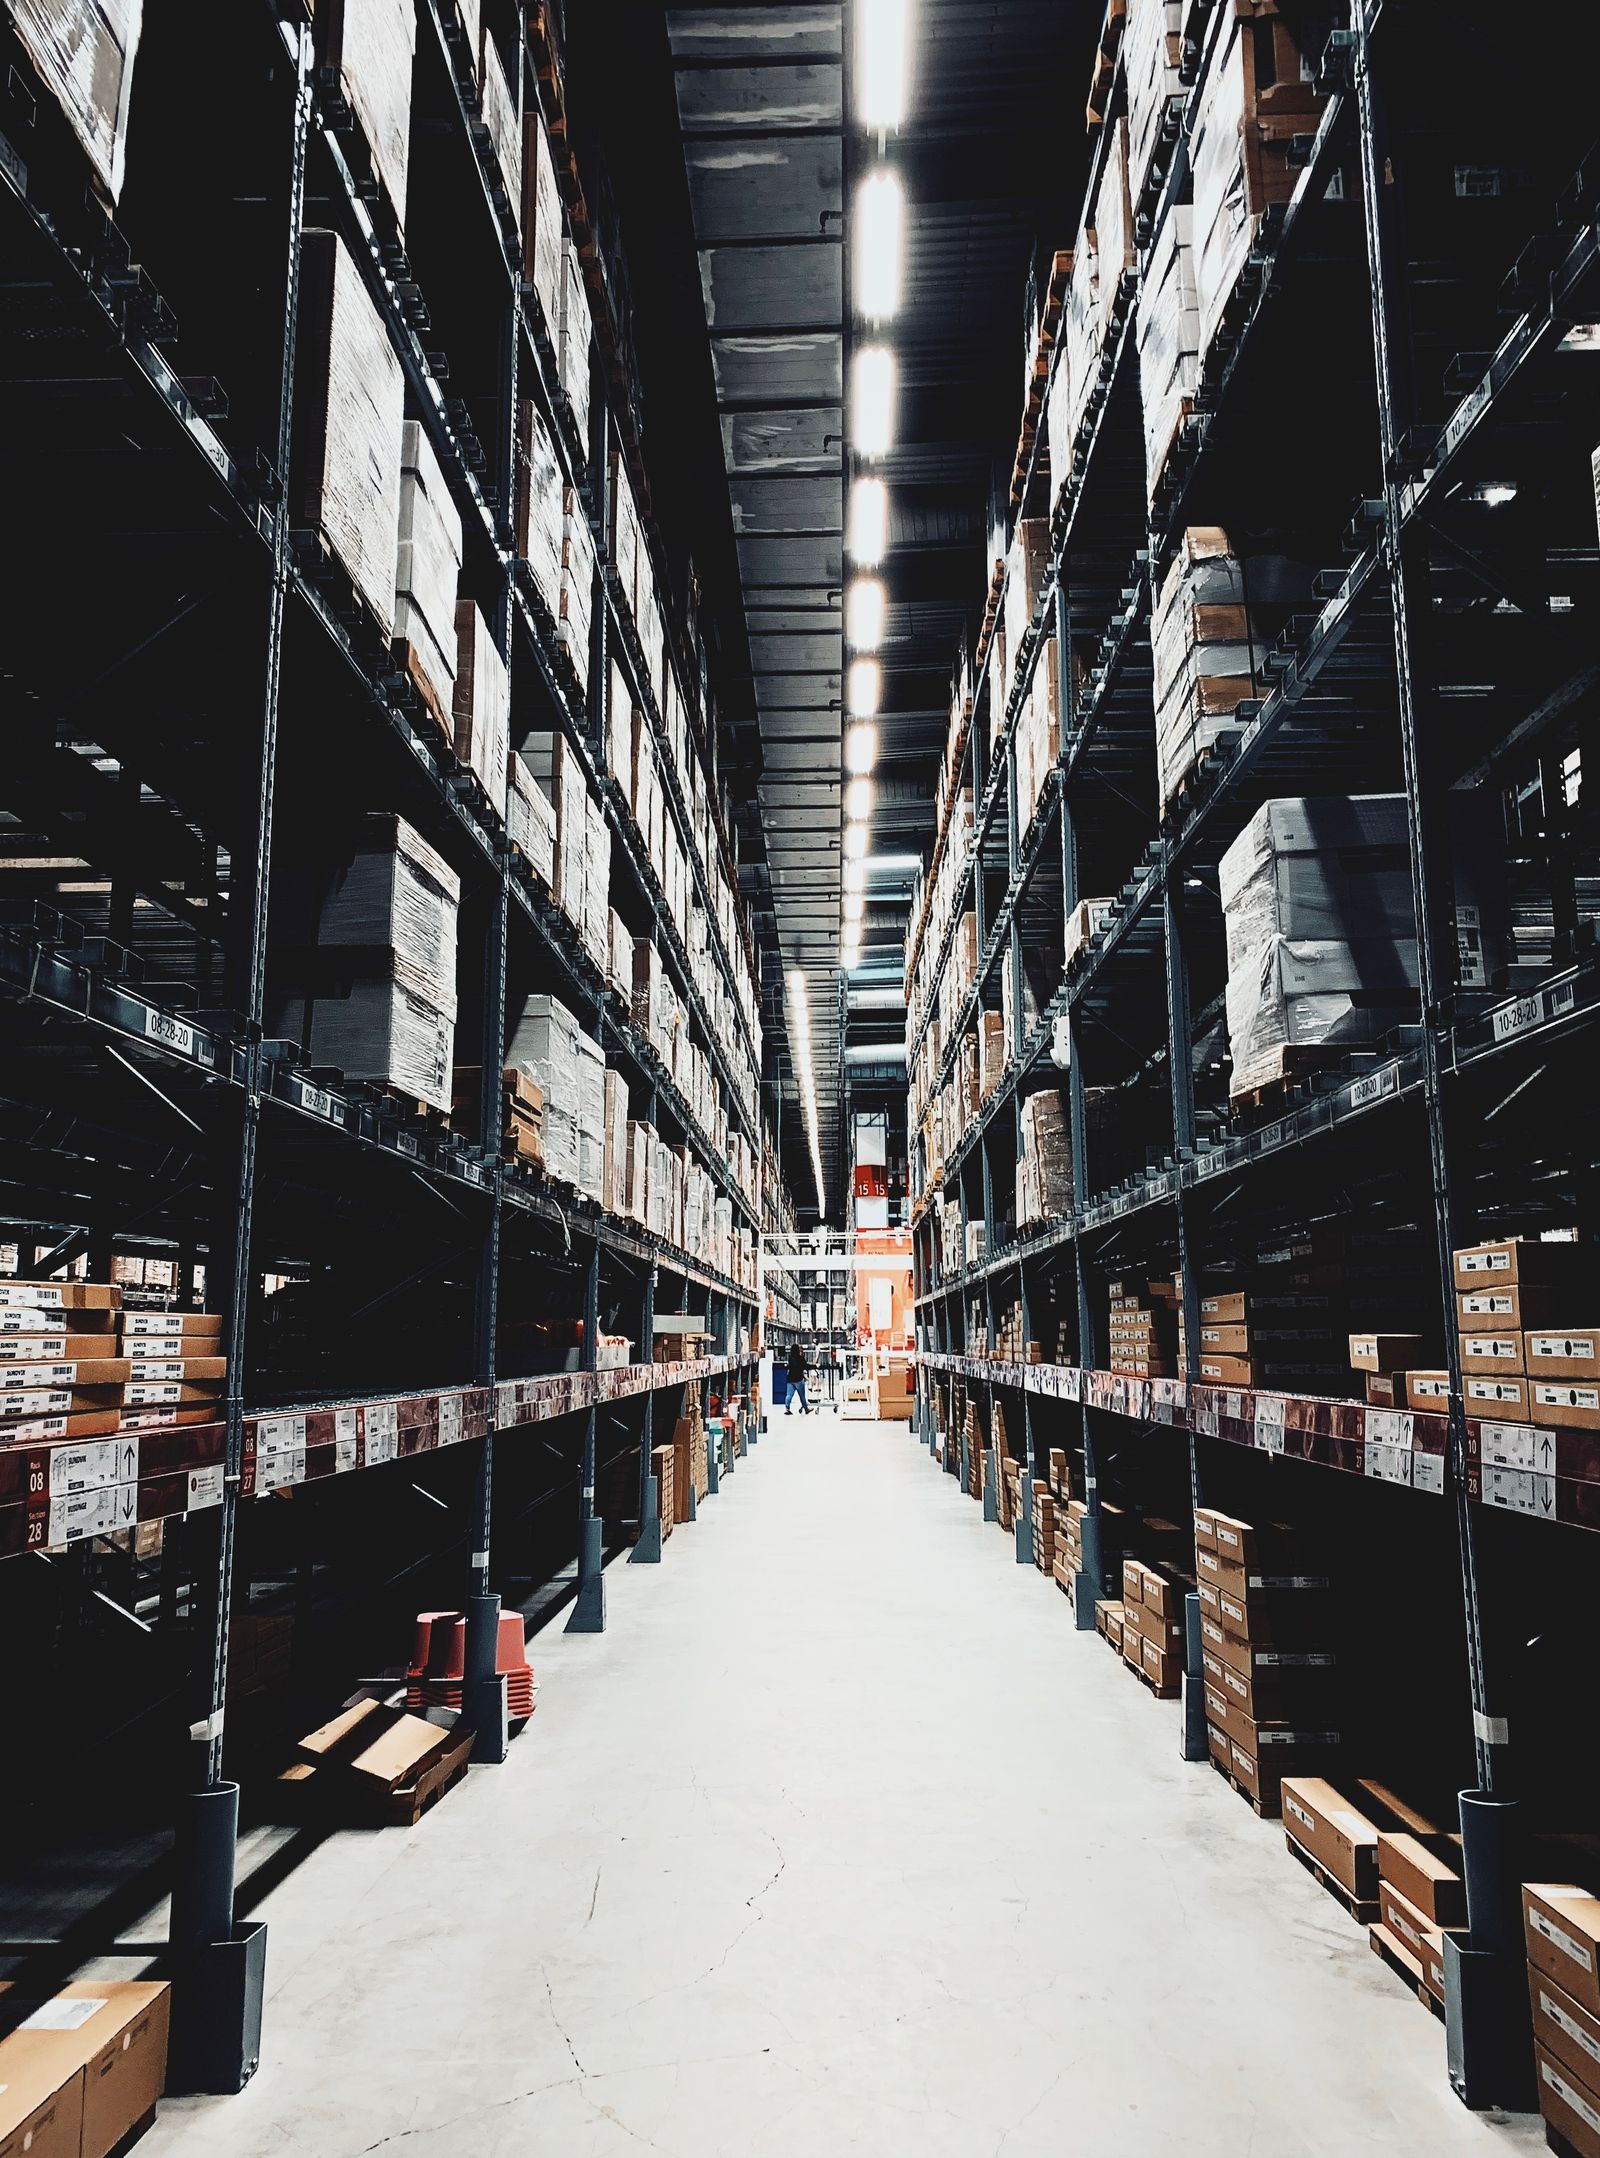
Numbering rules that work on the floor#
- Start numbering at the entrance or the main cross-aisle. The first rack a person meets after walking in should be 01, and numbers should grow with the natural flow of work — receiving to storage to picking to shipping — not against it.
- Split odd and even numbers by side. A common convention: odd bays on the left of the aisle, even bays on the right. A picker reading codes in sequence then works one side down and the other side back, instead of zig-zagging across the aisle all day.
- Count levels from the bottom up — always. Floor is the lowest number, the top beam is the highest. Write the rule on the rack end and in the handbook, because “count from the top” feels just as natural to some people (see the pitfalls at the end).
- Put every label in exactly the same place: on the beam, at the same height, on the same side — typically eye level for floor locations and on the upright or the beam just below high levels. A scanner should find the label without the picker hunting for it.
- Leave room to grow. If a zone has 14 aisles today, number them 01, 03, 05… or simply leave gaps in the sequence (start the next block at 20) instead of packing 01–14 tight. The day you bolt a new rack between aisle 06 and 07, a tight sequence forces you to renumber everything behind it.
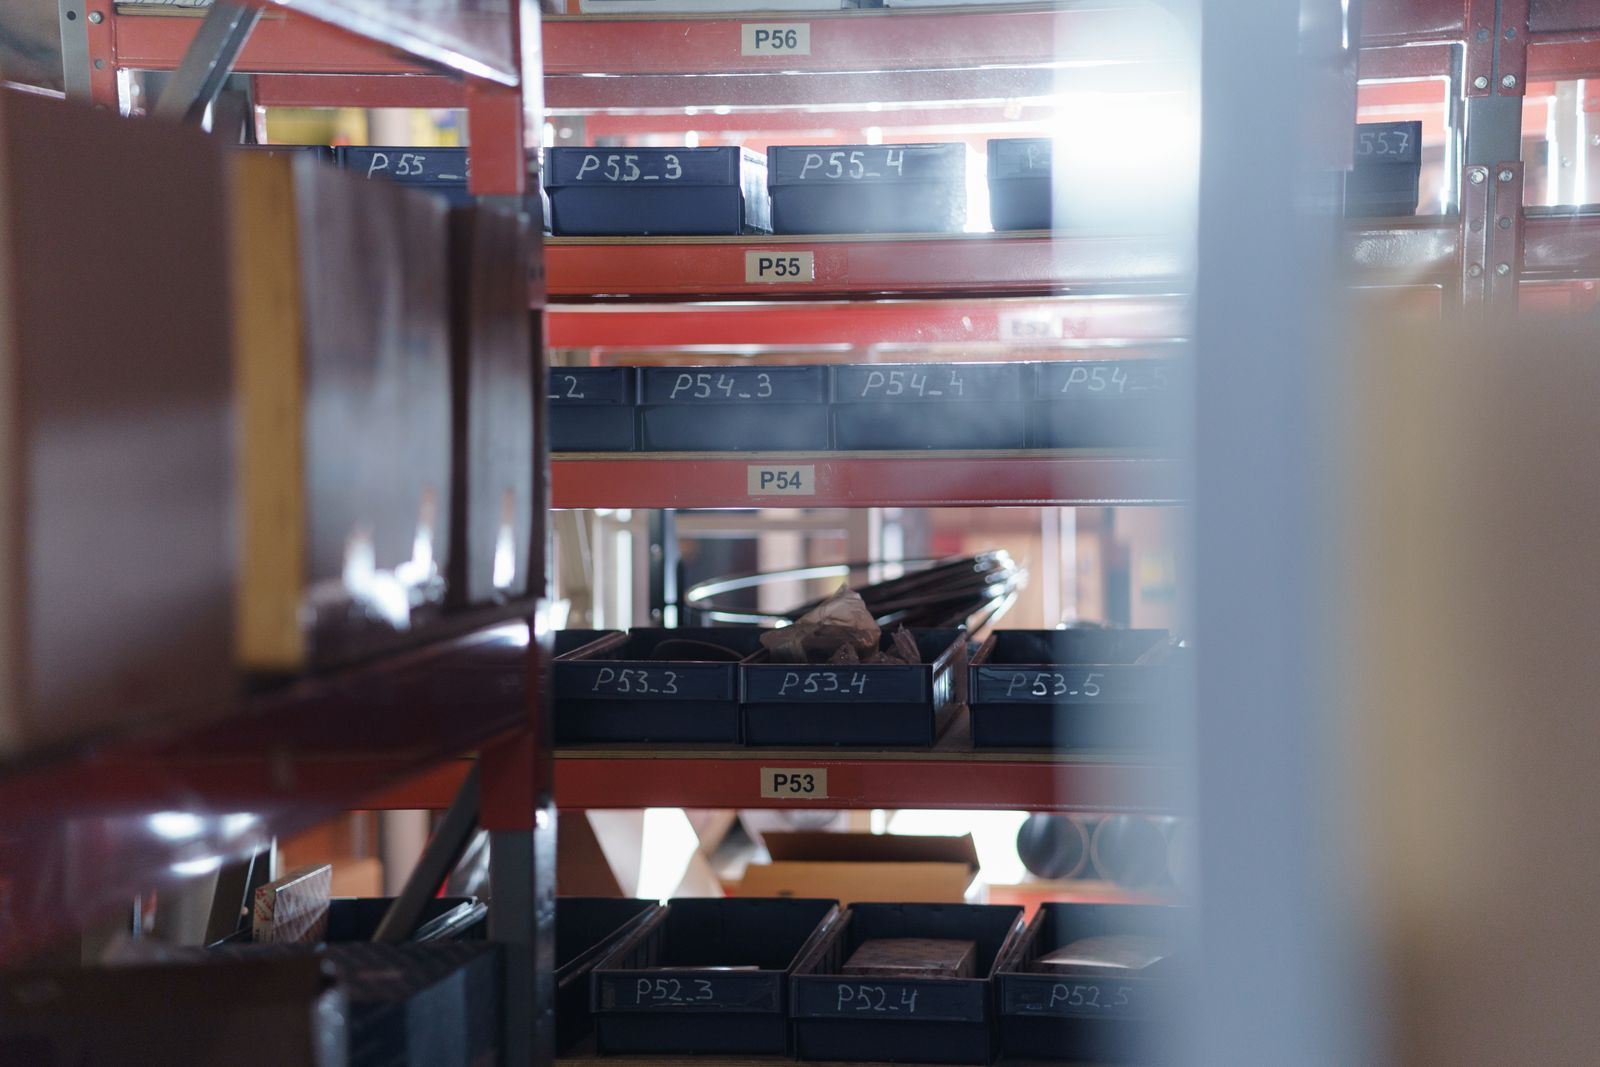
Small-parts locations follow the same logic, just one level finer. A shelf bay might hold 20 bins, so the code grows a bin segment: P-07-22-3-C means zone P, aisle 07, bay 22, shelf 3, bin C. On the bin labels in the photo the short form P53, P54 is enough because the shelf, the zone and the aisle are obvious from where you are standing — but in the system, keep the full code. The short label is for eyes; the full code is what tasks, counts and reports agree on.
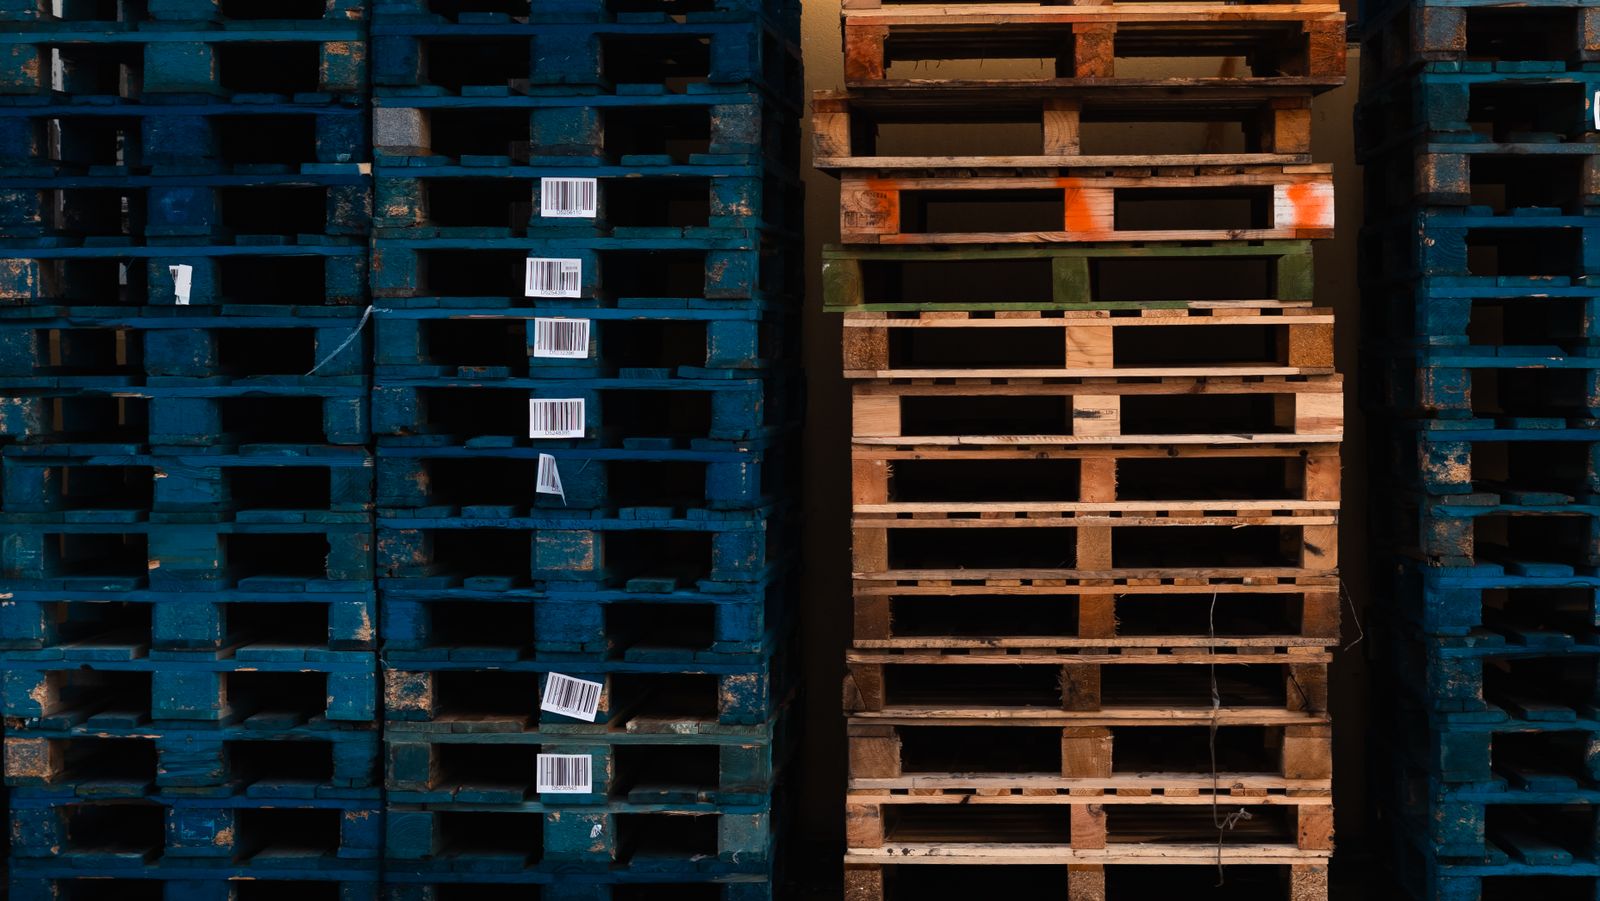
A label is the code made physical: large human-readable characters on top, a barcode underneath for scanning. Print from the system record, never retype codes into a label printer by hand — one transposed digit (12 versus 21) creates a location that exists on the rack but not in the system, or worse, points at the wrong bay. When a label is damaged, reprint the same code; never hand-write a “temporary” one, because temporary labels have a way of living for years.
The four location types#
A code says where a location is; the type says what it is for. Docklify has exactly these four location types — picking, storage, staging and dock — and you pick the type on the same Locations form where you set the code (the Location Type field). The type is not decoration: put-away, picking and staging rules behave differently per type. A storage location, for example, is pallet-only — loose cartons do not belong there — while order picking runs against picking locations. Set the type honestly when you create the location, because every later rule trusts it.
Picking locations: small quantities, high frequency
A picking location is where orders are picked from, one or a few units at a time. Physically it is usually shelving with boards or bins at waist-to-eye height, or the floor level of a pallet rack, and it sits as close to the packing area as the layout allows — pickers walk here hundreds of times a day, so every extra metre is paid for hundreds of times. Stock per location is deliberately small: a few cartons or bins of one SKU, turned over fast. When it runs low, it is refilled from storage (the replenishment chain below). One SKU per picking location is the cleanest rule: mixing SKUs in one bin is how wrong-item picks are born.
Storage locations: full pallets, up high
A storage location holds reserve stock: full pallets on the upper beam levels, reached by forklift, visited rarely. This is the warehouse savings account — big quantities, low movement, cheap space per unit because high rack space costs less than prime floor space near packing. In Docklify the rule is strict: a storage location holds pallets, not loose goods — put-away to storage always works in pallets, and picking from storage means bringing a pallet down, not opening cartons up on a beam. Storage is also the source of replenishment: picking locations are refilled from here, which makes the storage → picking link the core mechanism of any larger warehouse.
Staging locations: a short stop, never a home
A staging location is floor space near the docks where goods pause briefly: pallets just unloaded waiting for put-away, or picked orders waiting for the truck. It looks like taped floor squares with codes like STG-01, STG-02 — yes, floor space gets codes too, because “the pile by door 3” is exactly the kind of description codes exist to replace. The discipline of staging is time: stock here is in transit between two steps and should be measured in hours, not days. If a pallet sits in staging for a week, what you have is not staging any more — it is unplanned storage with no rack, and it will block the next truck.
Dock locations: the ground in front of each door
A dock location is the ground position tied to one dock door: DOCK-01 belongs to door 1, DOCK-02 to door 2. It is where a trailer load is set down as it comes off, and where an outbound load is assembled before it goes on. Giving each door its own coded ground position keeps inbound and outbound apart when three trucks are being worked at once — the receiving team puts door 2 freight on DOCK-02, the shipping team builds the door 3 load on DOCK-03, and nobody has to guess whose pallet is whose. Dock locations turn over fastest of all: the goal is an empty dock location between trucks.
The replenishment chain: storage feeds picking#
The four types only make sense together, and the most important link is storage → picking. Picture a fast-selling shampoo. One full pallet — 800 bottles — sits high in storage at A-03-12-4. Down at picking location P-02-08-1 there are 40 bottles in a bin, and orders take 5 to 10 bottles at a time. Pickers never climb to the pallet; they work the bin. When the bin drops to its low-water mark — say 10 bottles left — a replenishment task is created: a forklift driver brings the pallet down (or takes cartons from it) and refills the bin, and the pallet goes back up or is worked down layer by layer. Without this chain you get the worst of both worlds: pickers either wait for forklifts mid-order, or the picking face is stuffed so full that picking slows to a crawl. With it, high-frequency picking stays fast and cheap, and the forklift work is batched into planned trips instead of emergencies.
In Docklify this chain runs as replenishment tasks: when a picking location falls to its low-water level, the system generates a replenishment task from the storage location that holds the reserve (WMS → Replenishment tasks). The driver sees source and target by code — take from A-03-12-4, deliver to P-02-08-1 — so the refill is a normal, tracked task, not a favour someone shouts across the aisle.
Reading inventory distribution: by zone, by type#
Codes and types pay off again when you need the big picture: which zones are full, where the picking stock is thin, whether staging is clogging up. Work through it in layers. First by zone — a zone at 95 percent full with more inbound coming needs a decision today, not next week. Then by type — picking locations running empty while storage is full means the replenishment chain is broken, not that you are out of stock; staging locations that stay occupied for days mean outbound is backing up. Finally by single location, when a count disagrees or a picker reports a problem. Reading distribution this way turns “the warehouse feels full” into a specific, fixable statement.
Docklify turns that layered view into a picture: WMS → 3D Warehouse generates a 3D model of your warehouse from your locations. You can locate and highlight locations by code, by zone and by type, and open any location to see its live inventory — which SKUs, how many, on which pallet. Instead of walking a zone to check whether it is really full, you fly over it: full bays, empty bays and thin picking faces are visible at a glance, and a click tells you exactly what is sitting in the bay you are looking at.
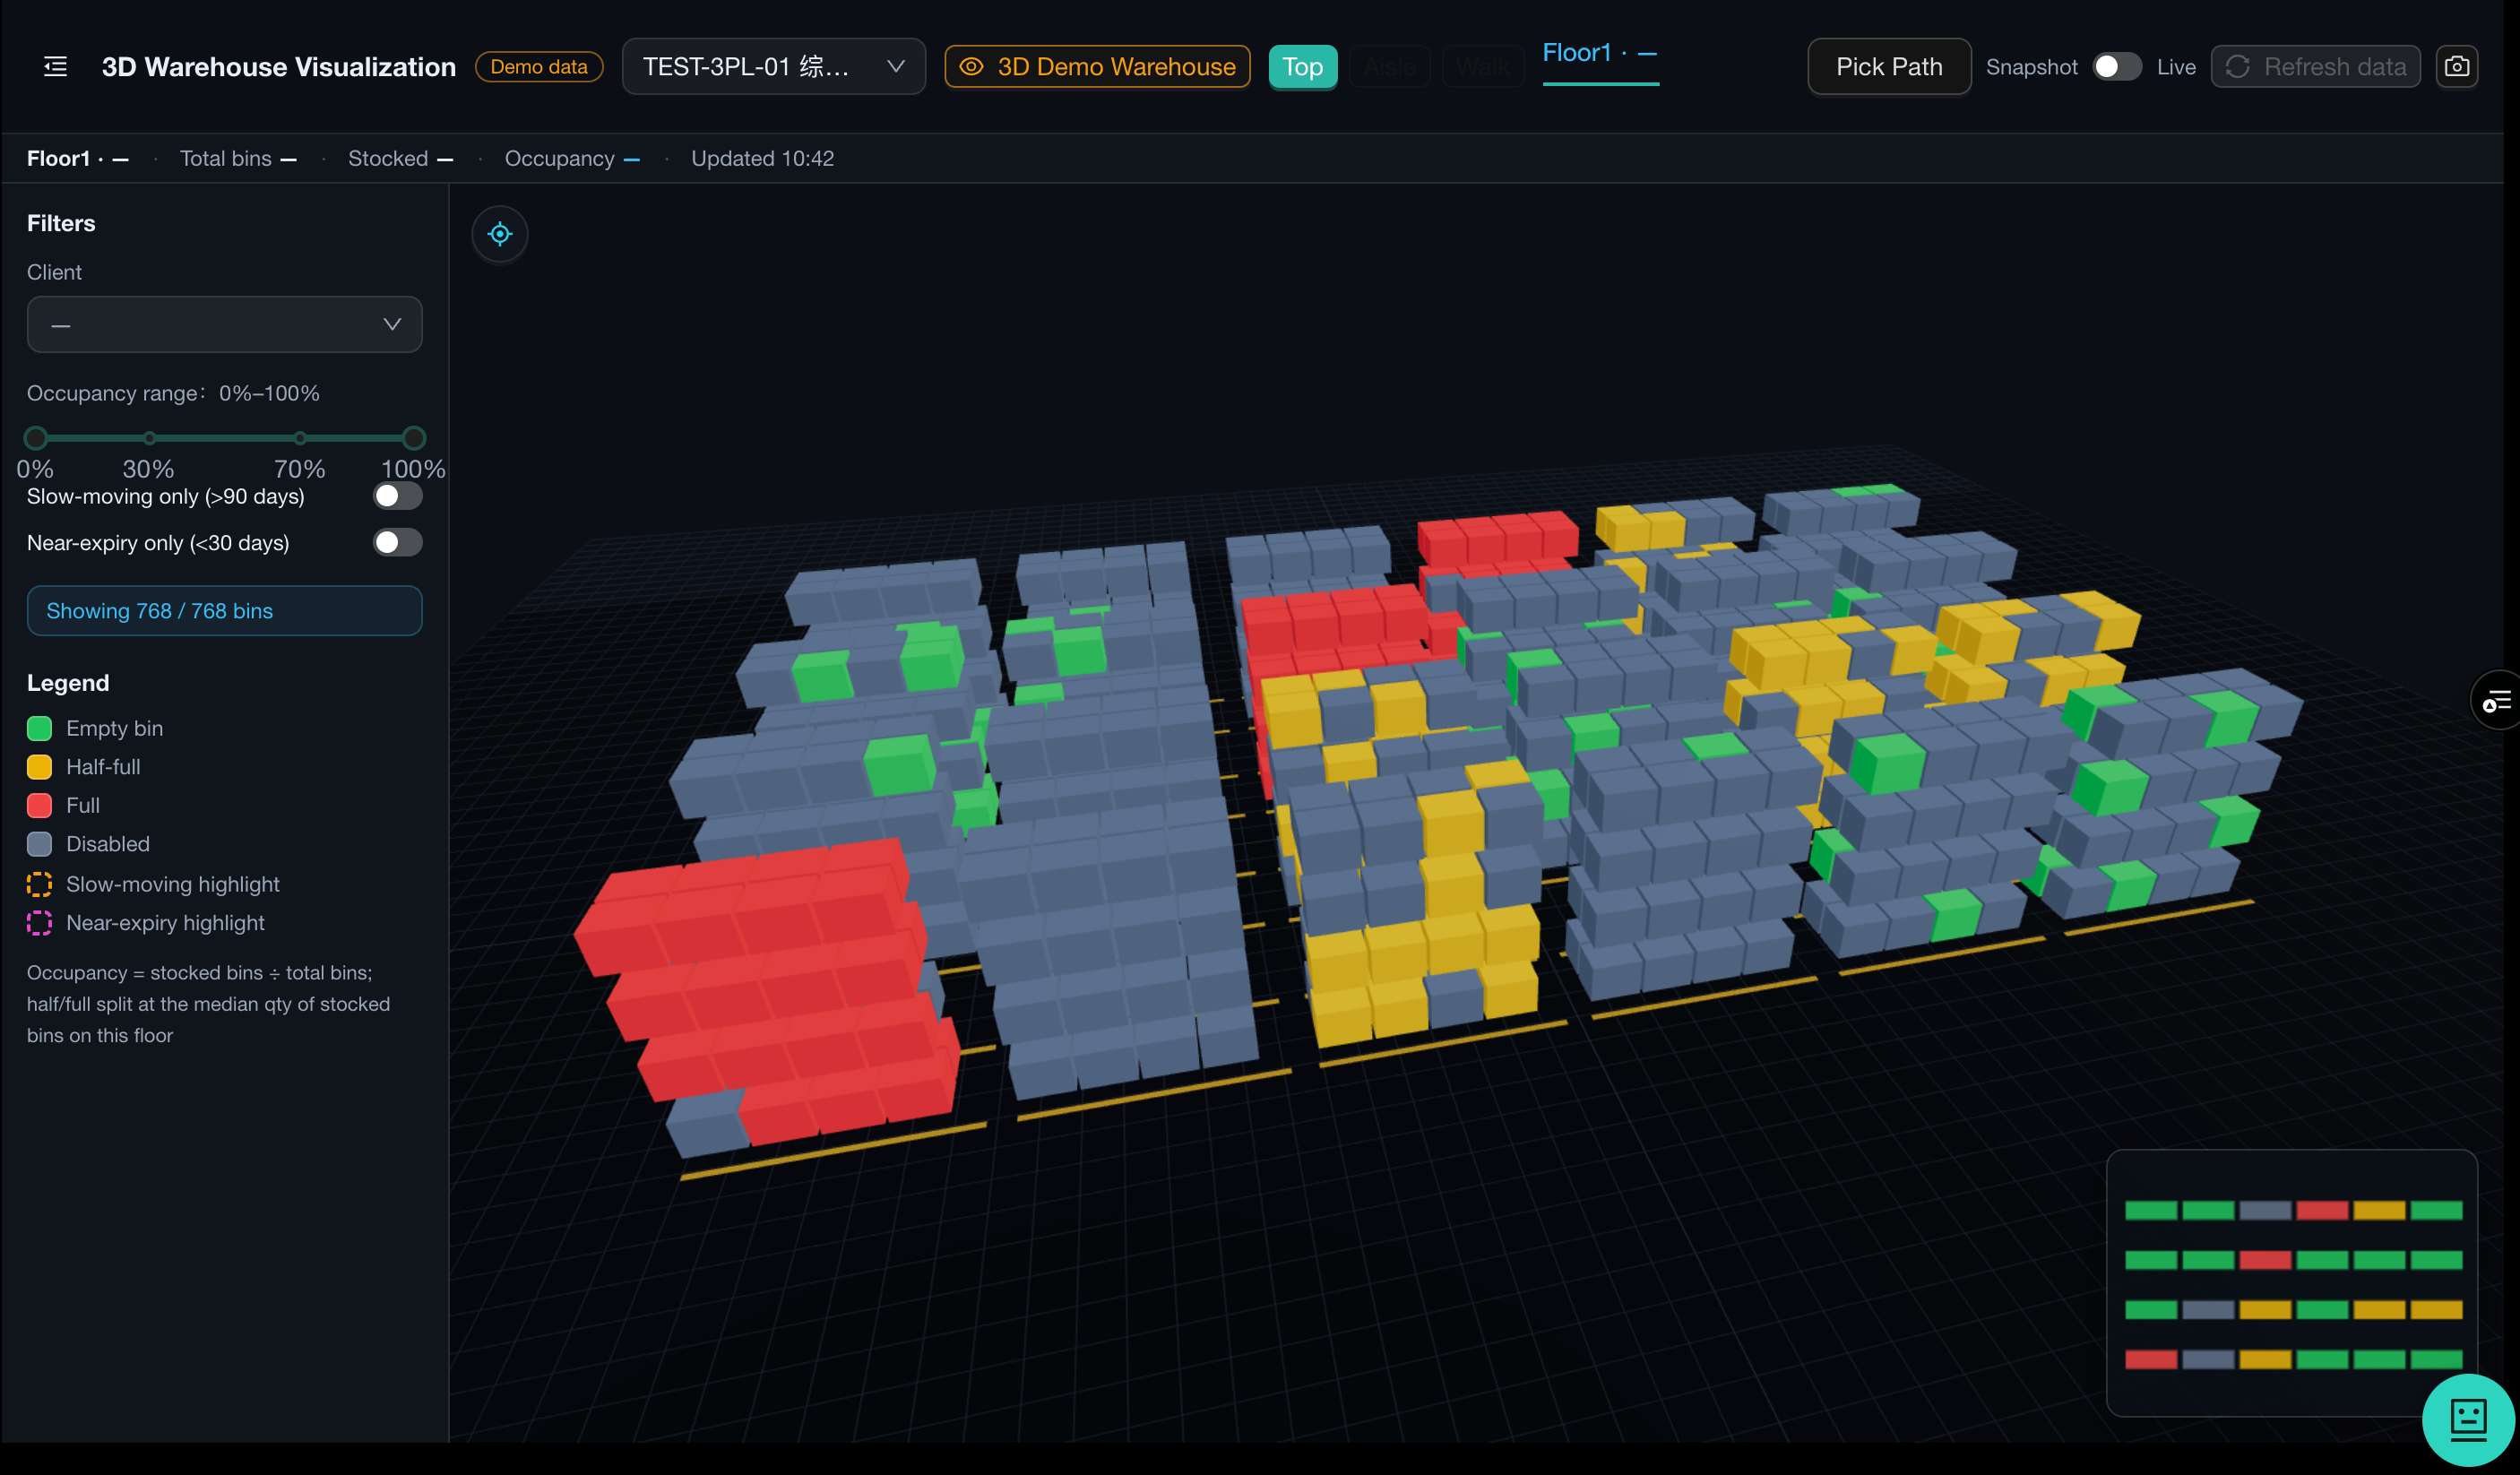
Type is not the only grouping a location needs. In Docklify a location can also belong to Location Groups (WMS → Location Groups) — for example a cold-storage group, a high-value group or one client dedicated group — and one location can belong to several groups at once. Codes tell you where, type tells you what for, and groups tell you under which rules: cold-chain goods only go to locations in the cold group, high-value goods only to the caged group. When you set up put-away rules, you will think in groups as often as in zones.
Common pitfalls#
Docklify features used in this article#
- Create a location — WMS → Locations → New location: Name (the code), Location Type (picking / storage / staging / dock), Warehouse, Occupancy, Barcode, Aka Name.
- Bulk import locations — WMS → Locations → Import: download the template, fill one row per location in Excel, upload to create thousands at once.
- Location types drive the rules — picking, storage, staging and dock are the system Location Type values; put-away, picking and staging behave differently per type, and storage locations hold pallets only.
- Replenishment tasks — WMS → Replenishment tasks: when a picking location hits its low-water level, a task is generated from the storage location holding the reserve.
- 3D warehouse view — WMS → 3D Warehouse: a generated 3D model of the warehouse; locate and highlight by code, zone and type, and open any location to see its live inventory.
- Location Groups — WMS → Location Groups: group locations by rule (cold storage, high value, one client), with one location allowed in several groups at once.