Choosing a barcode scanner: wired, wireless, ring or industrial?
Receiving, picking, counting and packing all start with a scan. This guide explains 1D vs 2D, scan distance, and the four scanner types — wired, wireless, ring and industrial long-range — with prices and the traps to avoid.

Almost every job in a warehouse starts with a scan. Receiving checks goods against an order, picking confirms you took the right item from the right location, counting records what is really on the shelf, and packing checks the parcel before it leaves. Done by eye and typed by hand, each of those steps can go wrong: a similar-looking SKU gets mixed up, a quantity is typed wrong, or goods from one order end up in another order’s box.
A scanner does not make the work faster by magic. What it does is simple: the code on the label is read exactly as printed, in under a second, and the system can compare it with what the task expected. If it matches, you move on. If it does not match, you find out on the spot — not when the customer complains. That is why the scanner is usually the cheapest piece of equipment in the warehouse and also the one nobody can work without.
Two ideas to sort out first: 1D vs 2D, and scan distance#
A 1D barcode is the familiar row of black bars — the product barcode on retail packaging is usually one of these. A 2D code is a square pattern, like a QR code, and it can hold much more information in a small space: not just a product number, but also a batch, a serial number or an expiry date. More and more supplier labels, electronics and regulated goods use 2D codes. Old laser scanners can only read 1D. Modern imaging scanners read both, which is why this guide keeps saying: whatever you buy, buy one that reads 2D.
- 1D barcodes: product codes on cartons and retail packs, location labels in many warehouses. Long and narrow, easy to print large.
- 2D codes: supplier labels with batch and serial data, electronics, pharmaceuticals and anything that needs traceability. Small label, lots of data.
- Rule of thumb: if any supplier, marketplace or customer in your chain is moving to 2D, a 1D-only scanner becomes scrap the day that label arrives.
Scan distance is the second idea. A standard scanner reads from a few centimetres out to about half a metre — fine for goods in your hand. A long-range scanner uses a different engine and can read a label 10 metres or more away, for example a pallet label on a high rack, without sending a person up in a lift for every check. Long-range models cost several times more, so you buy them for the high-bay job, not for the packing bench.
The four types, side by side#
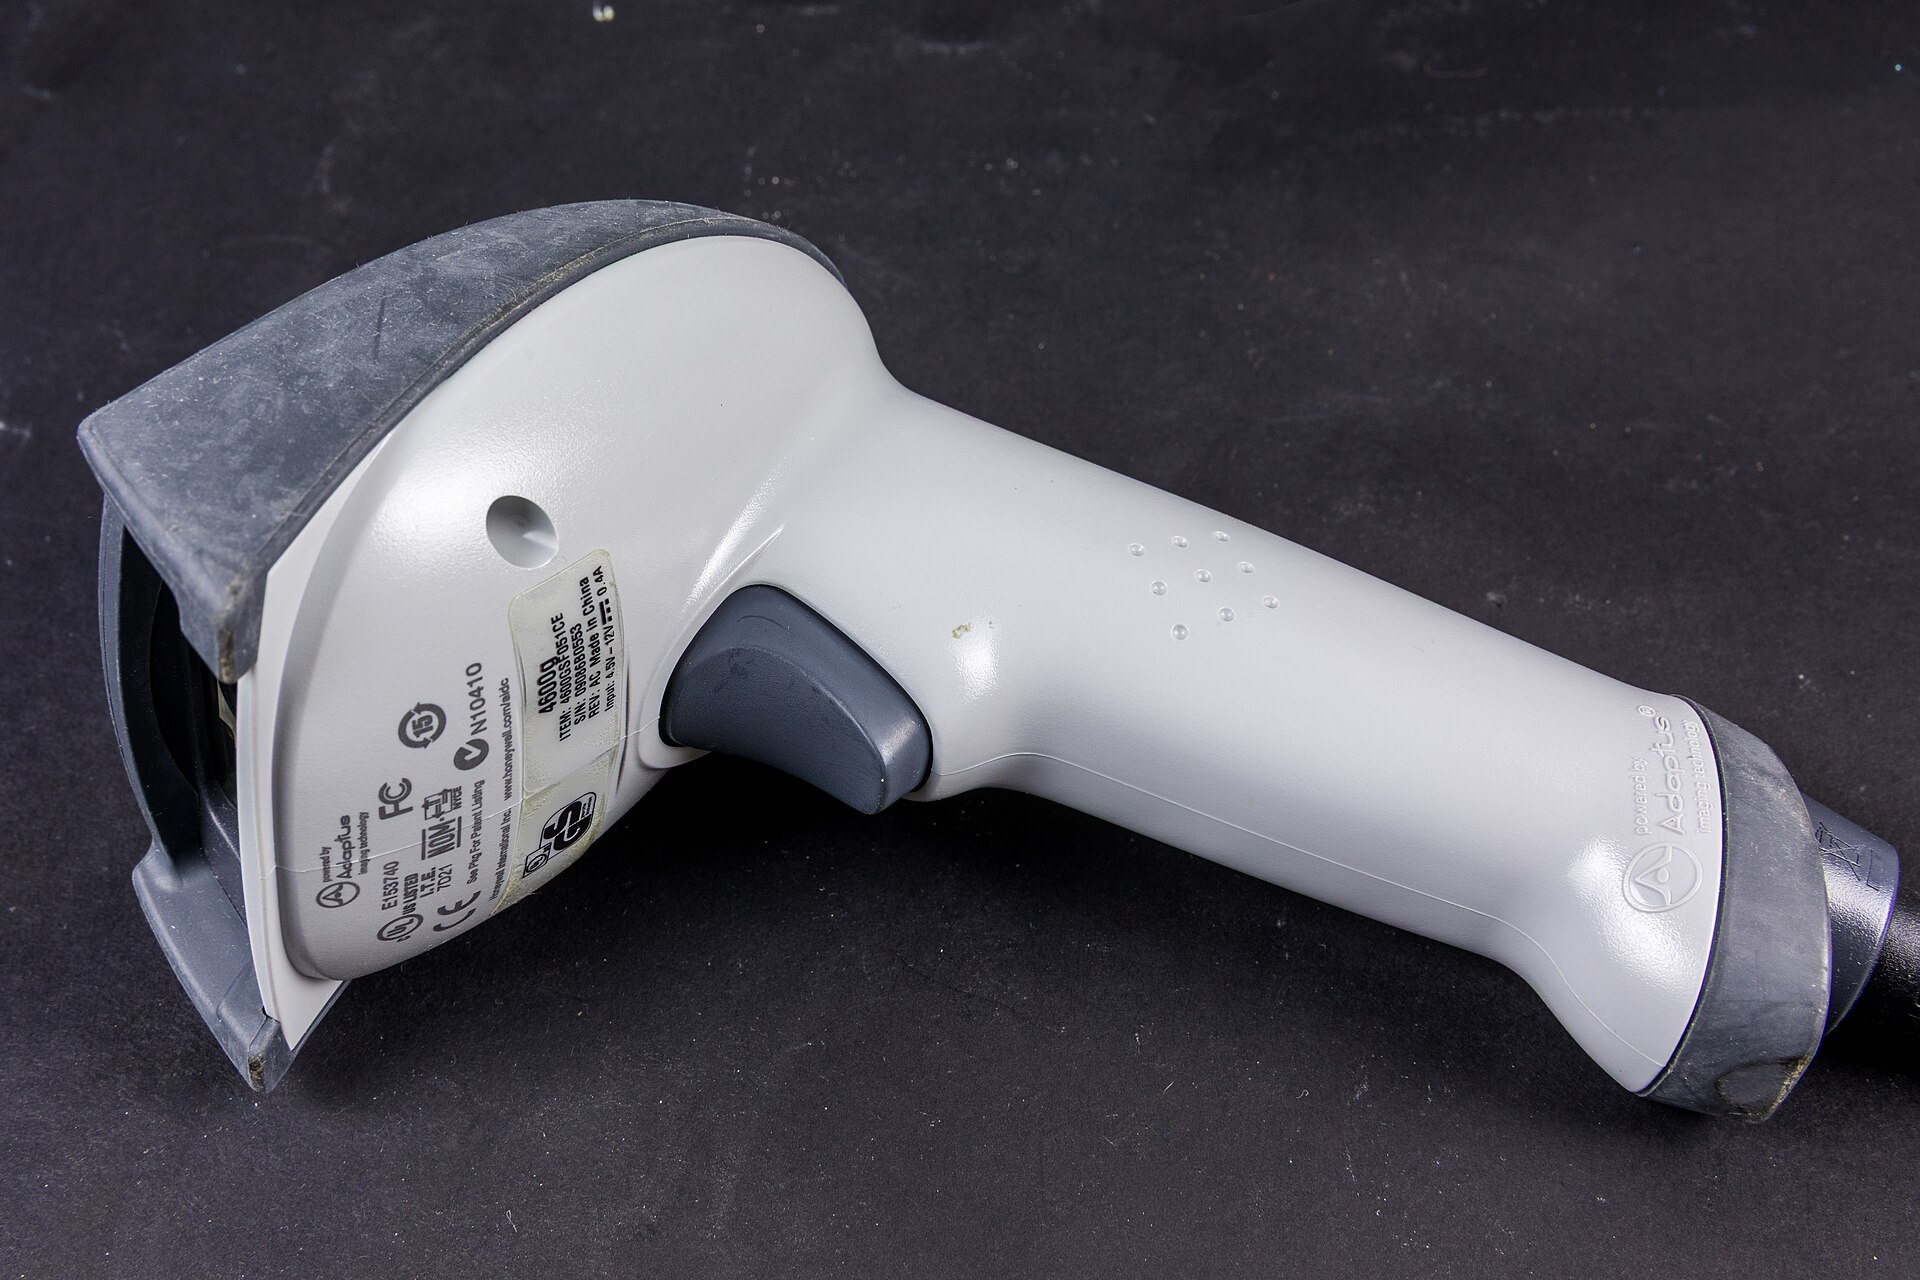
| Type | Typical price | Best for | Downside |
|---|---|---|---|
| Wired handheld | $30–80 | Fixed benches: receiving desk, packing station | The cable ties you to the bench; no good for walking the aisles |
| Wireless (Bluetooth) | $80–250 | Picking and counting on the move; pairs with a phone or PDA | Needs charging; it can be carried off or paired to the wrong device |
| Ring / glove scanner | $200–500 | Picking while carrying boxes with both hands; scan with a thumb press | Small battery, easy to lose, not built for heavy drops |
| Industrial long-range | $400–800+ | High racks, forklift work, yards; IP65/IP67 sealing, survives 1.8–2.4 m drops to concrete | Expensive and heavy; wasted on a bench job |
Prices above are rough US street prices for the scanner alone. The pattern to notice: you pay more for freedom (no cable), for both hands free (ring), and for reach plus toughness (industrial long-range). Most warehouses end up with a mix — a few wired guns that never leave their benches, wireless or ring scanners for the pickers, and one or two long-range units for the high racks. Buying one type for every job usually means overpaying at the bench and struggling in the aisle.
Choose by job, not by catalogue#
Receiving bench: wired is enough
At the receiving bench the goods come to you. The scanner stays in one place, the computer stays in one place, and a cable is not in anyone’s way. A wired imaging scanner that reads 2D codes covers the job for the price of a team lunch. Save the wireless budget for people who actually walk.
On the software side, receiving in Docklify runs on a phone or PDA: open m.docklify.com → WMS → Receiving tasks, open the task and scan each item’s barcode as you check quantity and condition. The count you scan is compared with what was expected, so a short delivery or a wrong item shows up at the bench, while the supplier’s driver is still there.
Picking: go wireless, or free both hands
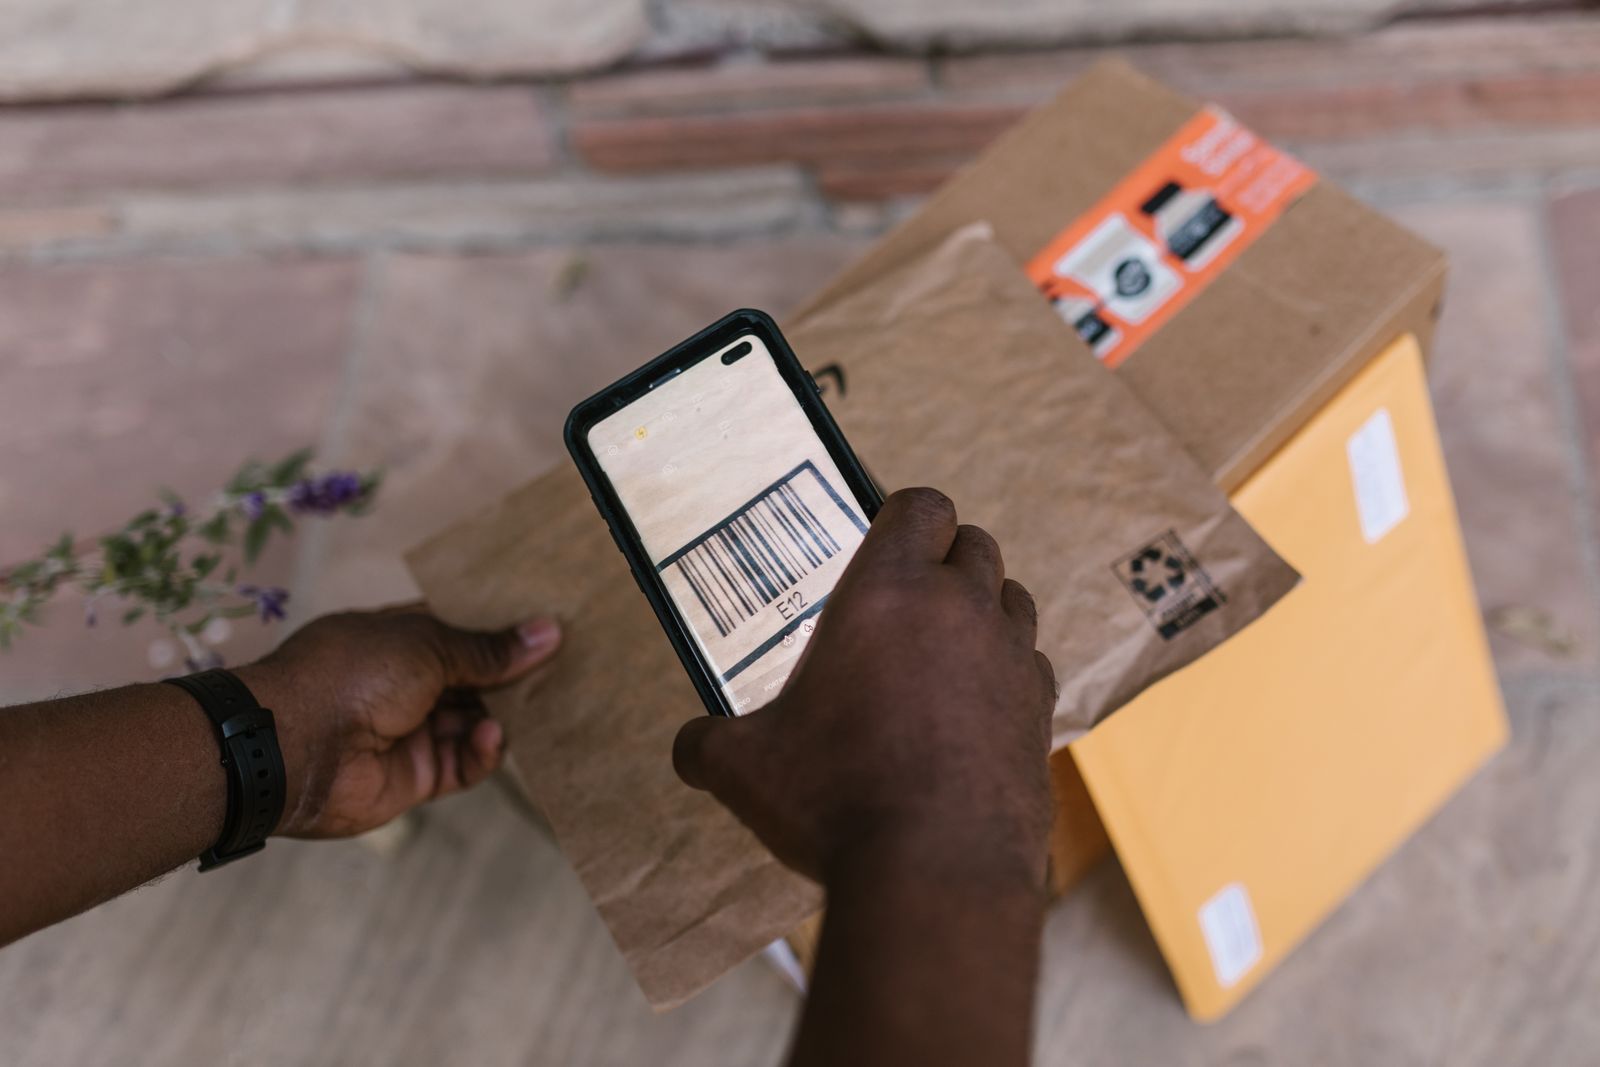
Pickers walk. A cable has no place in the aisle, so picking scanners are wireless by default — a Bluetooth gun clipped to the belt, or a ring scanner for the picker who is also carrying cartons all shift. The real question in picking is not the scanner but the flow: scan the location, then scan the product, then confirm the quantity. Two scans take two seconds and kill the two most common picking errors — right product from the wrong bay, and the look-alike SKU from the right bay.
That double check is how Docklify picking tasks work on the mobile side (m.docklify.com → WMS → Picking tasks): you scan the location code and the product code, and a wrong scan is stopped on the spot instead of being waved through. The scan field also takes all three input styles — type it by hand, scan it with the camera, or pick it from a list — so a damaged label never becomes a dead end; you fall back to typing or the list and keep moving.
Counting, high racks and the packing bench
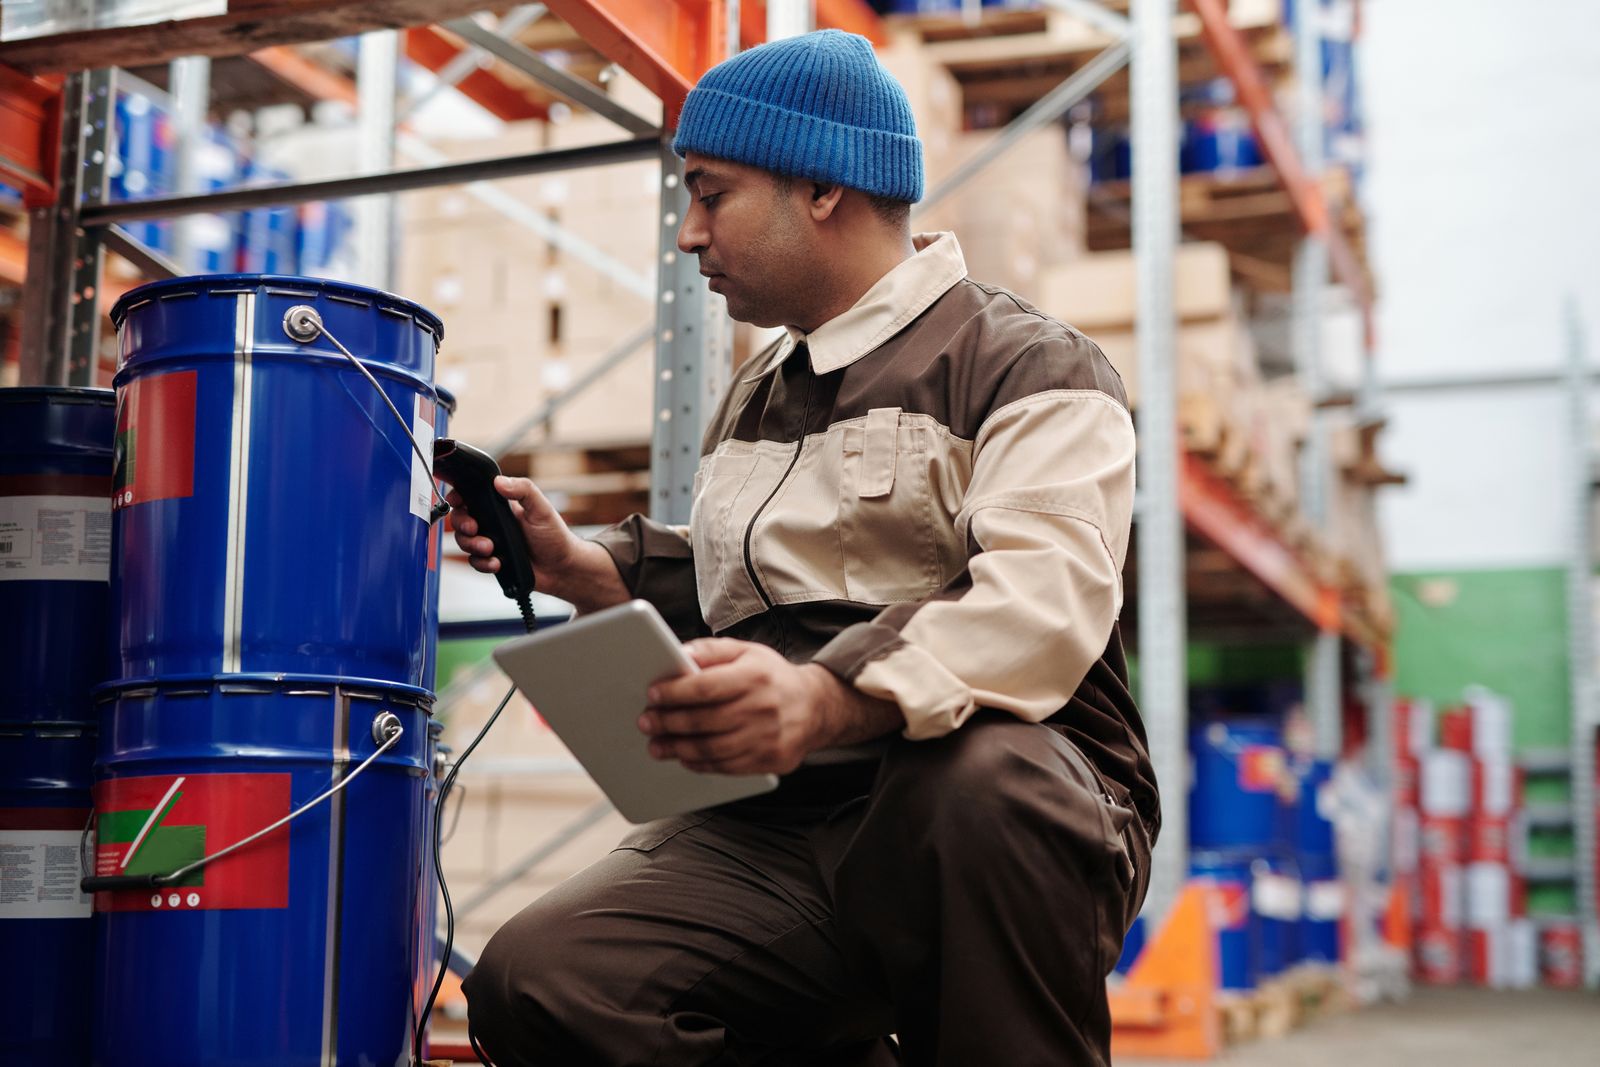
Counting is walking work too, but slower and more deliberate: scan a location, count what is there, enter the number. A Bluetooth scanner paired with a phone works well, and battery life matters more here than raw speed, because a full count can run a whole shift. High racks are the opposite case: the label is metres above your head, so this is the one job where the long-range industrial scanner earns its price — it reads the rack or pallet label from the floor.
Docklify counting tasks on the mobile side follow that same rhythm (m.docklify.com → WMS → Counting tasks): open the task, scan the location and count location by location, so what you counted is tied to the exact bin instead of being written on paper and typed in later. At the packing bench the pattern flips again — the scanner lives on the desk. In Docklify’s Packing Station (SaaS → WMS → Packing Station), scanning the parcel or order barcode pulls the order straight up for the packing check, so the checker never has to type an order number or risk opening the wrong order.
Buying traps: a short checklist#
- Must read 2D codes. If the spec sheet only says laser and 1D, skip it, however cheap it is — supplier and marketplace labels are moving to QR and other 2D codes.
- Check the drop spec and the IP rating, not the marketing words. For floor work look for drops of 1.5 m or more onto concrete; IP65 keeps out dust and water jets, IP67 survives a dunk. A scanner that dies in its first month was not cheap at any price.
- For Bluetooth models, check the base range and what it pairs with. A cradle rated for 10 m is a bench tool; aisle work wants a much longer link, and the scanner should reconnect on its own after walking out of range and coming back.
- Battery must last the shift: 8–12 hours of real scanning, not standby time from the brochure. For wireless guns, a swappable battery or a charging cradle at the bench saves the “dead scanner at 3 pm” problem.
- Test with your own labels before buying a batch: wrinkled shrink-wrap, low-contrast prints and labels behind plastic are where cheap scanners slow down. Two minutes with your worst label tells you more than the spec sheet.
After you buy it: put it on the books
Scanners walk away, get dropped and get swapped between benches, so treat them like any other warehouse equipment. In Docklify, scanners and other devices can be registered in the Assets ledger (SaaS → Assets) with a number and a status, given a QR label of their own, and included in inspections. When a gun goes missing or starts misreading, you can see which one it is, where it was last assigned and what condition it was in — instead of just discovering an empty cradle.
Docklify features used in this article#
- Mobile receiving tasks — scan each item’s barcode and check quantity (m.docklify.com → WMS → Receiving tasks)
- Mobile picking tasks — scan location code + product code for a double check; a wrong scan is stopped; typing, camera scan and list pick are all supported (m.docklify.com → WMS → Picking tasks)
- Mobile counting tasks — scan the location and count location by location (m.docklify.com → WMS → Counting tasks)
- Packing Station — scan the parcel or order barcode to pull up the order for the packing check (SaaS → WMS → Packing Station)
- Assets ledger — register scanners and other devices, stick on a QR label and inspect them (SaaS → Assets)