Label printers: desktop vs industrial, and why 4×6 rules shipping
Shipping labels, location labels, barcodes and pallet LPNs all come from the same machine. This guide explains thermal vs thermal-transfer, desktop vs industrial, and how to pick the right printer for your daily volume.
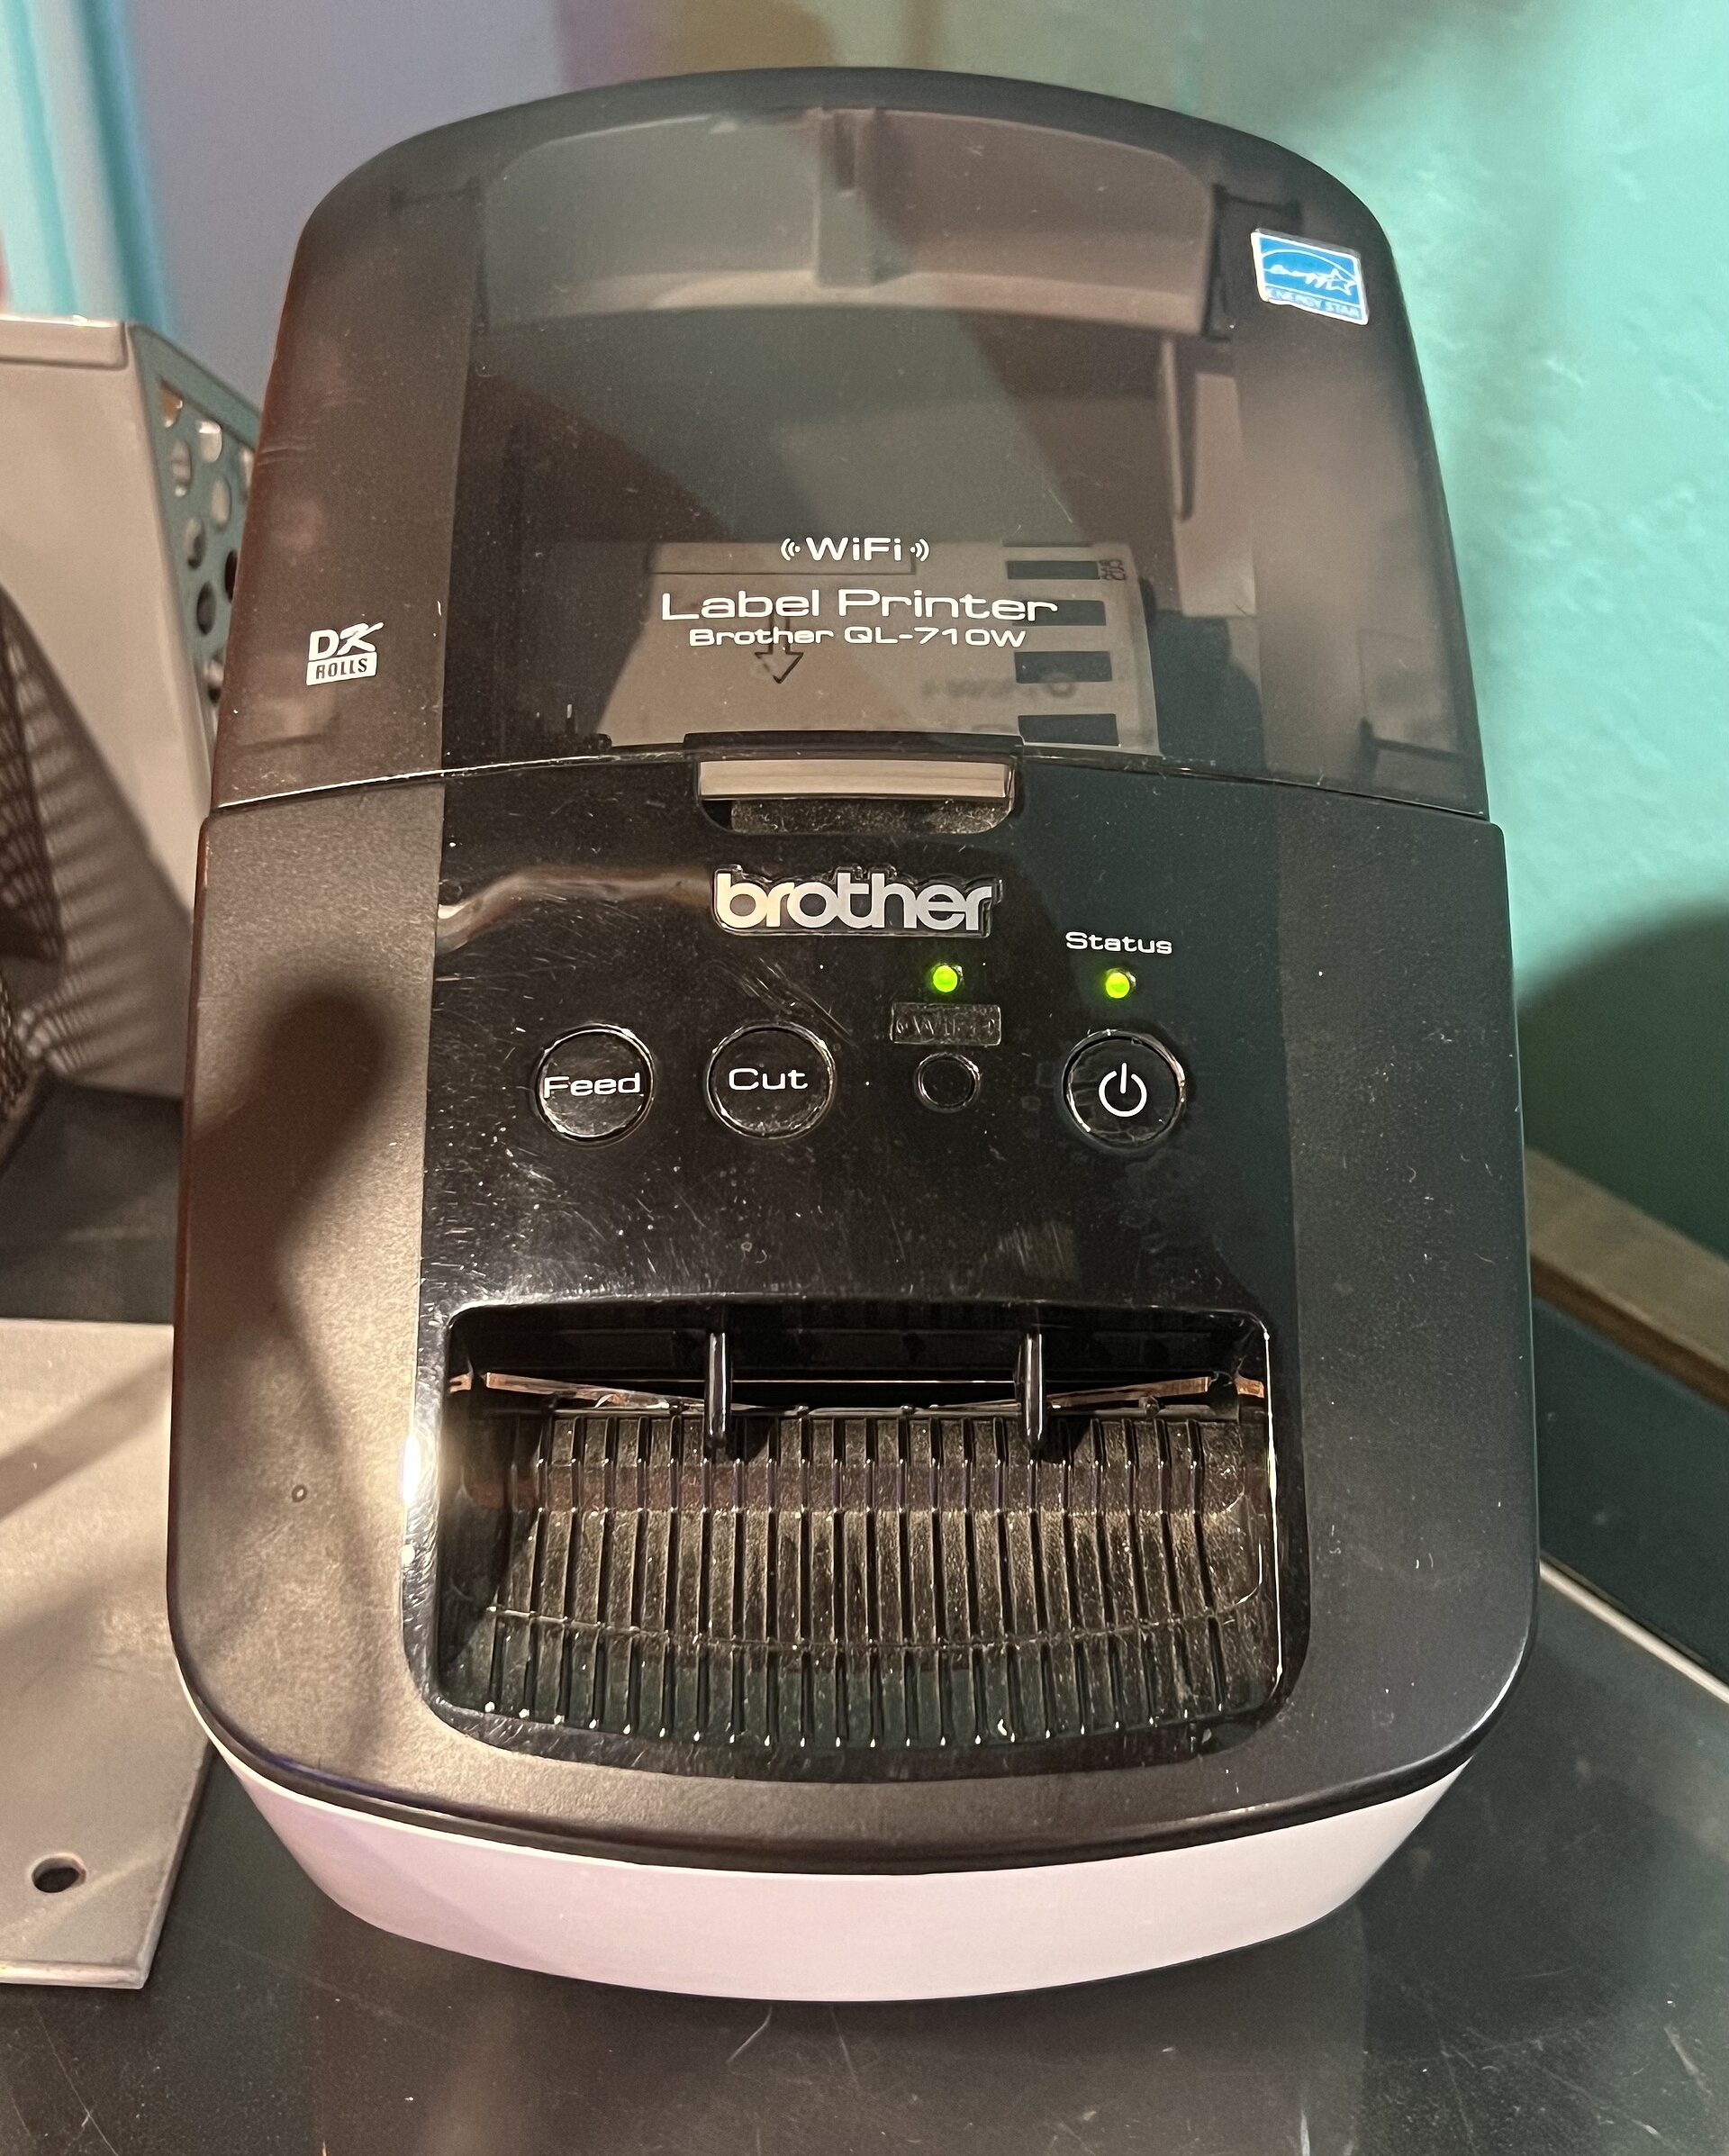
If you ship parcels, you live on labels. No label, no carrier pickup, no tracking, no proof of what went into the box. A label printer looks like a small office printer, but it is built for one job: printing sticky labels fast, all day, without ink. This guide is for beginners — what labels a warehouse actually prints, how the printing works, and which machine to buy.
What labels does a warehouse print?#
- Shipping labels (carrier waybills) — the big one. UPS, FedEx, USPS and Amazon all standardised on 4×6 inches (about 100×150 mm). The carrier scans it at every step, so it must be crisp and scannable.
- Location labels — one barcode per bin or rack slot, stuck on the shelf beam. Pickers and putaway staff scan the location, not type it.
- Product barcode labels — SKU barcodes for items that arrive without one, or for relabelling. Small labels, often 2×1 or 3×2 inches.
- Pallet LPN labels — a Licence Plate Number for a whole pallet. One scan identifies the pallet, its contents and its location, without opening it.
- Case labels / UCC-SSCC box marks — for B2B and retail shipments. Retailers like Walmart require GS1-128 SSCC labels on each carton, in an exact format.
In Docklify, location and pallet labels come from the same records you already maintain: once a location or a pallet (LPN) is created in WMS, you can print its barcode label and stick it on the rack or the pallet. Go to SaaS → WMS → Locations / Pallets to manage them — no separate label file to keep in a spreadsheet.
How it prints, in one minute: thermal vs thermal transfer#
Direct thermal: the paper itself is heat-sensitive. The print head heats tiny dots, the paper turns black where it is heated. No ink, no ribbon, nothing to refill — just a roll of labels. The downside: the image fades with heat, sunlight and friction. A shipping label only needs to survive a few days on a truck, so direct thermal is perfect for waybills. It is a bad choice for a location label that must last five years on a rack.
Thermal transfer: the head heats a ribbon, and ink from the ribbon melts onto the label. The result resists heat, chemicals and scratching — this is how you print location labels, product labels for cold storage, and anything that must stay readable for years. It costs a little more per label (ribbon + tougher label stock). Resolution matters too: 203 dpi is enough for 4×6 shipping labels and normal barcodes; choose 300 dpi if you print tiny text, dense 2D codes, or small product labels.
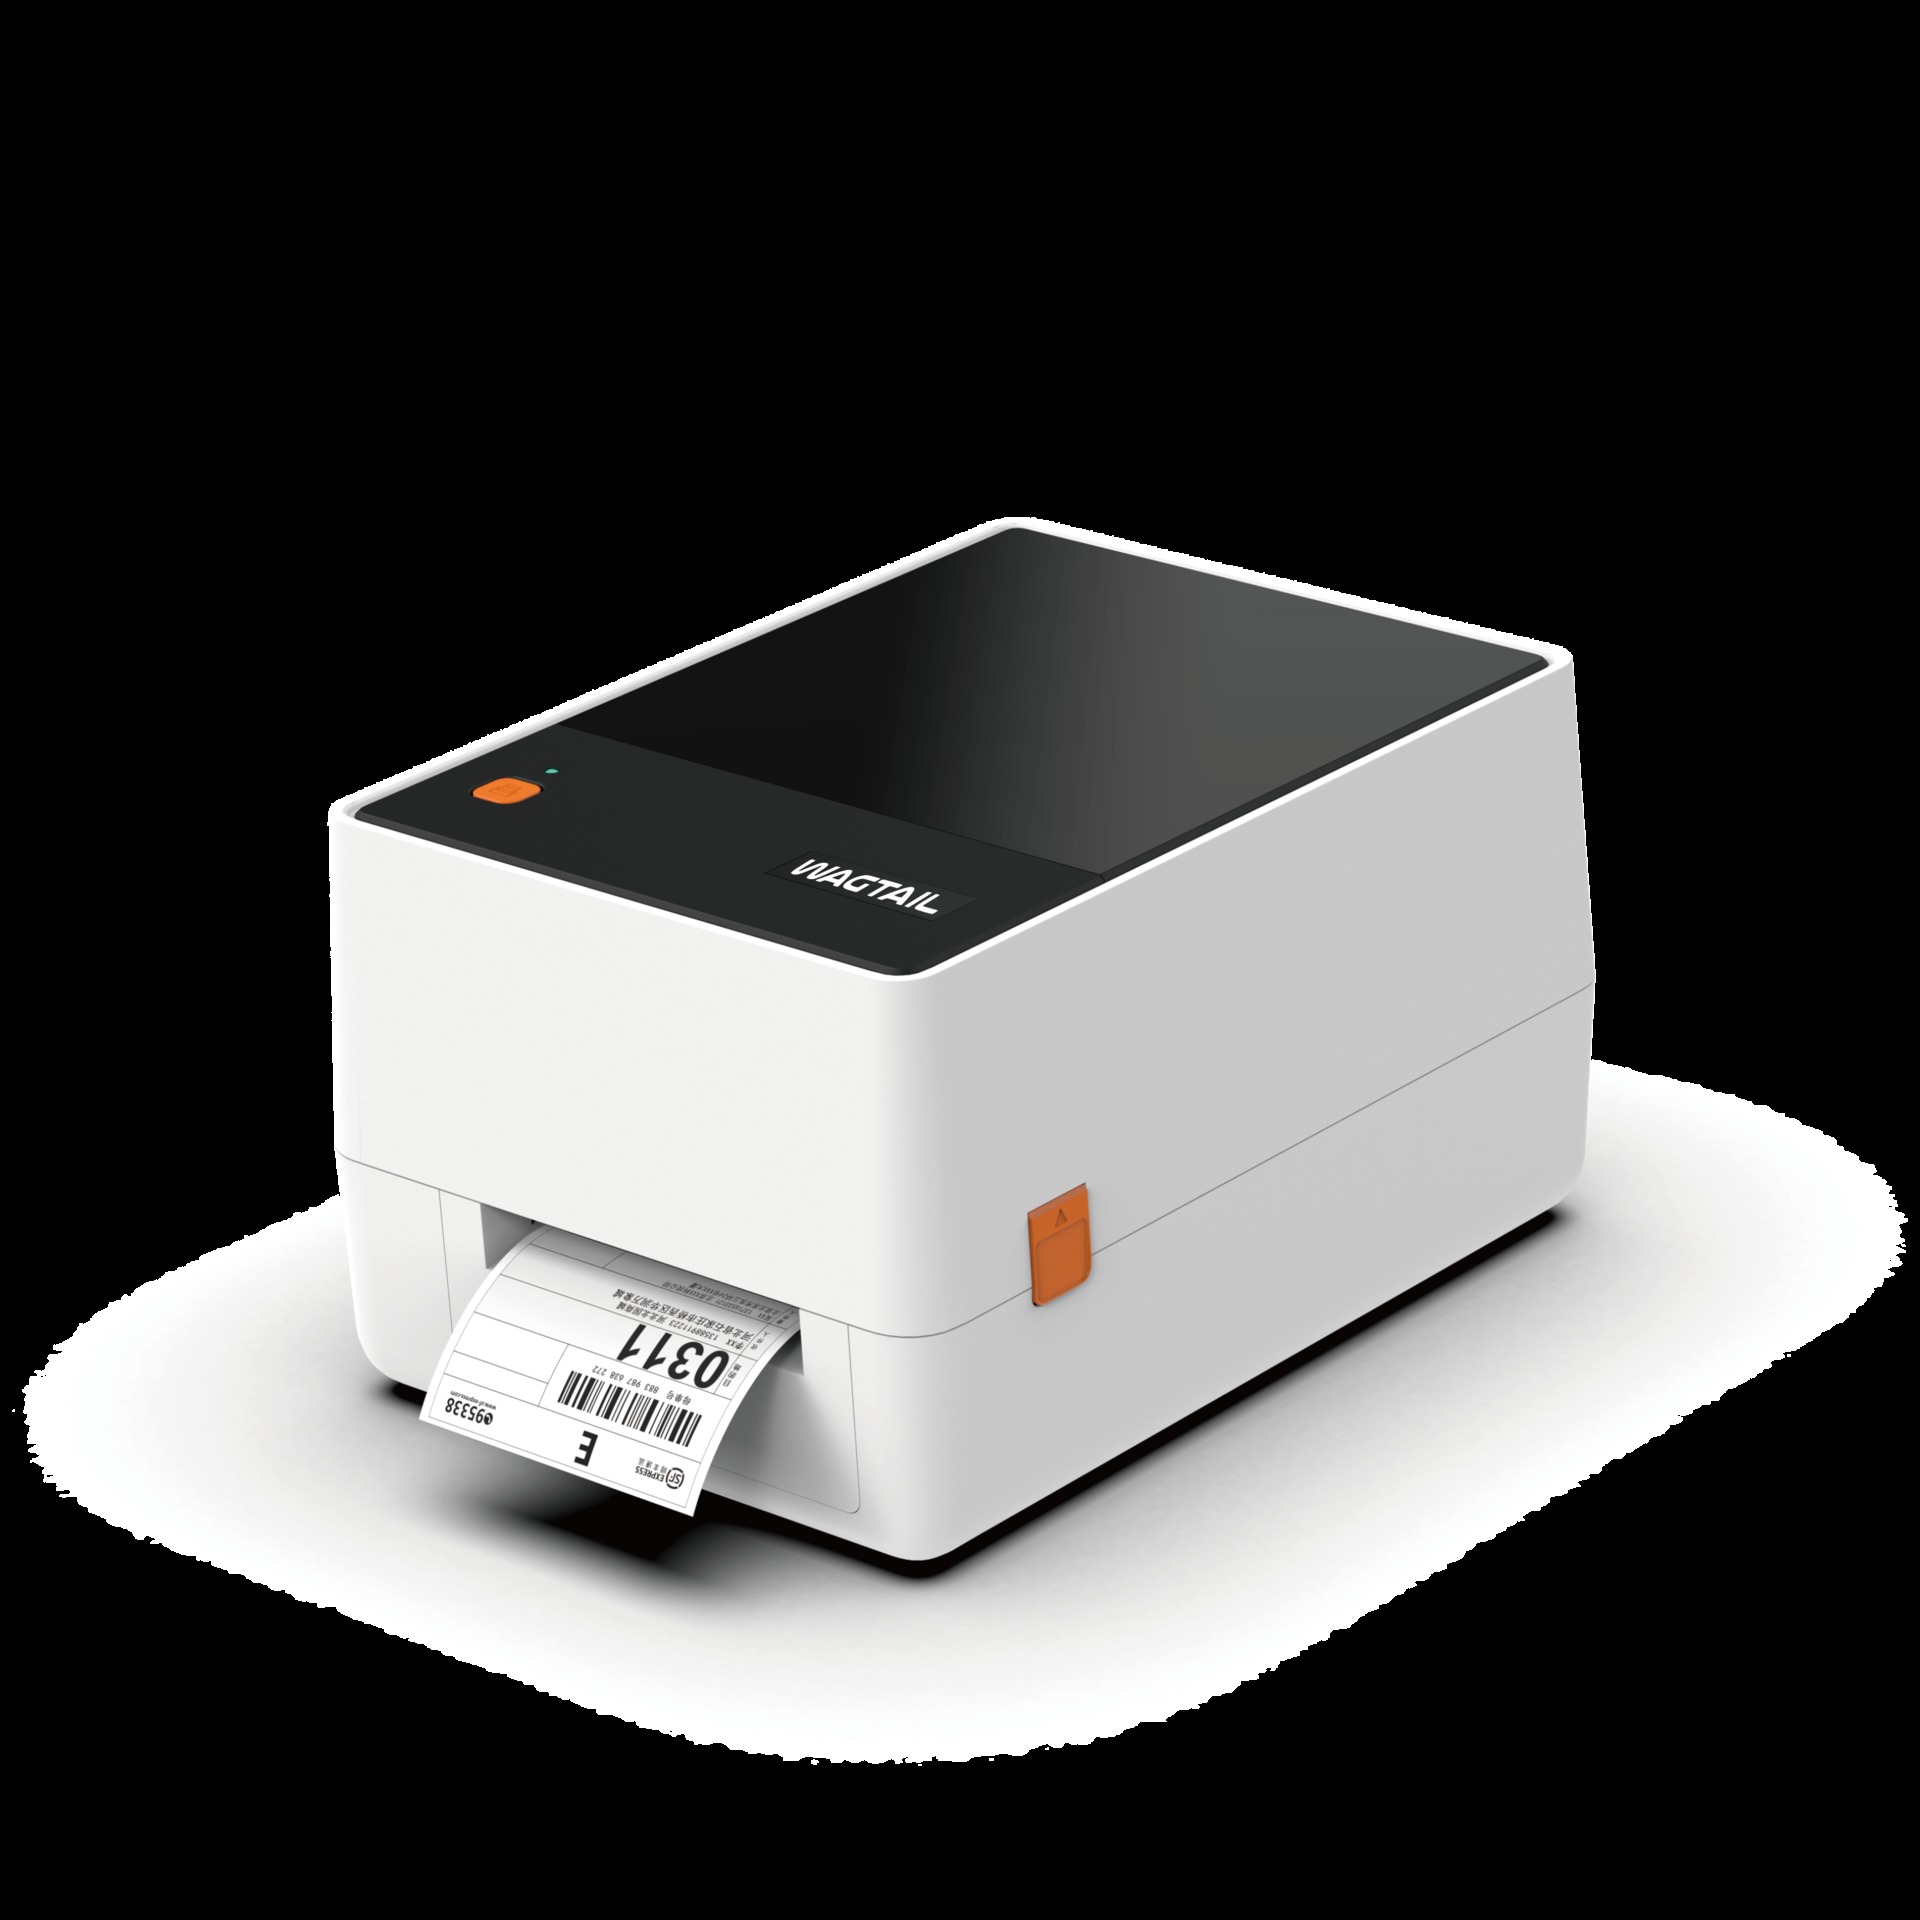
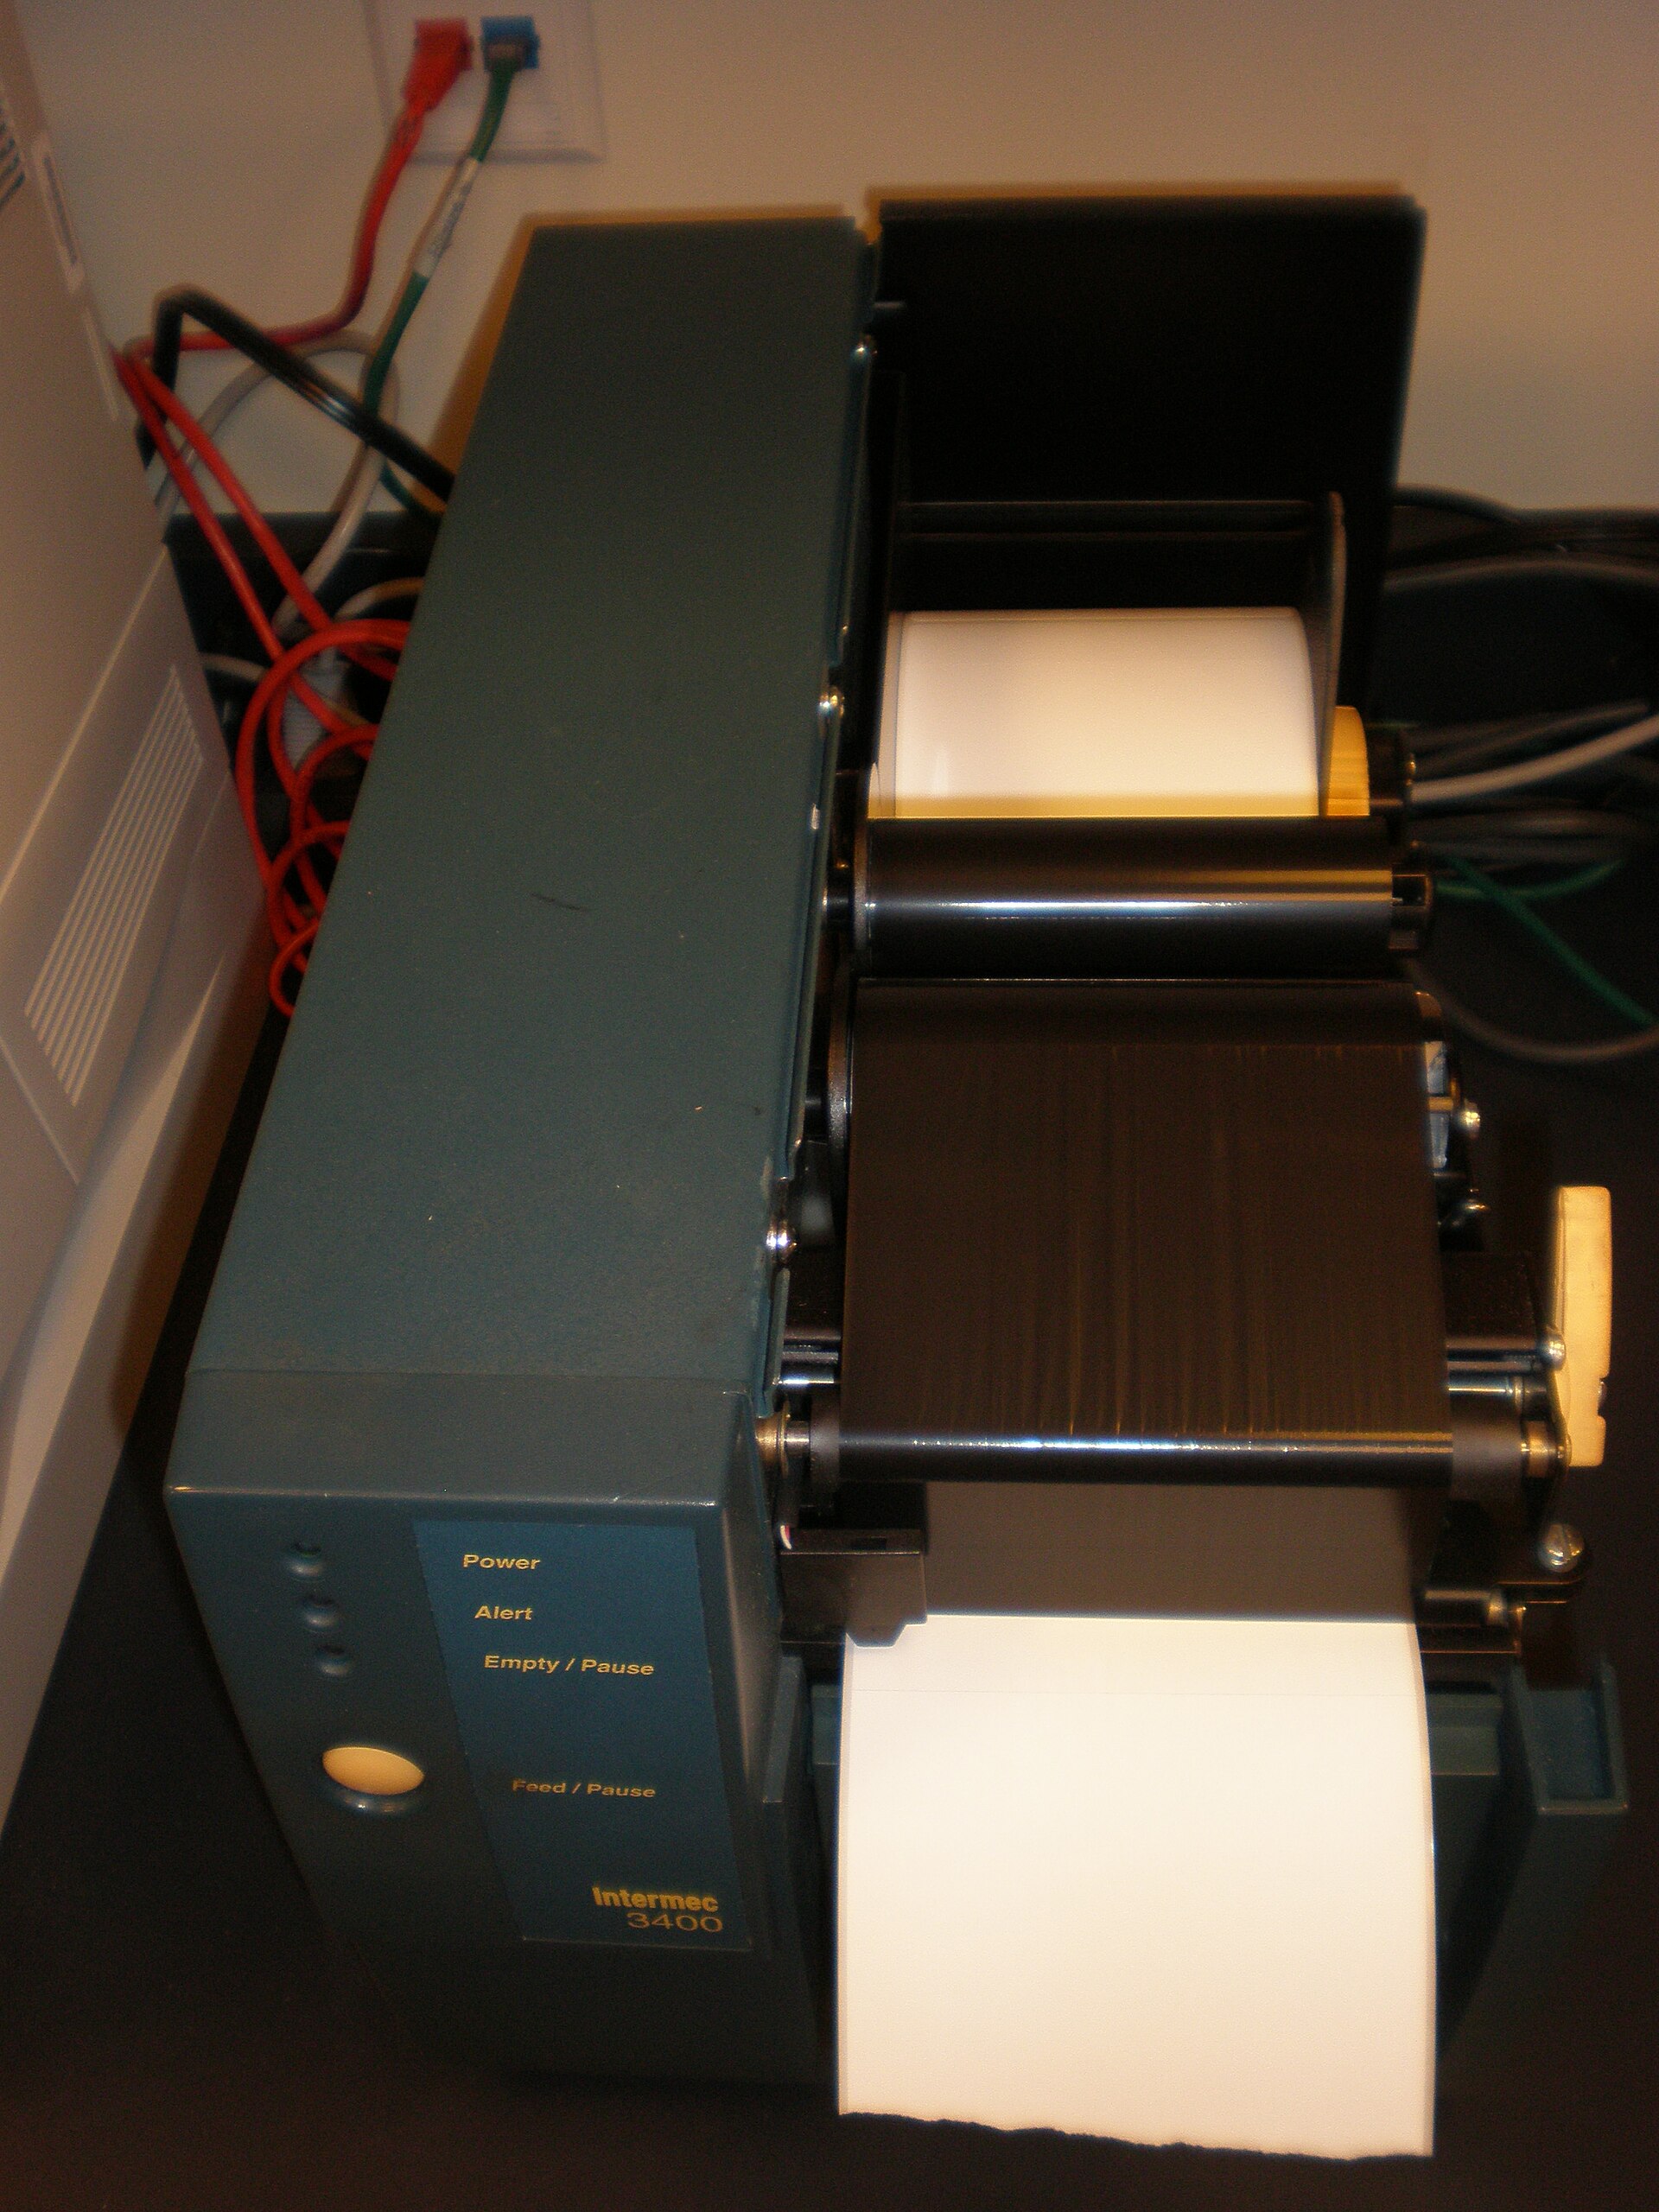
Desktop vs industrial: the two families#
| Item | Desktop | Industrial |
|---|---|---|
| Typical price | $100–400 | $800–2,000+ |
| Print speed | 4–6 inches/sec | 8–12 inches/sec |
| Daily load | A few hundred labels | Thousands, continuous duty |
| Build | Plastic, compact, sits on a packing bench | Metal body, big roll capacity, built for a warehouse floor |
| Best for | Small sellers, one packing station, low volume | 3PLs, multi-station packing lines, peak season |
Rule of thumb: if one packing bench prints under about 500 labels a day, a good desktop printer is enough and easier to move around. If you run several benches, print pallet and case labels all day, or peak season doubles your volume, industrial printers pay for themselves in speed and fewer breakdowns. Many warehouses mix both: industrial at the main packing line, desktop at returns or the office.
How to choose: four checks#
- Daily volume first. Count labels on your busiest day, not your average day. Under ~500/day per station: desktop. Thousands a day or non-stop printing: industrial.
- Max paper width must be at least 4 inches. A printer that only takes 3-inch labels cannot print a standard 4×6 shipping label, no matter how cheap it is.
- Interfaces: USB is fine for one PC. Ethernet lets several packing stations share one printer and survives PC swaps. Wi-Fi is handy but keep the printer close to an access point — a weak signal means half-printed labels. One Docklify-specific hard rule sits above all of this: the printer must speak ZPL — the full supported list is in “Supported printers and scales: what to buy for Docklify” in this section.
- Consumables cost. Compare cost per label, not just machine price: roll size, ribbon price, and whether the brand locks you into its own labels. Bigger rolls also mean fewer mid-shift roll changes.
Printing shipping labels and packing lists at the bench#
At the packing bench, the daily flow is: pack the order, weigh it, print the carrier label, stick it on, hand it to the carrier. In Docklify, that print step lives in the Packing Station (SaaS → WMS → Packing Station): pick the shipment and print its carrier shipping label right there — select the order, print, done. No exporting files, no copy-pasting tracking numbers.
Many retail orders also need a Packing List inside the box. The Packing Station page has a Print Packing List button at the right end of the packing progress row. If the retailer has its own assigned template, Docklify uses that retailer template first; if not, it falls back to the default 4×6 template. The list prints on the same label printer, so staff do not walk to a different machine.
Those templates are maintained in one place: WMS → UCC Templates. There you manage label and packing-list templates and assign a dedicated template to a specific retailer, so every bench prints the same format for that retailer without anyone choosing files by hand.
How a web system reaches a local printer: Device Hub#
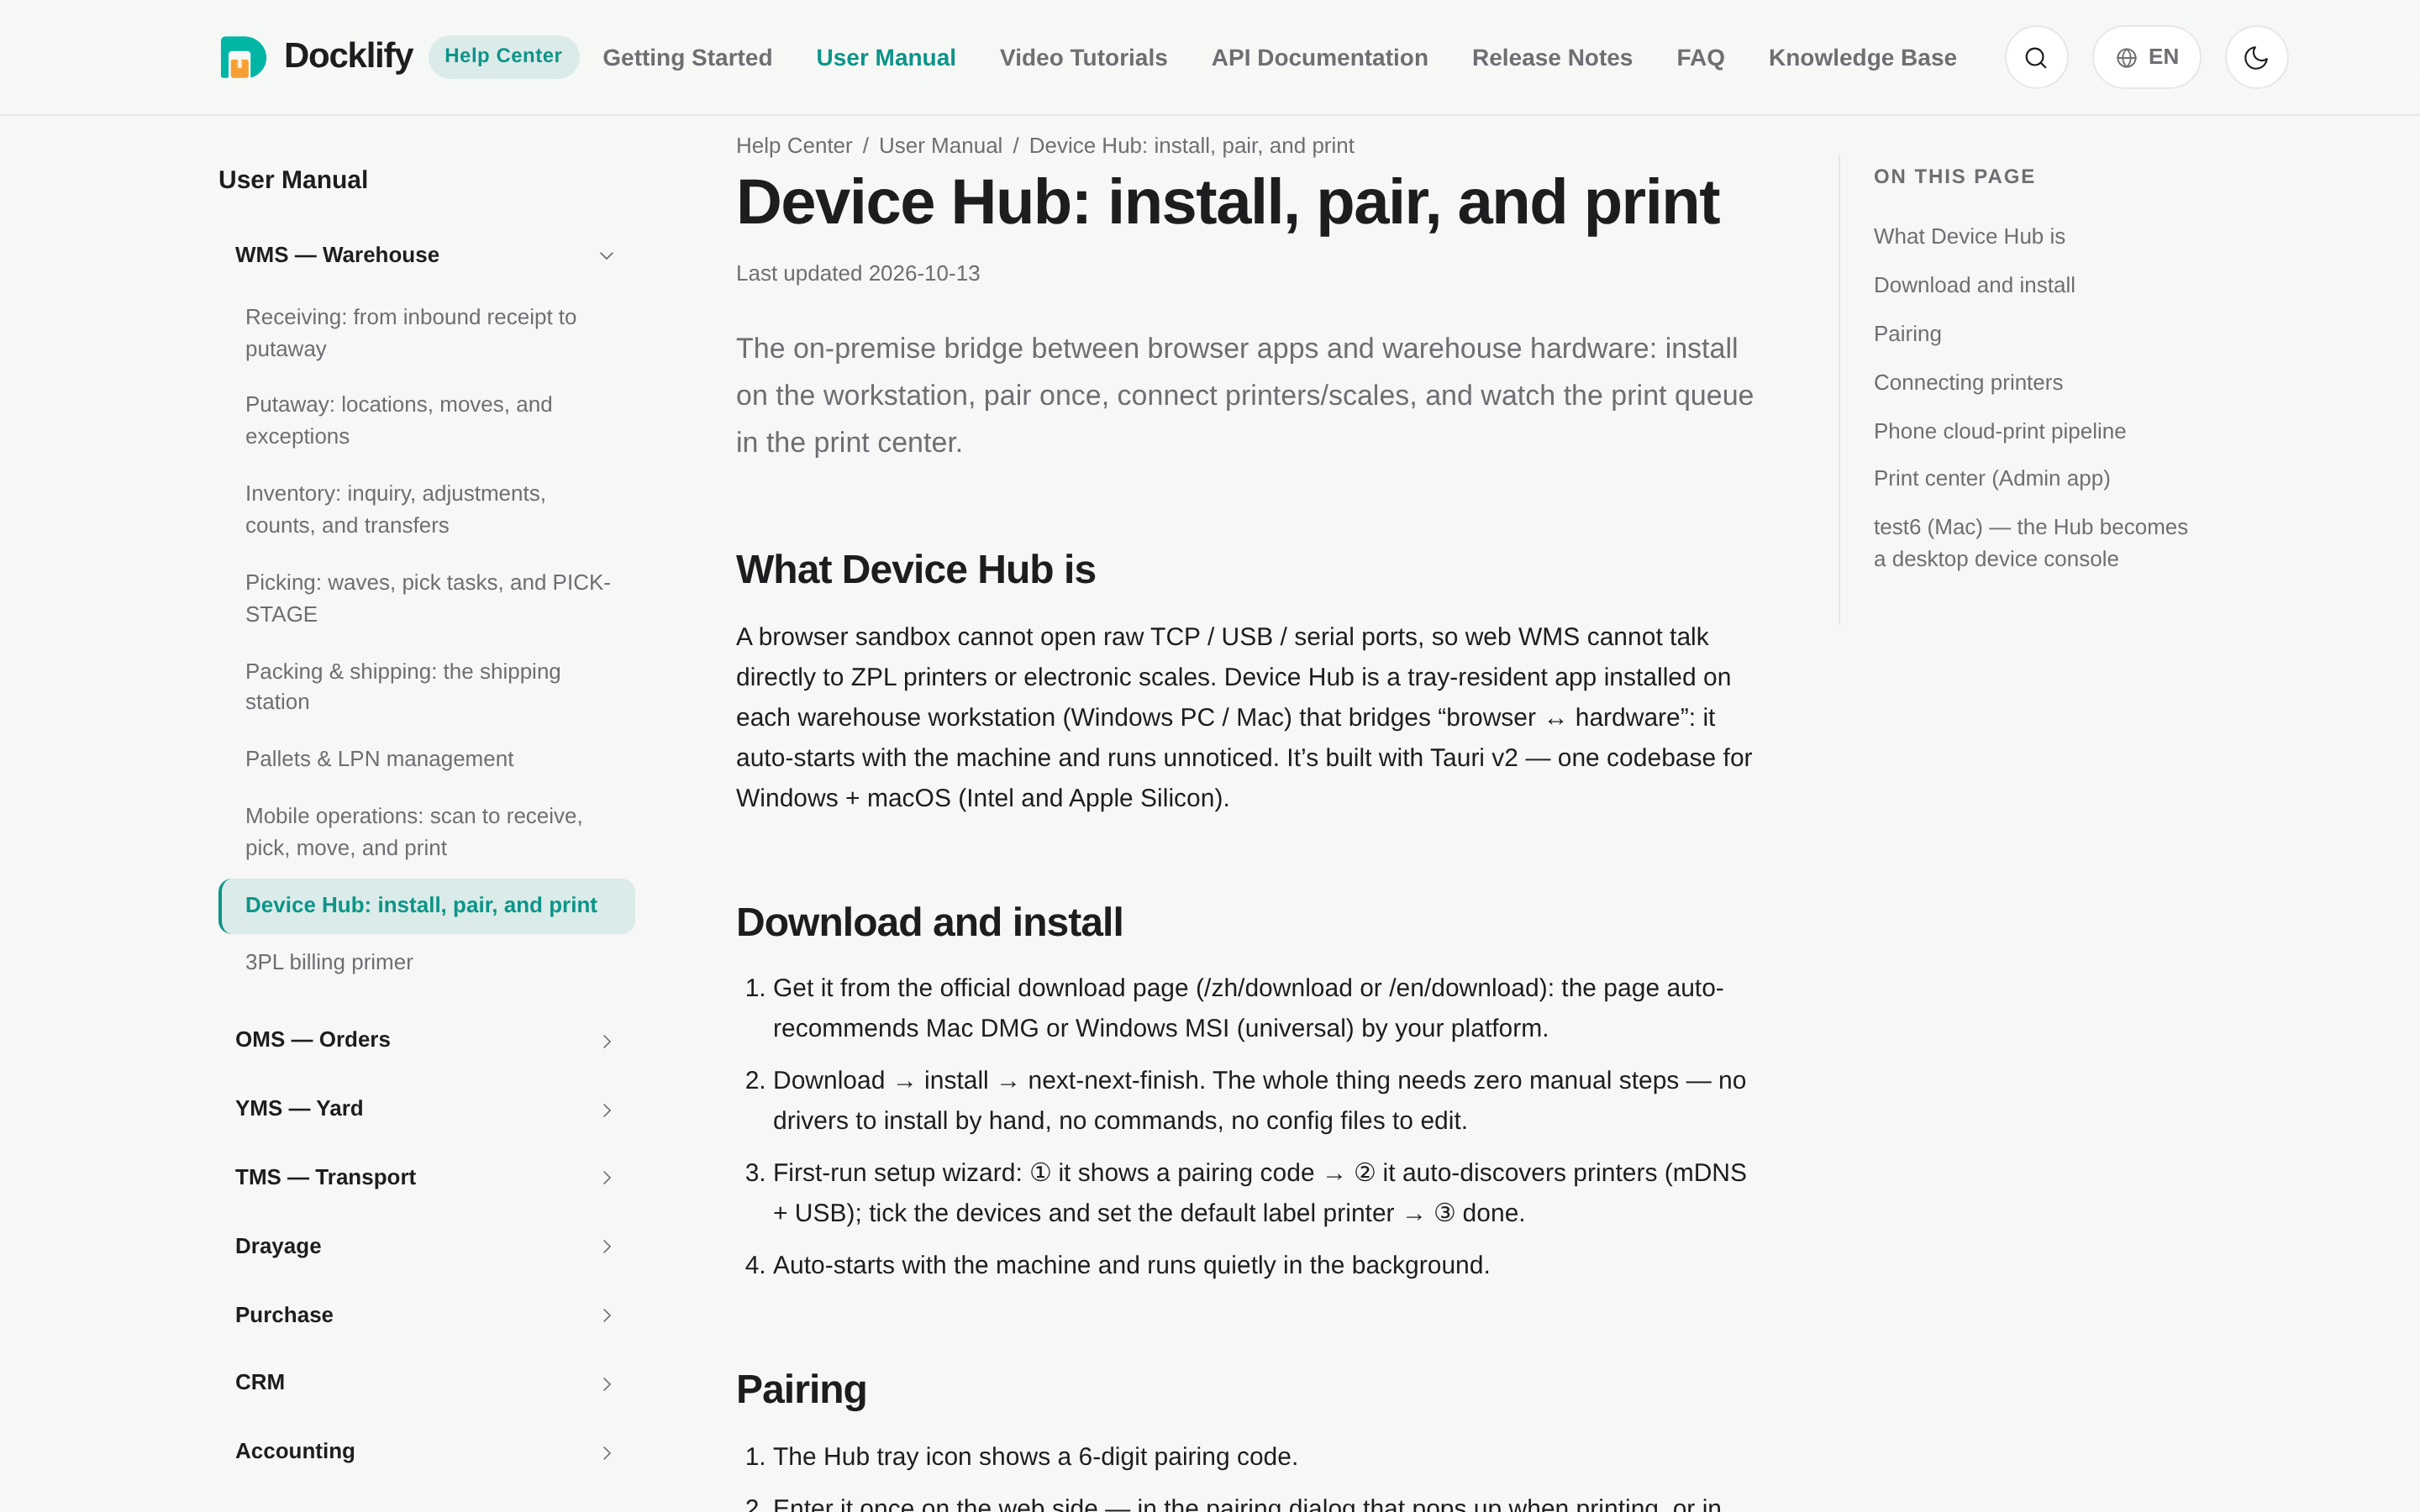
Docklify runs in the browser, but the label printer sits on your desk plugged into a local PC. The bridge is Device Hub: install Device Hub on the packing-bench computer (download page: docklify.com/download), connect the printer (and scales) to that computer, and the web system can print to the local printer through it. Set it up once per bench; after that, printing from Packing Station just works.
Connecting a scale through Device Hub: USB and serial#
Scales come in two connection families. USB (HID) scales just plug in and identify themselves. Serial (RS-232) scales — most bench and platform scales — send their readings as a stream of text or binary frames, and each brand speaks a slightly different dialect. Device Hub handles both: plug the scale into the bench computer, add it once in Device Hub, and the Packing Station can read it through Device Hub — including in browsers that have no Web Serial support.
- Plug the scale into the bench computer and open Device Hub. The Scales section shows scales you already added, and below it the new scales Device Hub just found.
- USB (HID) scale: just click Add on the found scale — there is nothing to configure.
- Serial scale: click Add, then pick the protocol preset that matches your scale. Generic ASCII fits most scales that print their weight continuously; dedicated presets cover Mettler Toledo Continuous, CAS, A&D and NCI (Brecknell/Avery) scales. Keep the suggested port settings (baud rate and friends) unless the scale manual says otherwise, give the scale a name, and save.
- Click Test read, then Live preview: put something on the scale and check the number on screen matches the scale’s own display.
- Set one scale as the default. The Packing Station reads the default scale, so each bench keeps exactly one.
Back in the Packing Station (SaaS → WMS → Packing Station), the Use Hub Scale button next to the weight field becomes available whenever Device Hub is running with a default scale. Click it and readings stream in live; Use Scale Weight takes the number into the package, and the shipment record shows the weight came from the Hub scale. If the button is greyed out, hover over it — it tells you exactly why (Device Hub not running, Device Hub too old, or no default scale set yet).
Common pitfalls#
- Clean the print head regularly — dust and glue residue from labels build up and cause white streaks through barcodes.
- Store label rolls dry, away from windows and heaters. Heat-damaged direct-thermal paper prints grey and fades fast.
- Match label size to the job: 4×6 for shipping, smaller for products. Printing a 4×6 design scaled down onto small labels is a classic cause of unscannable barcodes.
- Keep one spare printer (or at least a spare print head and rolls) at the main bench. Peak season is the worst time to discover you have no backup.
Docklify features used in this article#
- Print carrier shipping labels — SaaS → WMS → Packing Station
- Print Packing List (retailer template first, default 4×6 fallback) — SaaS → WMS → Packing Station
- Label / packing-list templates per retailer — SaaS → WMS → UCC Templates
- Local printing via Device Hub — install from docklify.com/download, manage in Device Hub
- Scales via Device Hub — USB and serial scales, protocol presets, test read and live preview, default scale — managed in Device Hub
- Location and pallet (LPN) barcode labels — SaaS → WMS → Locations / Pallets