Racking types compared: selective, drive-in, push-back, flow, cantilever and shelving
Six racking types in one table — what each one stores, how dense it is, whether it can do first-in-first-out, how easy picking is and what it roughly costs — then a plain-language walk-through of each type and how to mix them in one warehouse.
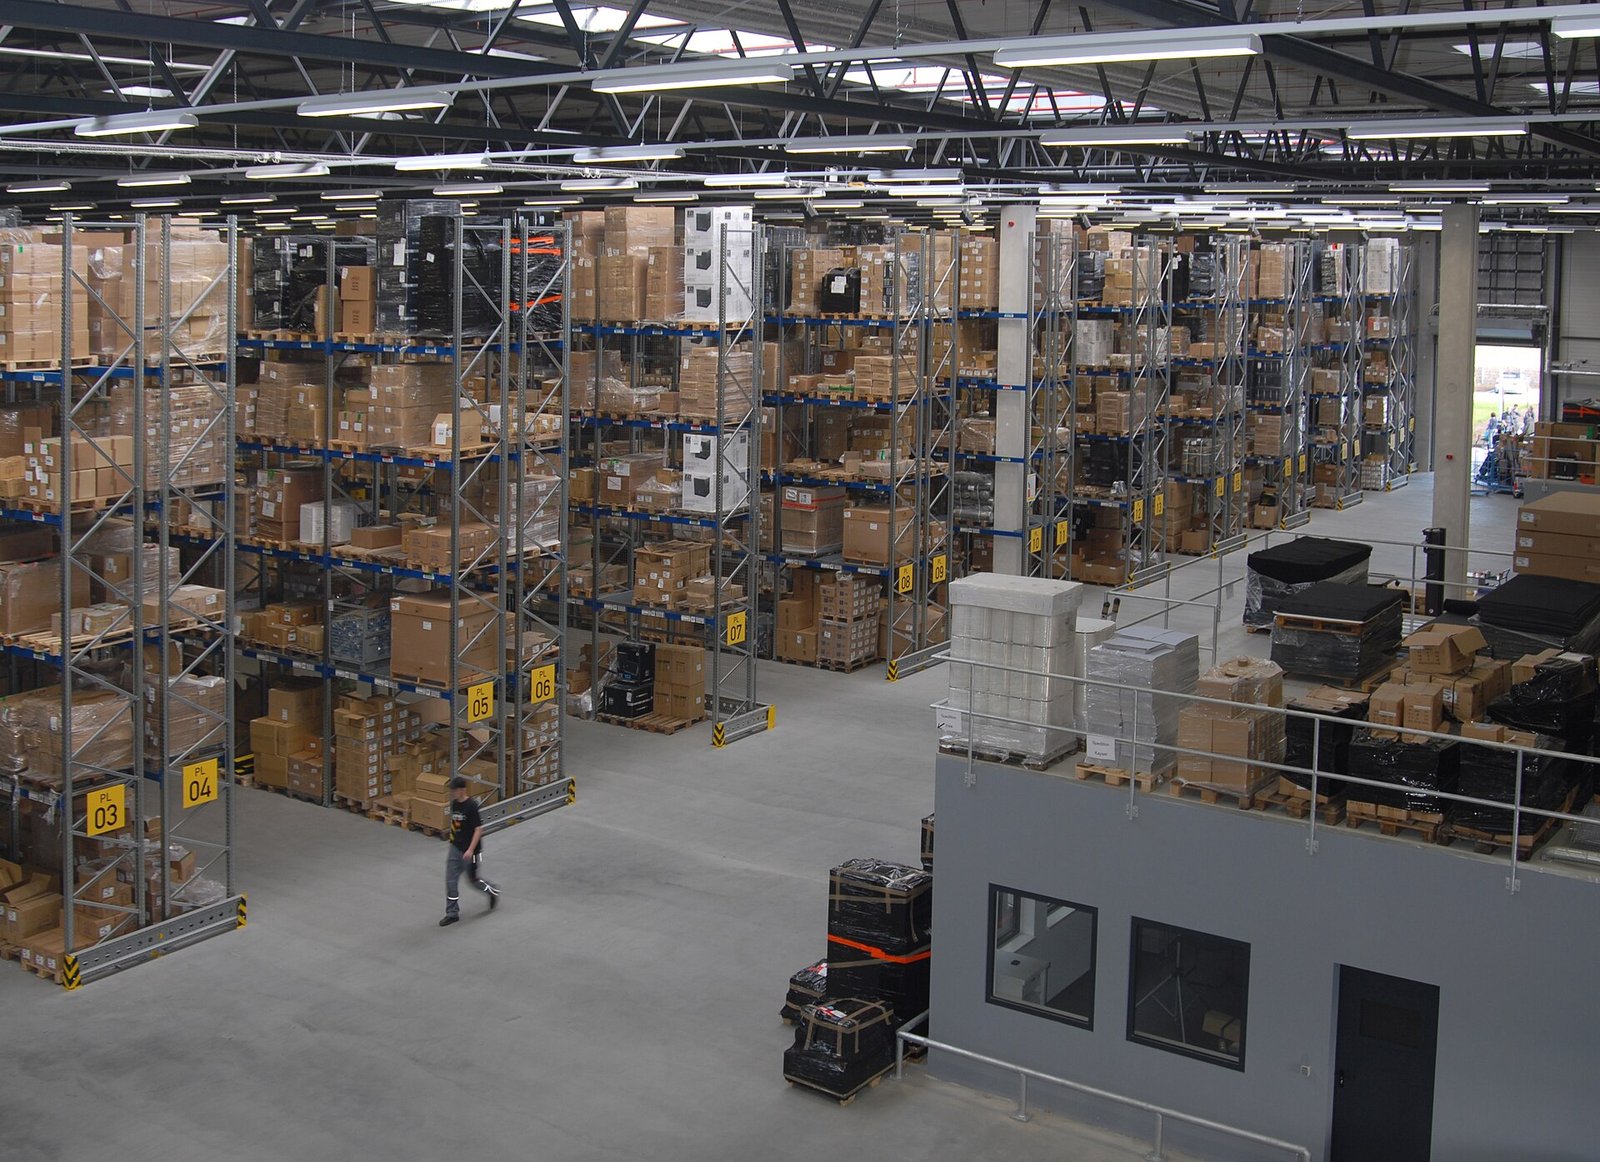
Racking is the steel skeleton of a warehouse. The building gives you a floor and a roof; the racking decides how many pallets actually fit, how fast people can get at them, and whether the oldest stock comes out first or gets buried. Pick the wrong type and you do not notice it on installation day — you notice it every day for the next ten years, in extra forklift trips, blocked lanes and stock you cannot reach.
Before comparing types, answer three questions about your goods. First: what does a unit look like — full pallets, cartons, or long and awkward pieces like pipes and boards? Second: how many different products (SKUs) versus how many pallets of each — a hundred pallets of one drink is a completely different problem from ten pallets each of a hundred spare parts. Third: does the goods’ age matter — food, drink, batteries and anything with an expiry date must come out in the order it went in (first in, first out, FIFO), while steel pipe does not care.
In Docklify you can model the racking before a single upright is bolted down: in WMS → Locations you create locations for every bay and level (code, Location Type, warehouse, and dimensions where you use them), so the layout you are pricing in steel is the same layout the system will later send pickers to. Planning the rack and planning the location codes are the same job — do them together, not one after the other.
The six types in one table#
| Type | Best for | Density | FIFO? | Picking access | Rough price level |
|---|---|---|---|---|---|
| Selective (beam) | Mixed pallets, many SKUs | Low–medium: every pallet needs an aisle face | Yes — any pallet, any order | Easiest — walk up and take it | Lowest per level of the pallet racks |
| Drive-in | Many pallets of the same SKU, cold stores | High: lanes replace aisles | No — last in, first out per lane | Slow — truck drives into the lane | Low per pallet stored |
| Push-back | A few SKUs, 2–4 pallets deep per lane | Medium–high | No — last in, first out per lane | Good — every lane faces the aisle | Medium–high (carts on rails) |
| Flow (gravity) | Fast movers, cartons and expiry-date goods | Medium–high, and the pick face stays full | Yes — strict FIFO by design | Very good at the pick face; load from the back | High (roller lanes) |
| Cantilever | Long goods: pipe, timber, board, bar | Low in pallets, unbeatable for length | Yes — each arm level is open | Good for long pieces with a forklift | Medium (heavy steel arms) |
| Shelving | Small parts, cartons, hand picking | High for small goods (many shelf levels) | Yes — every bin is reachable | Easiest of all — by hand, no truck | Lowest of all (light steel) |
Selective (beam) racking: the default answer#
Two uprights and a pair of orange beams per level: that is the whole idea. Every pallet sits on beams facing an aisle, so a forklift can take any pallet in any order — hence the name selective. It is the cheapest pallet rack to buy, the easiest to reconfigure (beams unclip and move to a new height in minutes), and the only common type where one broken pallet never blocks the nine behind it. If you do not have a clear reason to choose something else, this is what you choose.
The price of that freedom is floor space: every row needs its own aisle face, so selective racking stores the fewest pallets per square metre of the pallet systems. It also puts one pallet per position — a bay holding one slow SKU wastes the same steel as a bay holding your best seller. The standard fix is not a different rack but a layout: selective for the many-SKU working stock, and one of the denser types below for the few SKUs you hold by the hundreds of pallets.
Drive-in racking: density at the price of order#
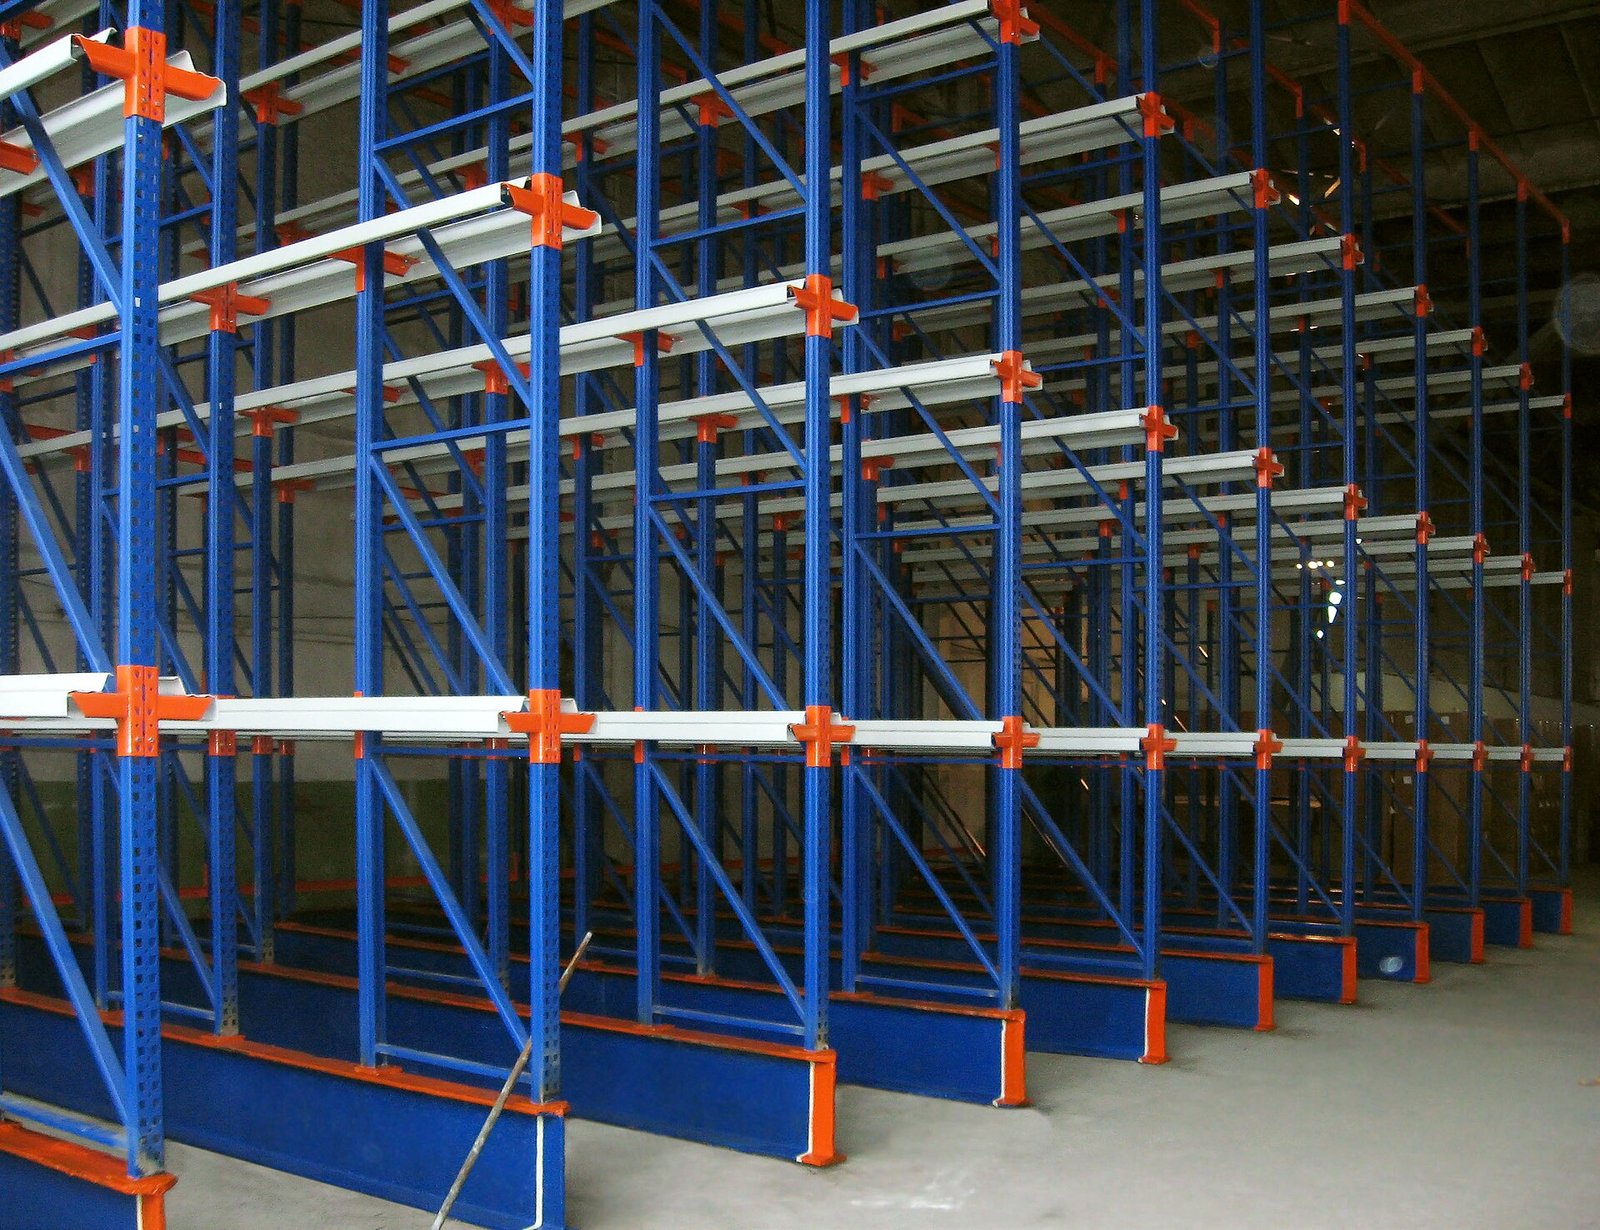
Drive-in removes the beams across the front and replaces most aisles with deep lanes. The forklift drives into the lane itself and places pallets on rails, one behind the next — four, six, sometimes ten deep. Floor usage jumps because lanes do the work of aisles. The catch is written into the geometry: the pallet you can reach is the last one you put in. Drive-in is last-in-first-out (LIFO), lane by lane, so one lane must hold one SKU and ideally one production batch. Fill a lane with mixed dates and the oldest pallet sits at the back until the lane empties — which, for expiry goods, is exactly the failure you bought racking to avoid.
Where drive-in earns its keep: cold and freezer stores, where every cubic metre is refrigerated and expensive, and drinks or ingredients held in large single batches. Driving into a lane is slow and the rails take knocks, so budget for lane guides, upright protectors and honest driver training — a bent rail deep inside a lane is a lane out of service.
Push-back racking: drive-in’s easier-going cousin#
Push-back keeps the depth but removes the driving-in. Each lane has small wheeled carts on slightly sloped rails. The forklift stays in the aisle, pushes the first pallet in, and each new pallet pushes the ones behind it deeper; take the front pallet away and the rest roll gently forward to the face. Two to four pallets deep is the practical range. Every lane still faces the aisle, so picking is far faster than drive-in and the truck never enters the rack — but it is still LIFO per lane, and the carts and rails make it cost more than selective. Use it for a handful of SKUs held a few pallets deep each, where drive-in depth would strand dates but selective would waste the floor.
Flow racking: gravity does the FIFO for you#
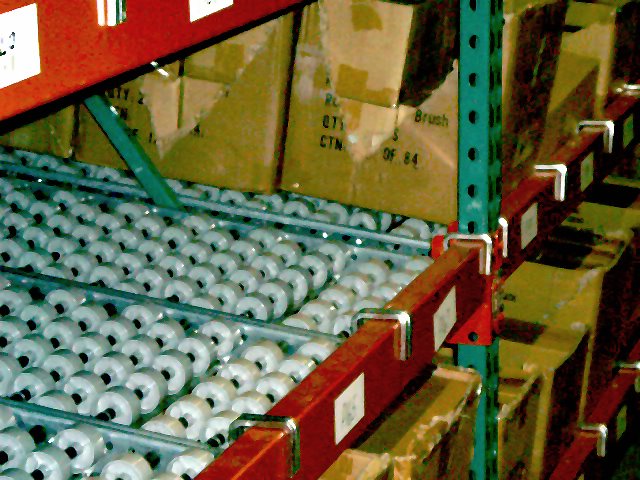
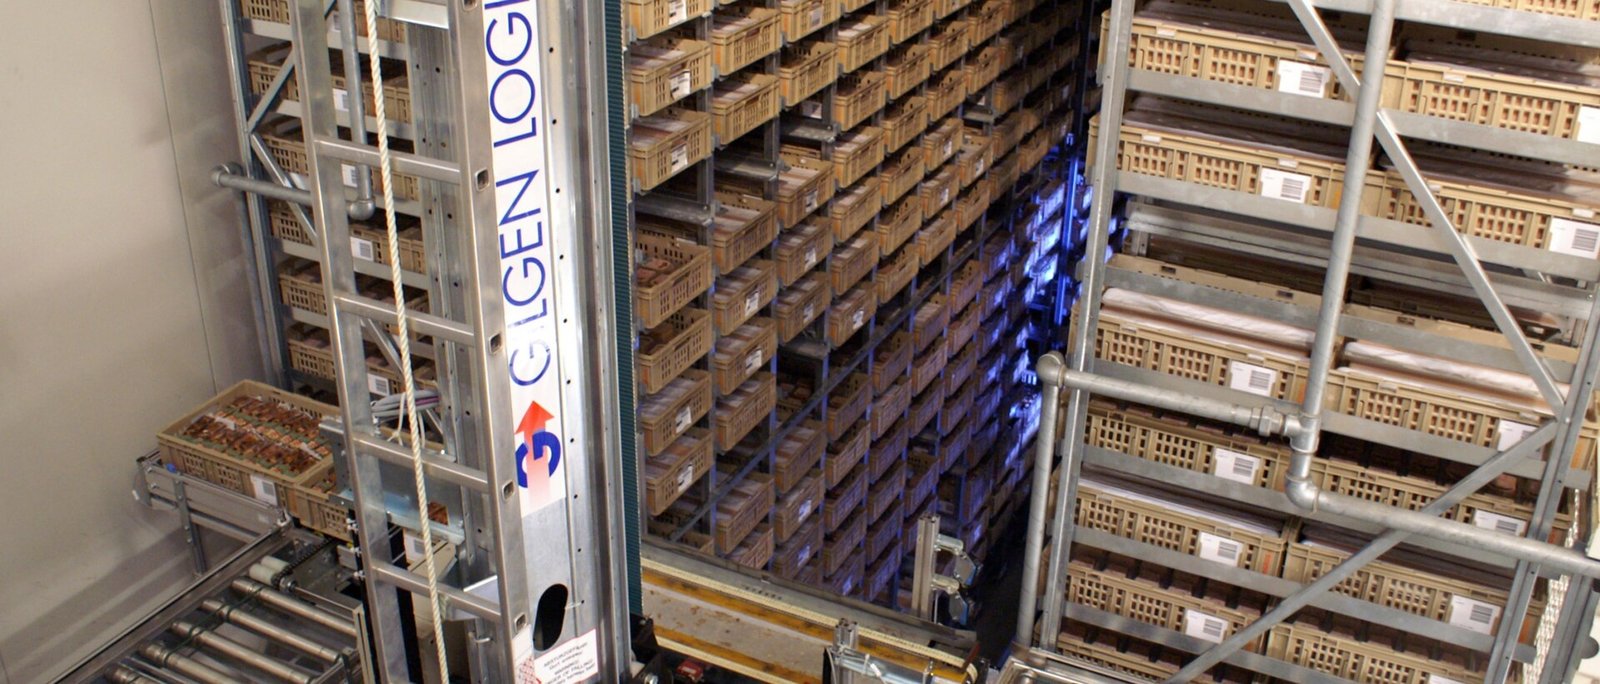
Flow racking tilts the shelf. Pallets or cartons are loaded from the back aisle onto roller lanes and glide forward as the front unit is taken, so the face is always full and the first unit in is always the first unit out — FIFO enforced by physics, not by discipline. Pallet-flow lanes serve heavy, fast, date-sensitive pallet goods; carton-flow shelves (the photo) serve piece picking, where a picker walks a face of cartons that restock themselves from behind. The costs: roller lanes are the most expensive way to hold a pallet, lane depth is fixed once built, and one crushed carton can jam a whole lane.
In Docklify, a flow lane’s pick face is a picking location and its back end is fed from storage: set the face up as a picking location in WMS → Locations, and when it runs low, replenishment tasks (WMS → Replenishment tasks) bring the next pallet or cartons forward from the storage location holding the reserve. That split — picking face in front, reserve behind — is the system mirror of how the steel works.
Cantilever racking: for goods longer than a pallet#
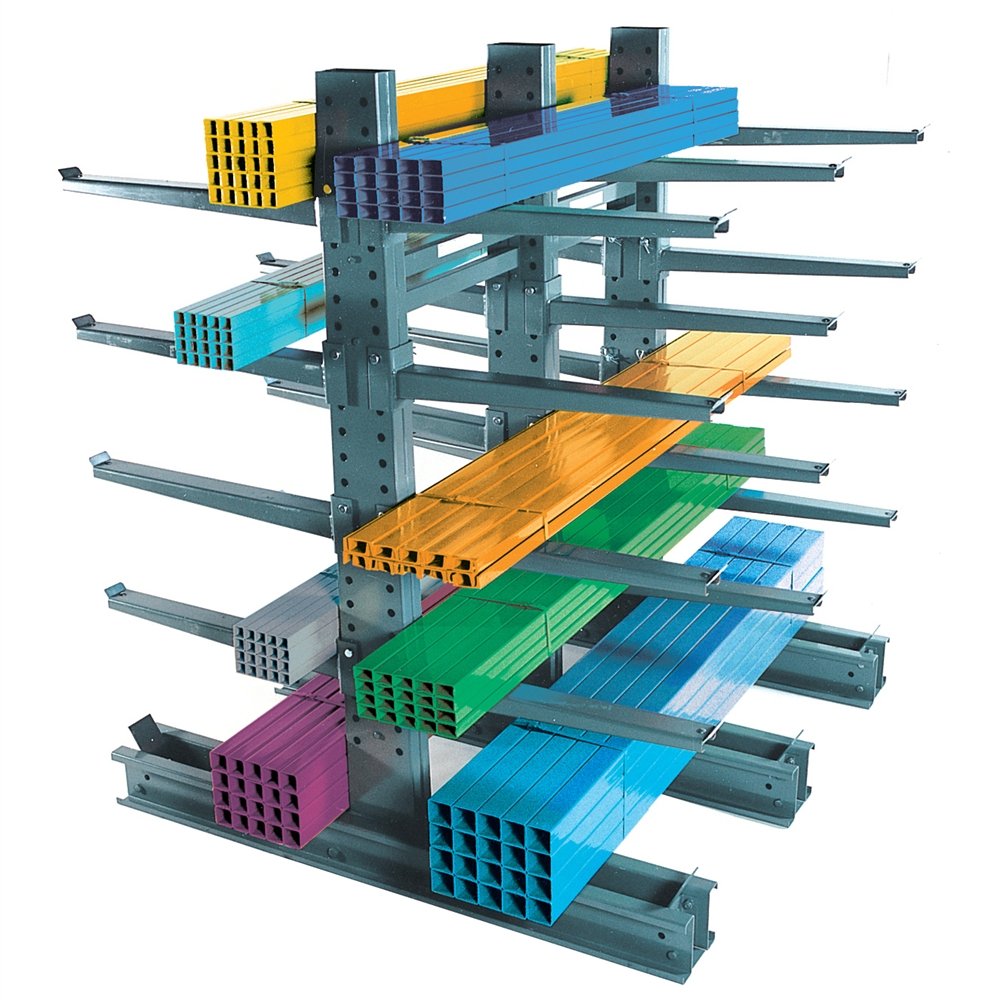
Pipes, timber, steel bar, sheet board, carpet rolls: none of these sit happily on a 1.2 m pallet, and forcing them into beam racking wastes half of every level. Cantilever racking answers with arms: a strong central column, horizontal arms jutting out, and no front uprights to limit length. A forklift approaches from the side and lays a six-metre bundle down along four arms at once. Watch the limits: each arm has a rated load and long goods sag between arms if the spacing is wrong, so arm spacing is set by the shortest, floppiest product you store — not the longest.
Shelving: where small goods live#
Shelving swaps beams for flat shelf boards and pallets for bins and cartons. Levels are close together, loads are light, and everything is picked by hand — no forklift enters a shelving aisle. It is the cheapest storage in this whole article per location, and for e-commerce spare parts, phone cases, fittings and samples it is not a compromise but the correct tool: a picker should be able to see, reach and count the goods without a machine. Shelves go wrong when people store heavy cartons on light boards rated for a fraction of the load, or when shelf levels are set so tall that the top third of every level is air.
The rack type and the system location type should tell the same story. In Docklify, tall beam levels holding whole pallets are storage locations, while shelving bins and flow faces that people pick from are picking locations (WMS → Locations, Location Type field). Keeping that mapping honest is what lets put-away rules send full pallets up high and picking tasks walk the shelf rows — the software is following the same logic the steel already enforces.
Mixing types in one warehouse#
Real warehouses are almost never one type. A common, sane layout: selective racking as the general working store; a block of drive-in or push-back for the two or three SKUs that arrive by the truckload; a flow or shelving pick zone near packing for the small fast movers; and a cantilever row along a wall for the long goods that fit nowhere else. Each block is sized from its own numbers — pallets per SKU, picks per day, date sensitivity — not from a catalogue photo. Before ordering steel, walk the layout in WMS → 3D Warehouse, where the racking is laid out at real size and locations can be found by code, zone and type; a block that looks generous on a brochure shrinks fast when the columns and cross-aisles appear.
Selection checklist#
- Count pallets per SKU, not just total pallets. Averages lie: 5,000 pallets over 5 SKUs wants density; 5,000 pallets over 2,000 SKUs wants selective access.
- Decide whether FIFO is a wish or a rule. If dates are audited — food, pharma, batteries — rule out LIFO types for those goods entirely, however cheap the pallet position looks.
- Match the rack to the truck you actually own. Drive-in and dense lanes punish sloppy driving and odd pallet sizes; mixed-quality pallets jam flow lanes.
- Price per pallet position, not per tonne of steel. A cheap rack that stores 20% fewer pallets is the expensive rack.
- Leave the layout one block of room to change. Goods mix changes faster than steel does; a warehouse that is 100% one exotic type has bet the building on today’s catalogue.
Docklify features used in this article#
- Create locations per rack and level — WMS → Locations → New location: code, Location Type (picking / storage / staging / dock), Warehouse, plus dimensions where you use them.
- Location types mirror rack types — high beam levels holding whole pallets are storage locations; shelving bins and flow pick faces are picking locations.
- Replenishment tasks — WMS → Replenishment tasks: when a picking face (flow lane, shelf bin) hits its low-water level, a task brings stock forward from the storage location holding the reserve.
- 3D warehouse view — WMS → 3D Warehouse: lay the racking blocks out at real size before ordering steel; locate and highlight by code, zone and type.
- Bulk import locations — WMS → Locations → Import: build a whole rack block of locations from an Excel template in one upload.