Functional areas: what each zone of a warehouse is for
Receiving, QC, storage, picking, consolidation, packing, staging, returns, office and equipment: where each area belongs, what it does, how much space it needs in a 3,000 sqm e-commerce warehouse, and which areas must never be merged.
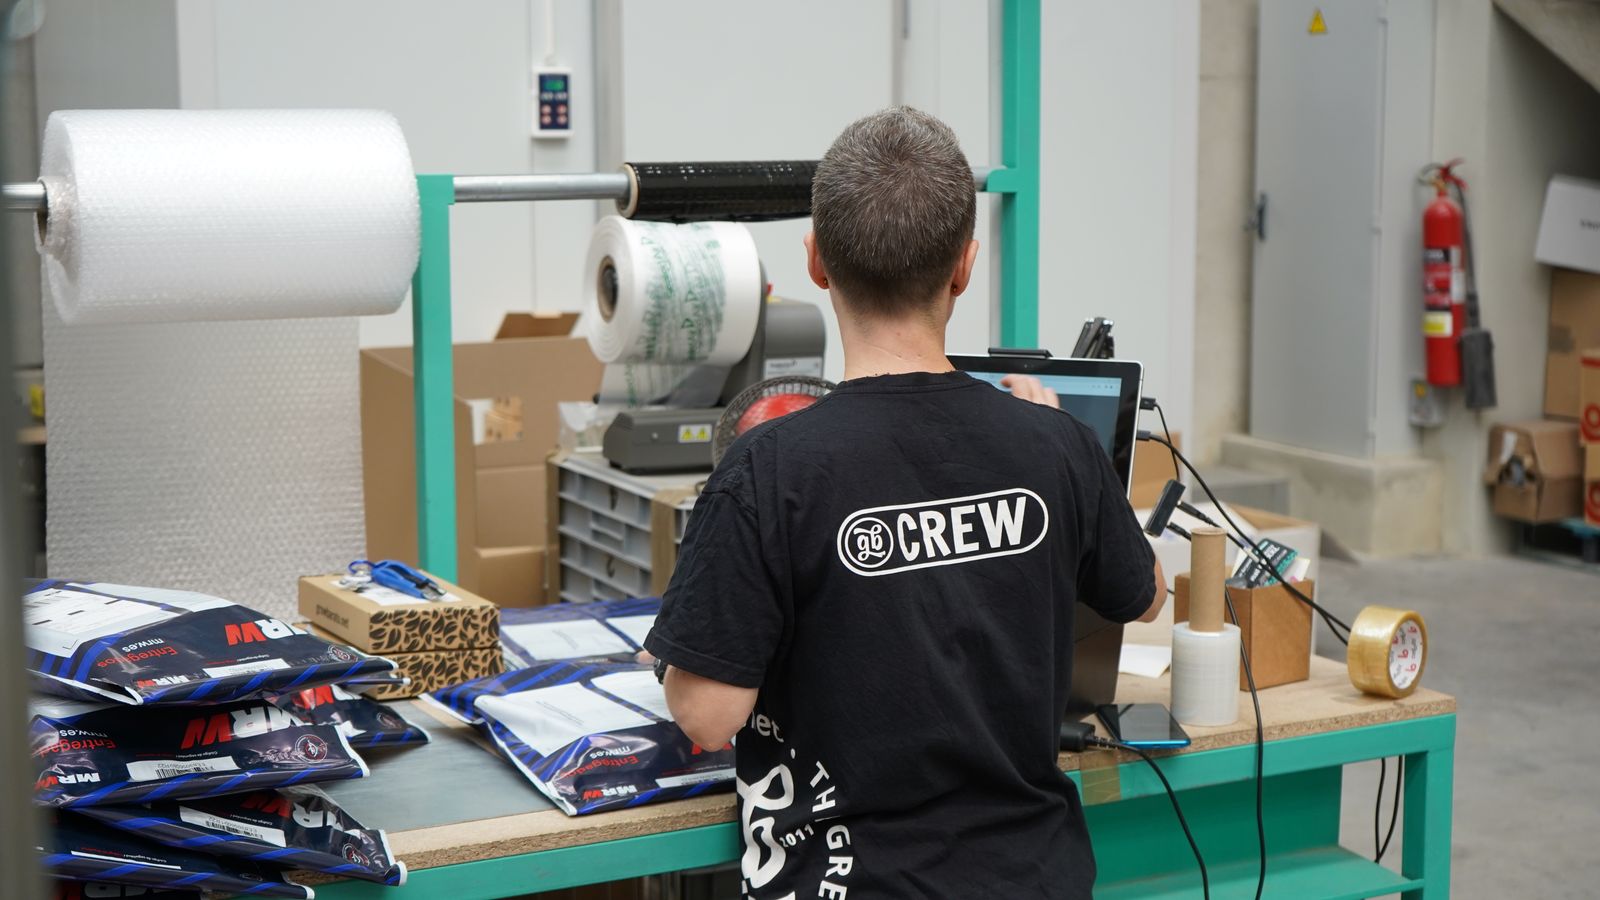
Why divide a warehouse into areas at all? Because goods, orders and people each need their own place. Without areas, inbound pallets block outbound parcels, picked items wait wherever there is floor, and every search starts with walking the whole building. An area is simply a promise: this kind of work happens here, this kind of goods sleeps here. Walk through the nine areas below in flow order — receiving to shipping, plus returns and support.
The areas, in flow order#
Receiving area — in front of the inbound dock doors
Position: directly inside the receiving dock doors. Job: unload, count, and hold goods briefly before QC. Size rule: reserve floor space for one full truckload of your largest regular delivery — a 40-foot container of cartons needs roughly 60–80 sqm of clear floor once unloaded and spread for counting. It sits next to the QC area on one side and a forklift path into storage on the other. If receiving routinely borrows floor from staging, the area is too small, not the team too slow.
This physical split has a mirror in the system: functional areas and physical sections are expressed as Zones in Docklify — every WMS location carries a zone attribute, and zone picking splits pick tasks by zone, so the floor plan and the task plan describe the same warehouse.
QC area — a small room-sized corner next to receiving
Position: attached to receiving, never across the warehouse. Job: sampling checks, damage inspection, and holding problem goods in a fenced or floor-marked quarantine strip. Size: small — 10–20 sqm is enough for most sites, with one bench, good light, and shelf space for samples. It must sit between receiving and storage on the flow line: goods pass QC before they earn a storage location, with no detour.
Storage area — the body of the warehouse
Position: the middle and the bulk of the building, racks or bulk floor stacks. Job: hold all sellable stock, from whole pallets up high to reserve cartons down low. Size: by far the largest area — typically 55–65% of total floor including its own aisles. It neighbors putaway routes from receiving on one side and the picking area on the other; forklifts do the vertical work here, people mostly do not walk here except for counts.
Not every difference between storage spots is physical. Cold rooms, hazmat, high-value cages and food-grade sections are functional attributes layered on top of locations. In Docklify those are Location Groups (WMS → Location Groups): a group carries the compliance rules, and one location can belong to several groups at once — cold and high-value, for example — while its physical zone stays single.
Picking area — small items at hand height, near packing
Position: the storage face closest to packing, usually shelving with bins for small items, plus the ground-level rack bays for fast movers. Job: hold the active pick faces — a working quantity of each hot SKU, refilled from reserve storage behind or above. Size: modest floor, high visit frequency; what matters is not square meters but seconds per pick. It sits between storage and consolidation, on the shortest possible walk to packing.
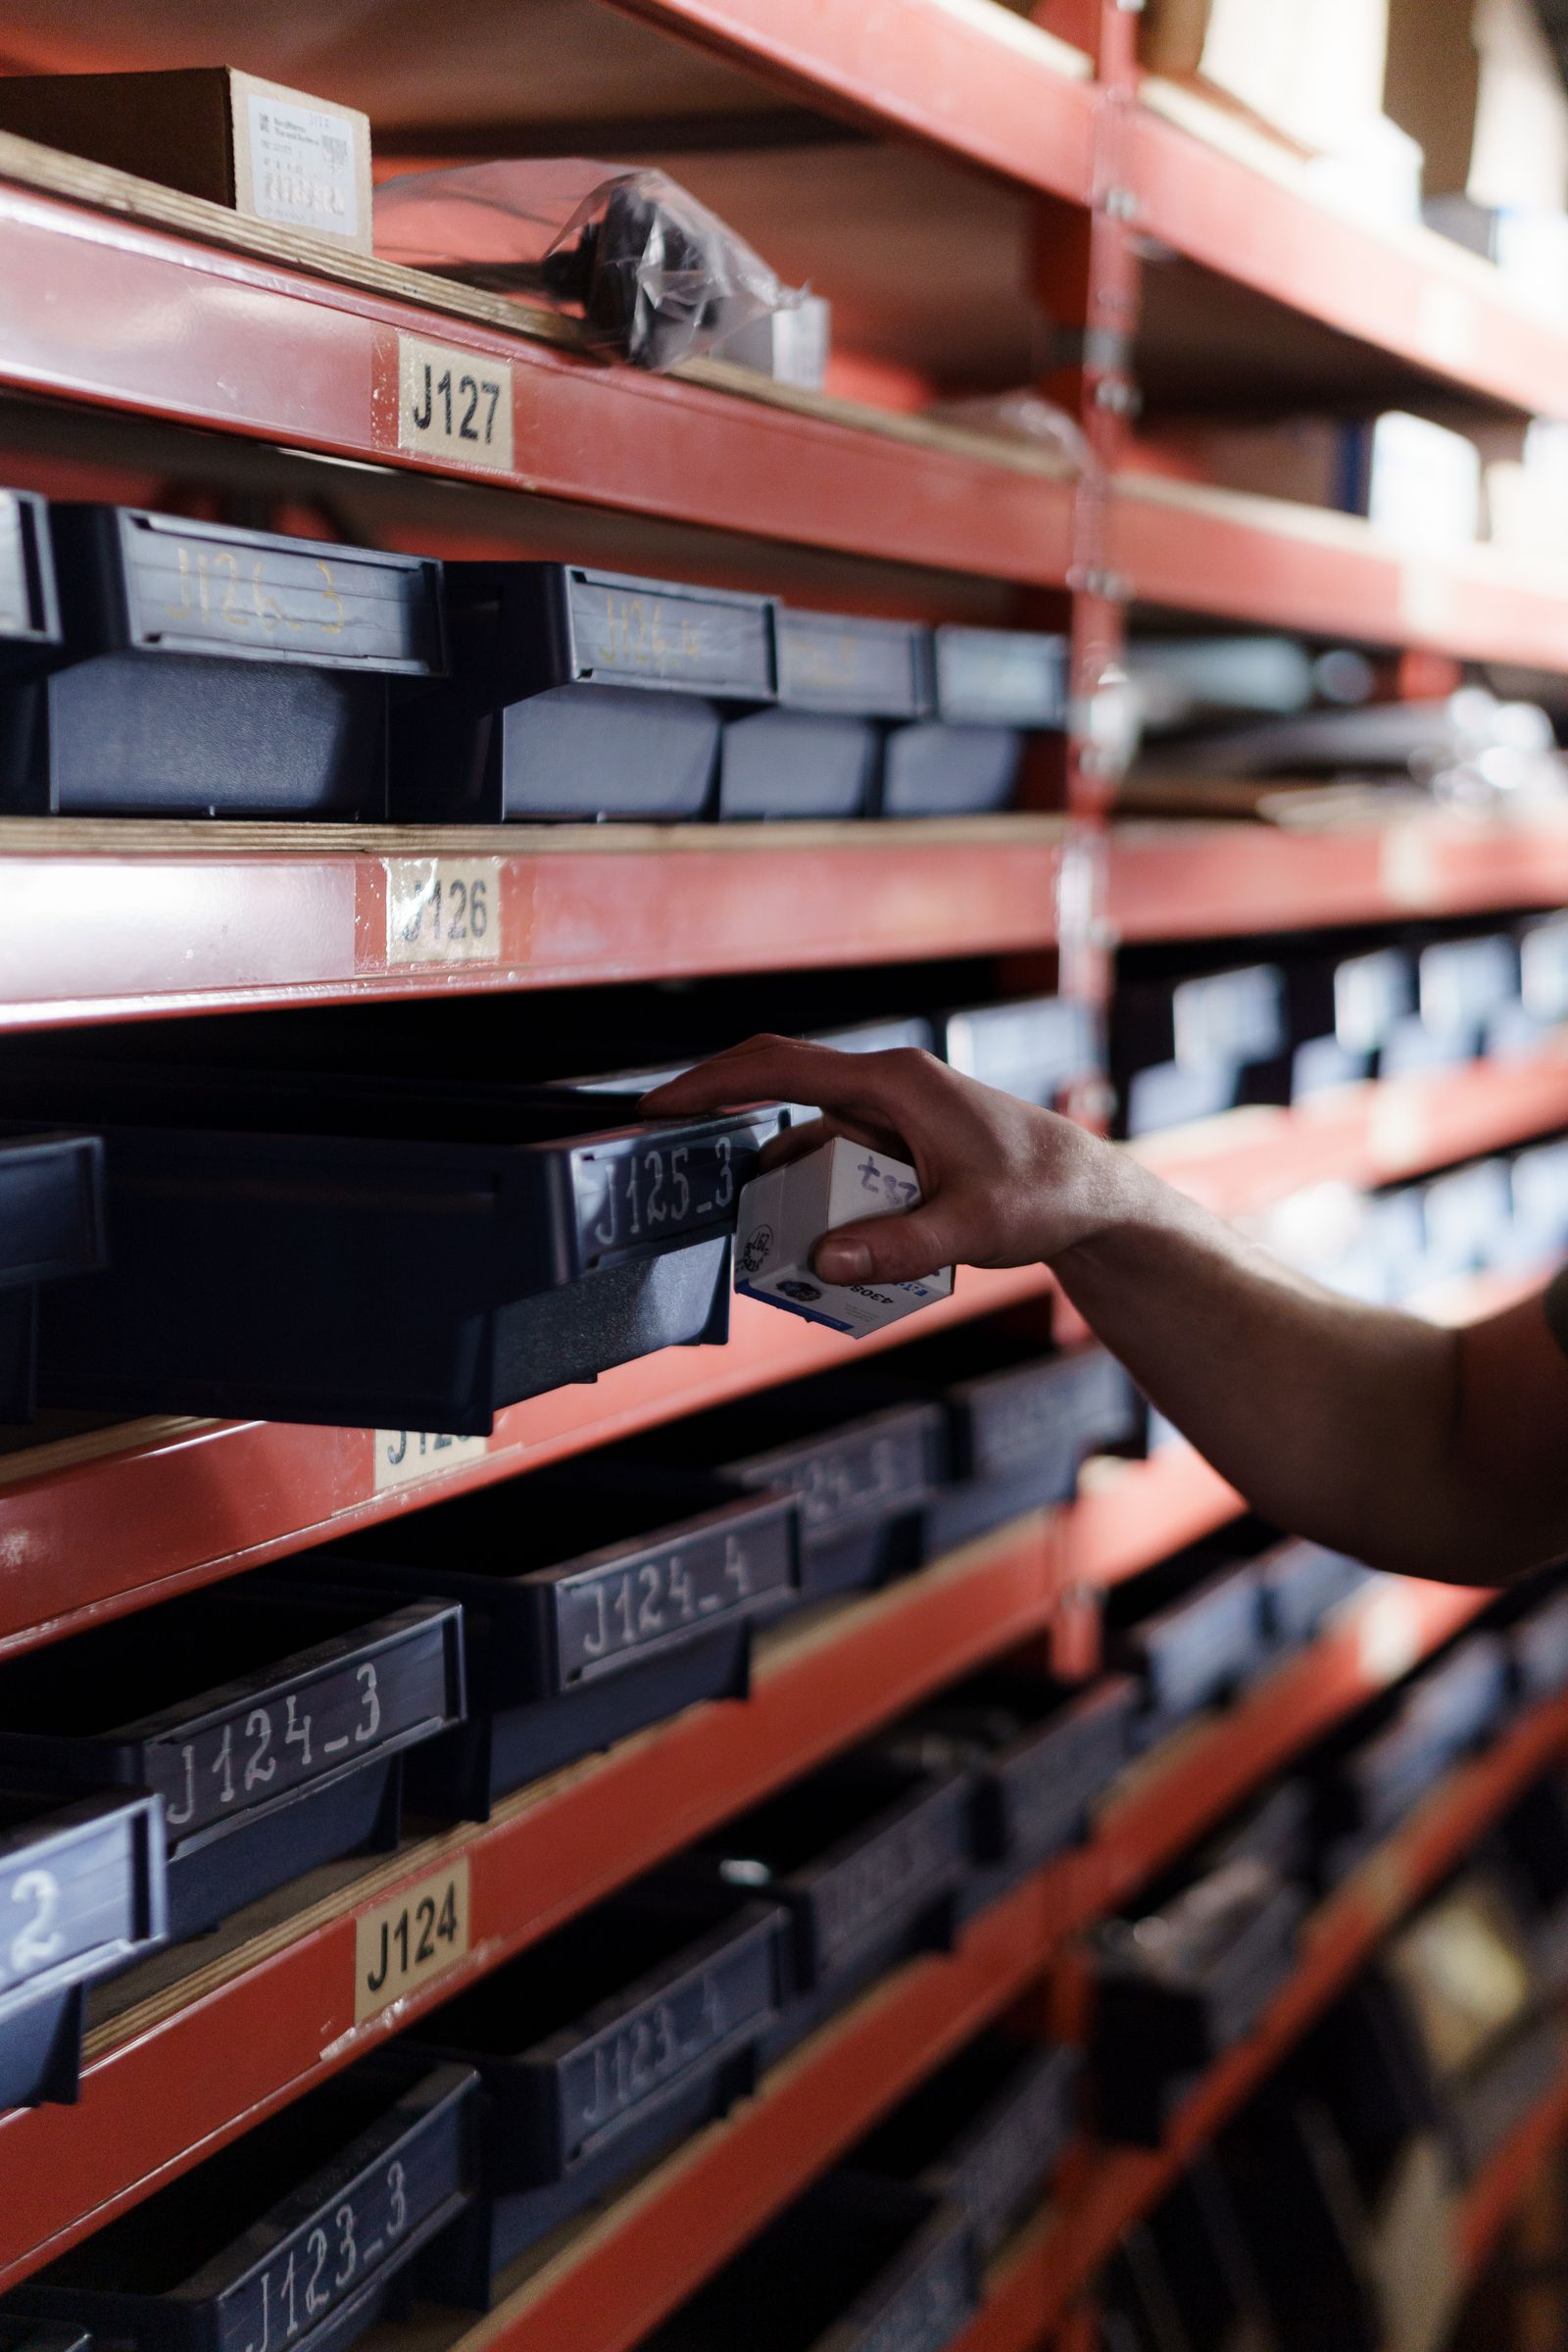
In the system this maps to a location type: shelving pick faces are created as picking locations in Docklify, managed separately from whole-pallet storage locations, so pick tasks, replenishment and counts treat the working face and the reserve stock as the different things they are.
Consolidation area — the meeting point between picking and packing
Position: directly between the picking area and the packing stations. Job: hold multi-piece orders until every piece has arrived, one numbered slot per waiting order. Size: small but non-negotiable — 8–12 floor slots of about 1–2 sqm each cover a typical e-commerce batch rhythm. Skip this area and multi-piece orders will consolidate themselves on the packing benches, which is where packing queues are born.
Packing area — benches, cartons and labels by the outbound end
Position: after consolidation, before staging, with the shortest possible path to the outbound dock. Job: verify, box, seal, weigh and label every order. Size rule: about 3–5 sqm per packing station — bench, carton rack, label printer, scale and a landing spot for finished parcels. Ten stations is therefore 30–50 sqm plus shared carton storage. It neighbors consolidation on the inbound side and staging on the outbound side, and it should be pedestrian-only: no forklifts inside the bench lines.
Outbound staging area — in front of the shipping dock doors
Position: directly inside the outbound dock doors, mirroring receiving at the other end of the flow. Job: hold packed, labeled goods stacked by carrier and route until each truck arrives. Size: enough for one peak pickup wave per carrier — for most e-commerce sites 5–8% of total floor. Each carrier gets marked pallet positions; a stack that has no carrier and no route does not belong here at all.
Staging positions are real inventory positions, not just floor paint. In Docklify they are created as staging locations: before loading, the stock of every staged pallet or parcel sits on its staging location, so the system can answer which goods are waiting for which truck — and a stack that exists physically but not in the system shows up as a discrepancy, not a surprise at the dock door.
Returns area — a small, separate island
Position: near a dock door for intake, but physically separated from outbound staging — a different wall, a fence, at minimum a different floor color. Job: receive returned parcels, open, inspect, and decide: back to stock, refurbish, or dispose. Size: 2–3% of floor is typical, with bench space for inspection and shelving for goods awaiting decision. Returns stock is not sellable stock until QC says so, and the area must never borrow outbound staging floor, even in peak season.
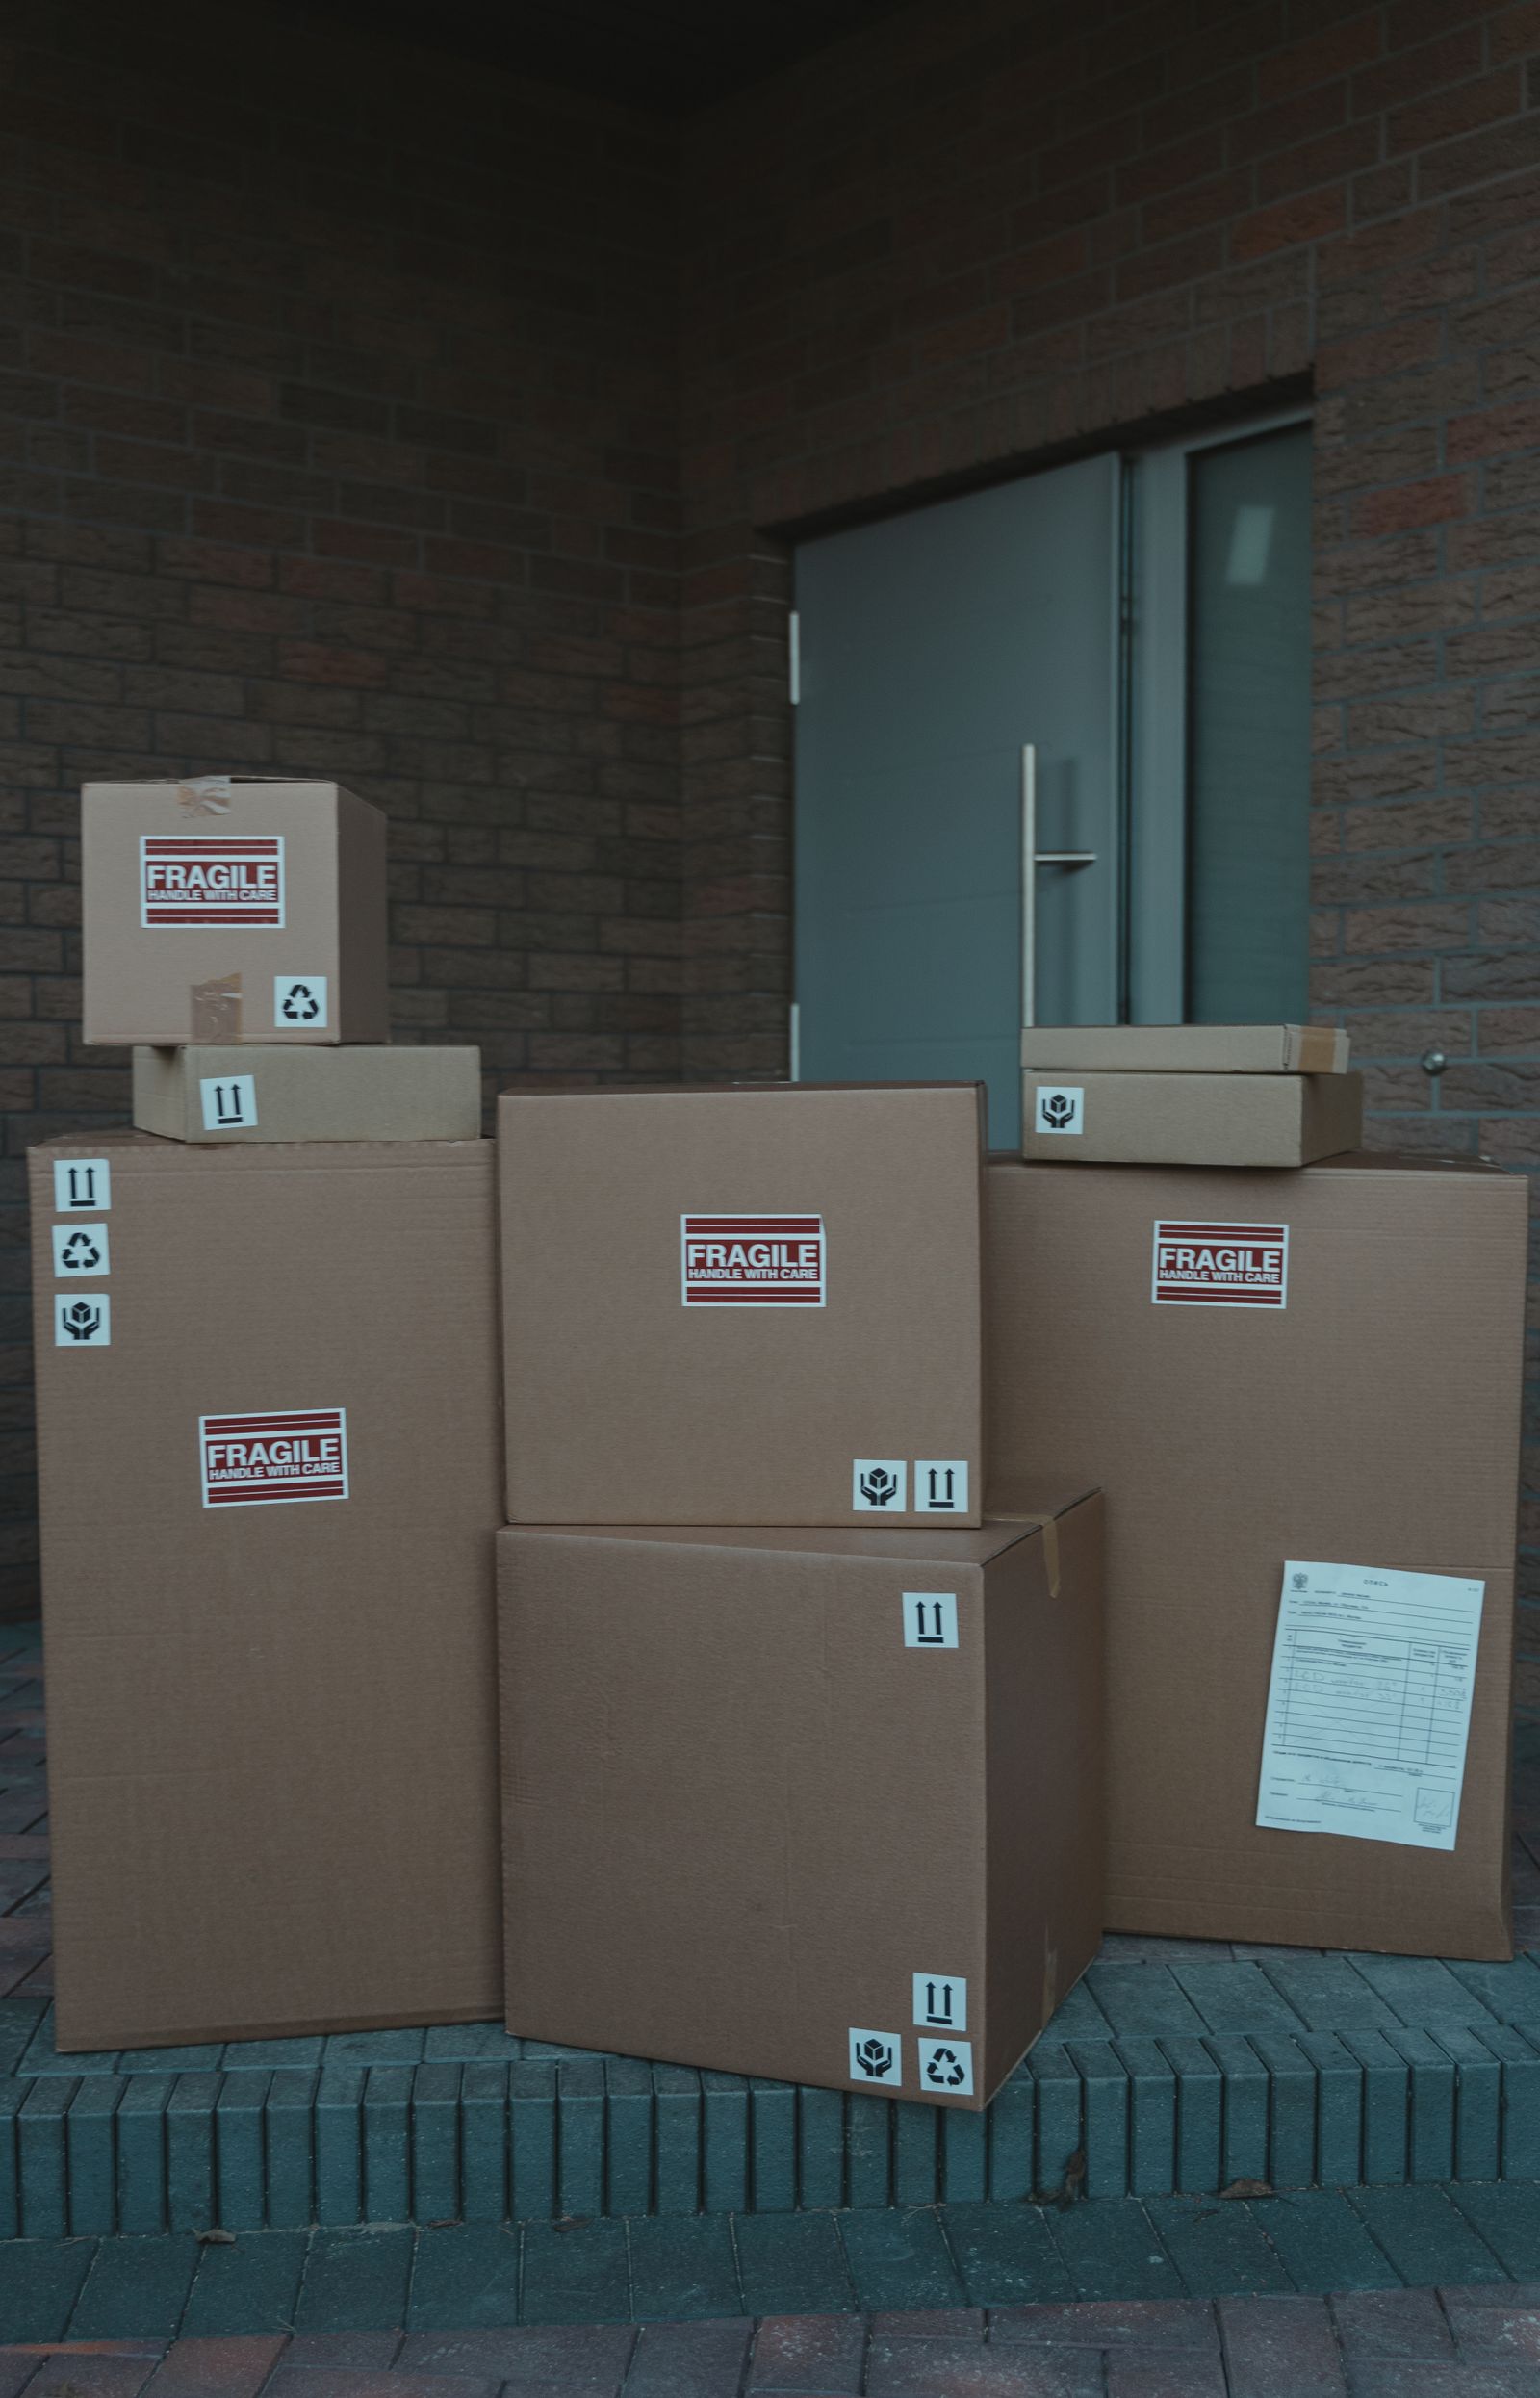
The system side mirrors the floor side: returns receiving and inspection run in RMS (SaaS → RMS) in Docklify, separate from forward stock, so a returned item follows its own disposition path and only re-enters sellable inventory through an explicit decision.
Office and equipment area — the support corner
Position: along a wall near the entrance, out of the goods flow. Job: desks and label printers for paperwork, the forklift and pallet-jack charging corner, a consumables rack (tape, film, cartons, labels) feeding the packing area, and lockers. Size: usually 2–4% of floor. Two rules: charging stays far from carton stacks and film rolls — batteries and paper are a fire-risk pair — and consumables are stored next to where they are consumed, which is packing, not next to the office that orders them.
How much space each area gets: a 3,000 sqm example#
Ratios are experience values, not standards — a warehouse shipping full pallets will fatten storage and staging, an apparel site will fatten picking and returns. Use this table as a starting sketch for a typical piece-picking e-commerce warehouse of 3,000 sqm, then adjust to your order profile.
| Area | Share of 3,000 sqm | Approx. area | Note |
|---|---|---|---|
| Storage (incl. its aisles) | 55–65% | 1,650–1,950 sqm | Includes picking faces in small sites |
| Receiving | 5–8% | 150–240 sqm | Sized by the largest truckload |
| Packing | 8–10% | 240–300 sqm | About 3–5 sqm per station |
| Outbound staging | 5–8% | 150–240 sqm | One peak pickup wave per carrier |
| Returns | 2–3% | 60–90 sqm | Apparel and footwear run higher |
| QC + consolidation | 2–4% | 60–120 sqm | Small areas, zero tolerance for skipping |
| Office + equipment + charging | 2–4% | 60–120 sqm | Keep charging away from cartons |
| Main aisles and dock aprons | Remainder, about 5–10% | 150–300 sqm | Never let storage eat the turning space |
Adjacency rules: who must sit next to whom#
- Flow order is adjacency order: receiving–QC–storage–picking–consolidation–packing–staging–shipping. If two consecutive stops are far apart, someone walks that distance with goods, hundreds of times a day.
- Returns stays far from outbound staging: same-looking cartons, opposite meanings. Physical distance is the cheapest error-proofing there is.
- Charging stays far from carton and film storage: batteries charge hot and can spark; paper and plastic film are fuel. Keep a clear, marked gap, and never let overflow stock colonize the charging corner.
- Consumables live next to packing, samples and paperwork next to QC and the office: every support item belongs beside its consumer, not beside its purchaser.
Before moving a single rack, draw it: in Docklify the warehouse layout and its functional areas can be viewed and edited in the 3D warehouse view (WMS → 3D Visualization / layout editing), so adjacency mistakes are cheap to catch on screen and expensive only if you pour them into floor markings first.
Docklify features used in this article#
- Zones on every location; zone picking splits tasks by zone — WMS → Zones
- Location Groups for cold, hazmat and high-value attributes; one location in several groups — WMS → Location Groups
- Picking locations for shelving pick faces, separate from storage locations — WMS → Locations
- Staging locations holding pre-shipment stock by carrier stack — WMS → Locations
- Returns receiving and inspection kept separate from forward stock — SaaS → RMS
- 3D warehouse view and layout editing for areas and adjacency — WMS → 3D Visualization