Level height and clear height: beam pitch, building clearance and sprinkler gaps
How to work out beam level pitch (goods height + pallet height + lift clearance), why building clear height is not usable rack height, the sprinkler clearance to leave above the top load, and what a wrong level height costs — a lost level, or a forklift that cannot reach.

Ask a landlord how tall the warehouse is and you get one number. Ask the racking installer how many levels fit and you get a smaller one. Ask the fire inspector where the top pallet may sit and it shrinks again. All three are telling the truth — they are measuring three different heights. This article separates them: the building’s clear height, the rack height you can actually build, and the storage height your goods may actually occupy. Confuse them at design time and the mistake is cast in steel: either a whole level that never fits, or a top level your forklift cannot serve.
Three heights, three different numbers#
| Height | What it means | How to get the number |
|---|---|---|
| Building clear height | Floor to the lowest obstruction overhead — beam, duct, light or sprinkler pipe, not the roof peak | Measure it on site at the lowest bay, or take the lease figure and subtract services |
| Rack height | Top of the uprights — the steel you buy | Clear height minus sprinkler clearance and a working gap at the top |
| Usable storage height | Floor to the top of the highest load — what your levels must add up to | Sum of the level pitches below — see the formula in the next section |
The classic trap is a sloped roof. The brochure says “12 m clear”, measured at the ridge. At the eaves, where the outer rack rows stand, the same building may offer 9 m — and the sprinkler main, the heater ducts and the high-bay lights all hang below even that. Design every row to the clear height above that row, not to the number in the brochure. When you measure, take a laser measure, stand in the aisle, and record the lowest thing you can hit with the beam: that, minus the clearances below, is your real budget.
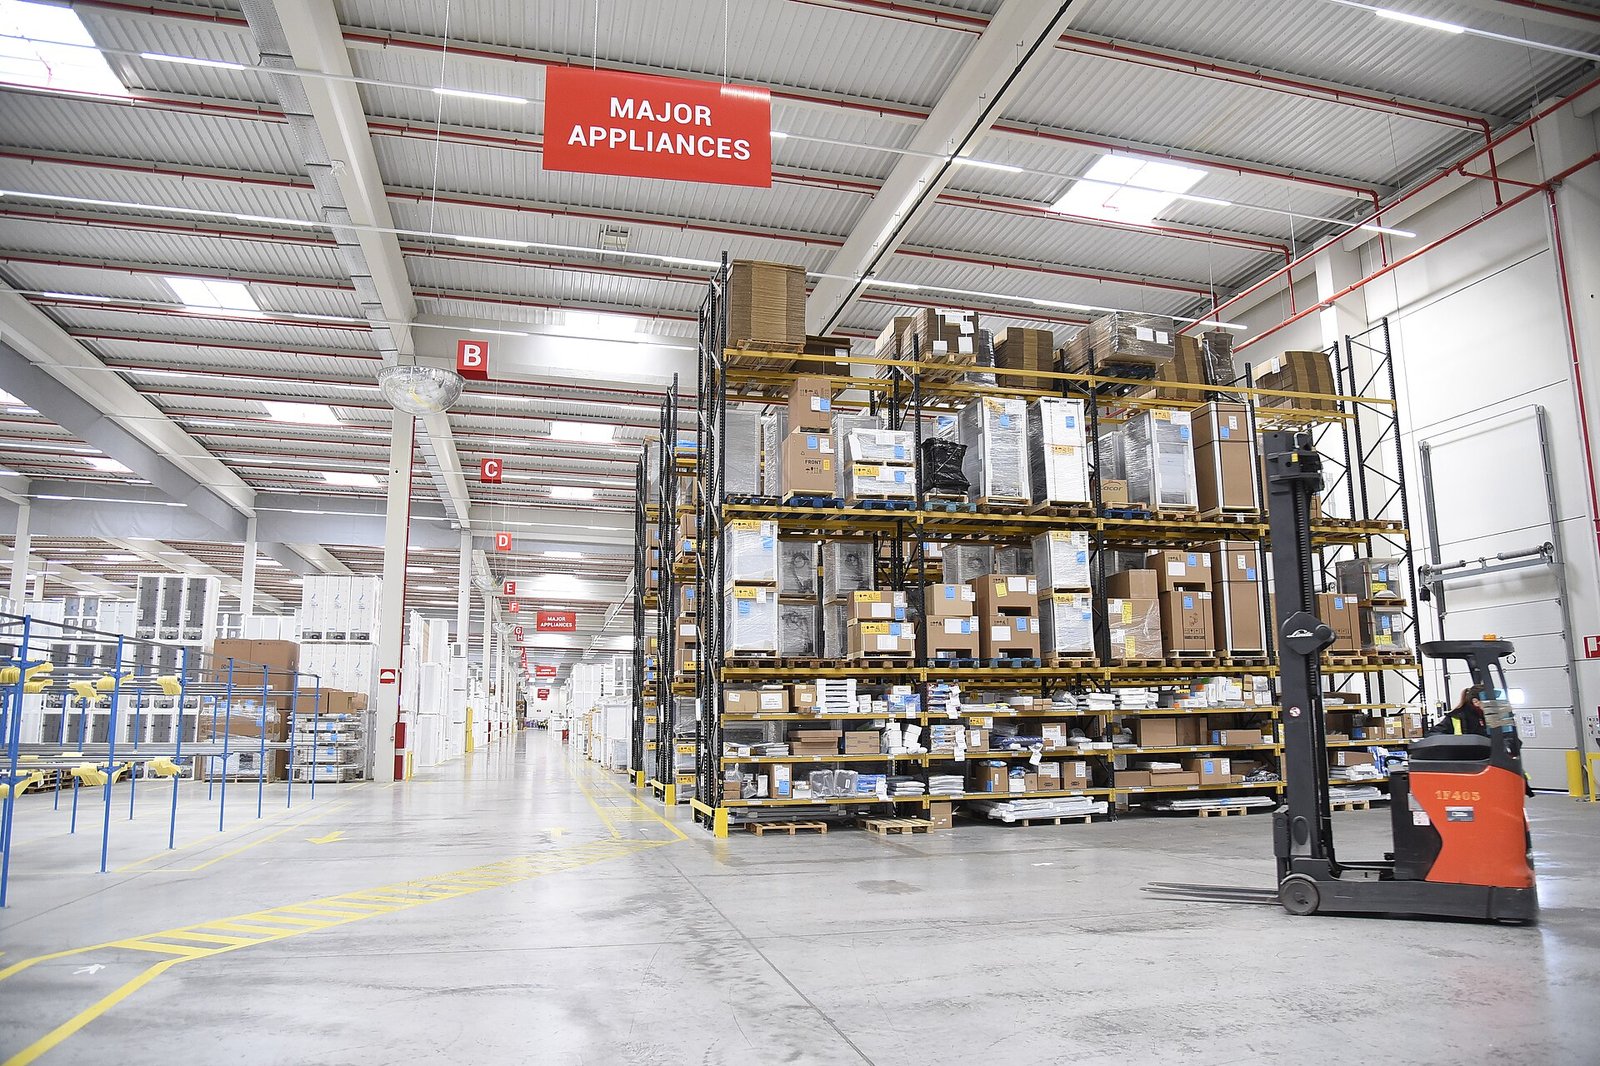
Plan the levels in the system at the same time as on paper: in Docklify, locations are created per level in WMS → Locations, so the number of levels you create should be the number your height maths proved — not the number the racking salesman hoped for. If the maths says five levels fit and the quote shows six, the sixth level is not a bargain; it is a level you will pay for and never load.
Beam level pitch: the one formula you need#
Level pitch — the distance from one beam level to the next — is built from three parts. Pitch = load height + pallet height + lift-off clearance. Load height is the goods themselves, measured on the tallest pallet you actually receive, not the average. Pallet height is typically about 0.15 m for a standard wooden pallet. Lift-off clearance is the room the forklift needs to lift the pallet up and clear the beam before pulling out: about 0.10–0.20 m is the usual working allowance, more for tall masts and less precise trucks. Worked example: goods 1.20 m + pallet 0.15 m + clearance 0.15 m = a 1.50 m pitch. Every level in that block then repeats at 1.50 m, and the beams themselves (about 0.10–0.12 m tall) sit inside that pitch, which is why beams are never counted as extra.
| Tallest load (goods only) | Pitch (load + 0.15 pallet + 0.15 clearance) | Levels in 9 m of usable height* |
|---|---|---|
| 1.0 m | 1.30 m | 6 levels (floor + 5 beam levels) |
| 1.2 m | 1.50 m | 6 levels exactly — no slack left |
| 1.5 m | 1.80 m | 5 levels |
| 1.8 m | 2.10 m | 4 levels, with height to spare |
*Levels counted from the floor position up, and “usable height” here already excludes the sprinkler clearance at the top (next section). The table shows the trap clearly: at a 1.2 m load, 9 m gives exactly six levels with zero slack — so one delivery of 1.35 m cartons, one pallet stacked a box higher than usual, and the top level quietly stops fitting. Design the pitch from the tallest load you must accept, then let shorter loads waste a little air; never design from the average and let tall loads improvise.
- The pallet itself — people measure the cartons and forget the 0.15 m of wood underneath them, on every single level.
- Load overhang and lean — goods that bulge or lean past the pallet edge eat the clearance you planned for the truck, especially at height.
- The fork and the mast — at full height the truck must still lift the load a little above the beam; check the truck’s lift height against the top beam level, not against the building height.
- Floor slope and dock levellers — a floor that drops 50 mm across the block steals it from the top level at the low end.
Sprinkler clearance: the gap at the very top#

Ceiling sprinklers only work if the water can leave the head, spread on the deflector and fall onto the fire. A pallet stacked up close under the head blocks that pattern, so fire codes require a clear space between the top of storage and the sprinkler deflector. As a working rule of thumb, about 450 mm (18 inches) is the commonly required clearance for standard ceiling sprinklers — but treat that number as a starting point for the conversation, not the answer: high-piled and rack storage often needs more, some modern sprinkler designs (such as ESFR) work to different rules, and tall racks may need sprinklers built into the rack itself. The binding number always comes from your local fire code, your insurer and the sprinkler designer — ask them before the rack height is fixed, not after the steel arrives.
Two consequences follow. First, the top level always costs double: it consumes a full pitch plus the sprinkler gap above it, so in a low building the honest choice is often one level less than the brochure promised. Second, the gap must stay empty in operation — no “just this once” top-ups above the top beam, no flags, signs or banners hung into it. Mark the maximum load line on the uprights (a painted stripe at top-load height) so a driver can see the limit from the aisle without measuring anything.
In Docklify, height discipline shows up as location discipline: tall levels are storage locations holding whole pallets, while people pick from the floor level and low beam levels set up as picking locations in WMS → Locations. If a driver has to pick single cartons from the top level, the height plan — not the driver — is what went wrong, because every top-level visit costs a full truck cycle to bring the pallet down.
What a wrong level height costs#
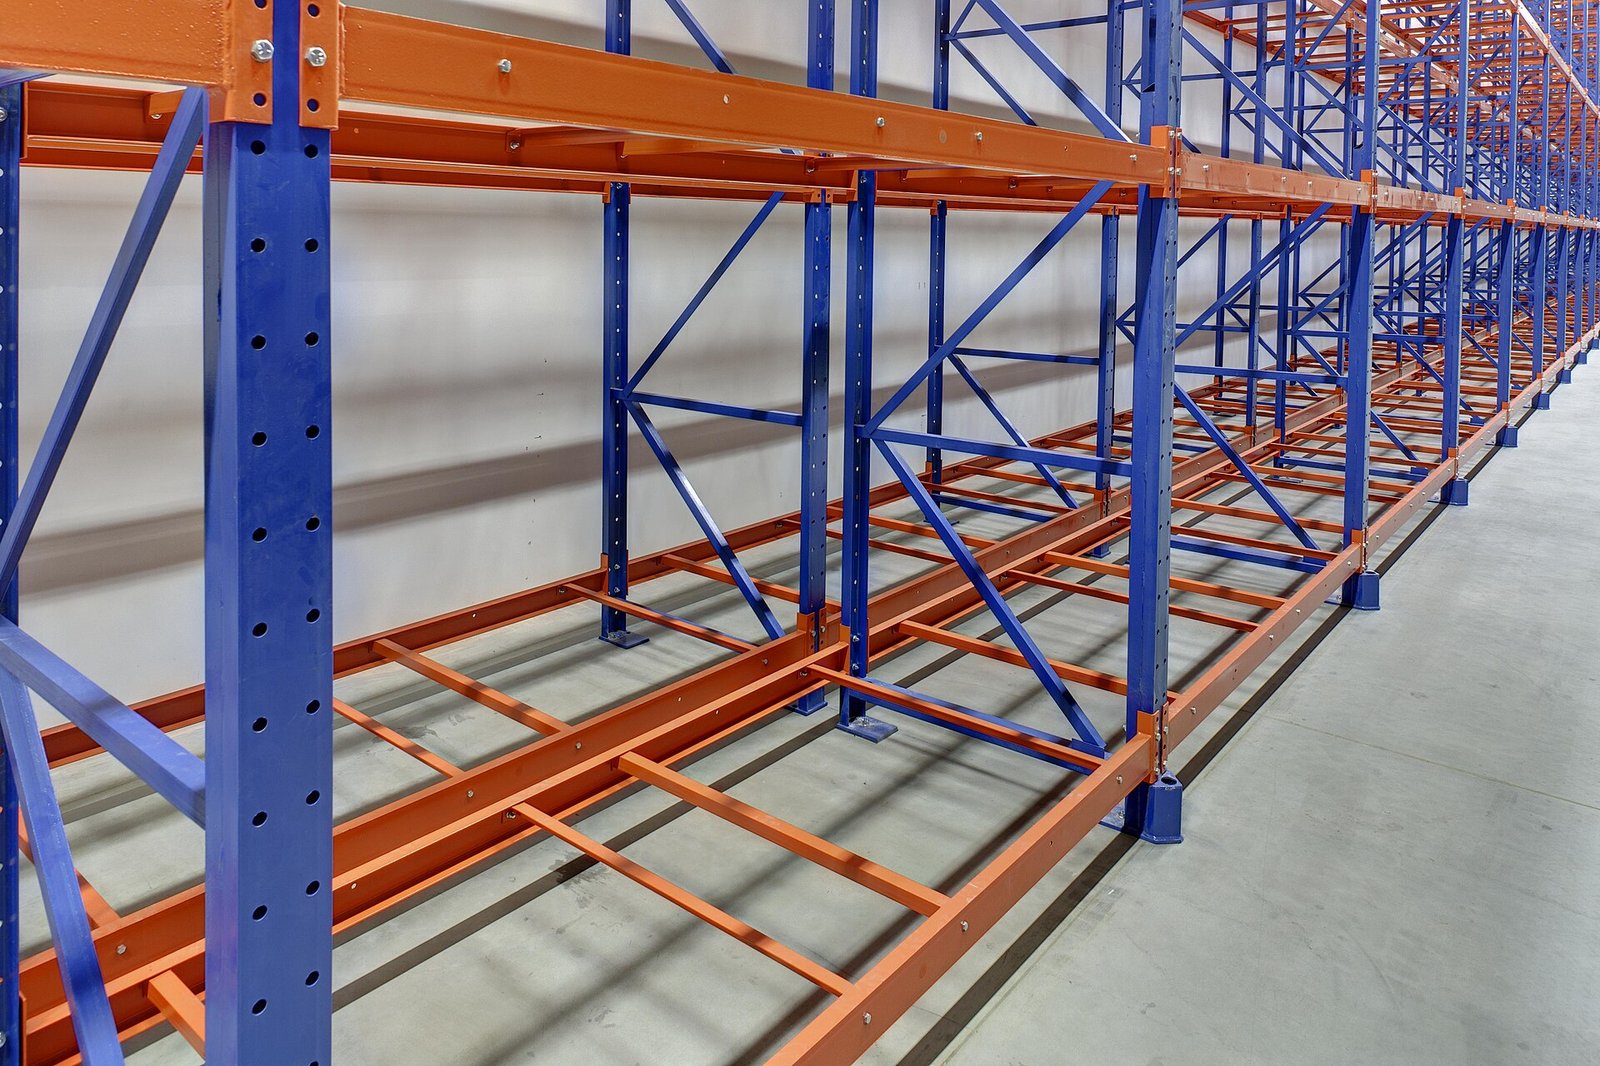
- Pitch too small by 100 mm per level: across six levels you lose 600 mm — usually the whole top level. A 1,000-position block becomes an 830-position block before a single pallet arrives.
- Pitch too generous: no level is lost on paper, but the top beam lands above the truck’s lift height — the level exists, the stock on it might as well be on the moon, and every retrieval needs a bigger truck you do not own.
- Mixed pitches in one block: beams set level-by-level “to fit the goods of the day” destroy the location pattern — level 3 is 1.5 m here and 1.8 m there, labels and counts stop matching, and re-profiling later means emptying bays one by one.
- Re-working beams later is never free: each moved level must be unloaded, re-labelled and re-created in the system, so a “quick adjustment” quietly becomes a weekend shutdown of that block.
Before the first pallet goes in, check every level with fresh eyes in WMS → 3D Warehouse: the model is generated from the same locations you created, so a level that was typed in wrong — 1.15 m where 1.50 m was planned — stands out as a squeezed layer against its neighbours. It is far cheaper to catch a typing error in the model than a steel error on the floor. Then verify physically anyway: tape-measure two bays per block, at both ends, because installers set beams by eye more often than catalogues admit.
Measuring order that works#
- Measure the clear height at its lowest point over each rack block — under beams, ducts and sprinkler mains, not at the roof peak.
- Subtract the sprinkler clearance and mark the top-of-load line. Nothing — goods, rack or sign — may cross it.
- Set the pitch from the tallest load, divide the remaining height, and count whole levels only. A fraction of a level is not a level.
- Check the truck last, against the top beam: lift height at full mast, with the heaviest load, must clear the top beam level plus its own lift-off allowance.
- Record the result per block. Roof height often changes across one building, so “the warehouse is 9 m” is not a spec — a per-block height table is.
The floor level plays by slightly different rules#
The floor position has no beam under it, so its pitch to the first beam level only needs load height plus lift-off clearance — the pallet height is already inside the load sitting on the floor. That is why the first beam often sits a little lower than the repeating pitch above it. Do not “tidy it up” by making all pitches identical: you would be giving away height on every level to satisfy a drawing.
One block does not need one pitch for the whole warehouse. Group products into height families — drinks at 1.2 m, appliances at 1.8 m — and give each rack block the pitch of its family. Mixed family blocks are where the waste hides: a 1.8 m pitch holding 1.0 m loads stores air on every level, all day, for years.
Check the truck’s collapsed mast height as well as its lift height. A truck that lifts to the top beam but whose mast will not pass the cold-store door, the dock door or a mezzanine edge cannot serve the rack at all — the working height of the system is the smaller of what the building allows and what the truck can both reach and get to.
- Accept one level less and keep honest clearances — a level that fits on paper but not in steel is the most expensive level of all.
- Re-profile the goods instead: cap pallet build height at receiving, so loads arrive at the height the rack was designed for.
- Move the tall family to the tall part of the building — under a sloped roof, height is a per-row resource, not a building average.
- Split the top level’s job: keep the highest level for light, slow reserve stock so lift limits and clearances are easiest to respect there.
Docklify features used in this article#
- Create locations level by level — WMS → Locations → New location: one location per bay and level, with the level count taken from your height calculation.
- Location types by height — tall whole-pallet levels are storage locations; floor and low levels people pick from are picking locations (WMS → Locations, Location Type).
- 3D warehouse view — WMS → 3D Warehouse: check level heights and top clearance in the generated model, locating levels by code, zone and type, before the first pallet goes in.
- Bulk import locations — WMS → Locations → Import: create the levels of a whole block from a spreadsheet once the pitch is fixed.