Racking safety: load signs, column guards, safety pins and inspections
A rack is a steel structure holding tonnes over people’s heads. This guide covers load signs, column protection, beam safety pins, how to judge a forklift-damaged upright, a monthly and annual inspection rhythm, and anchoring in earthquake areas.
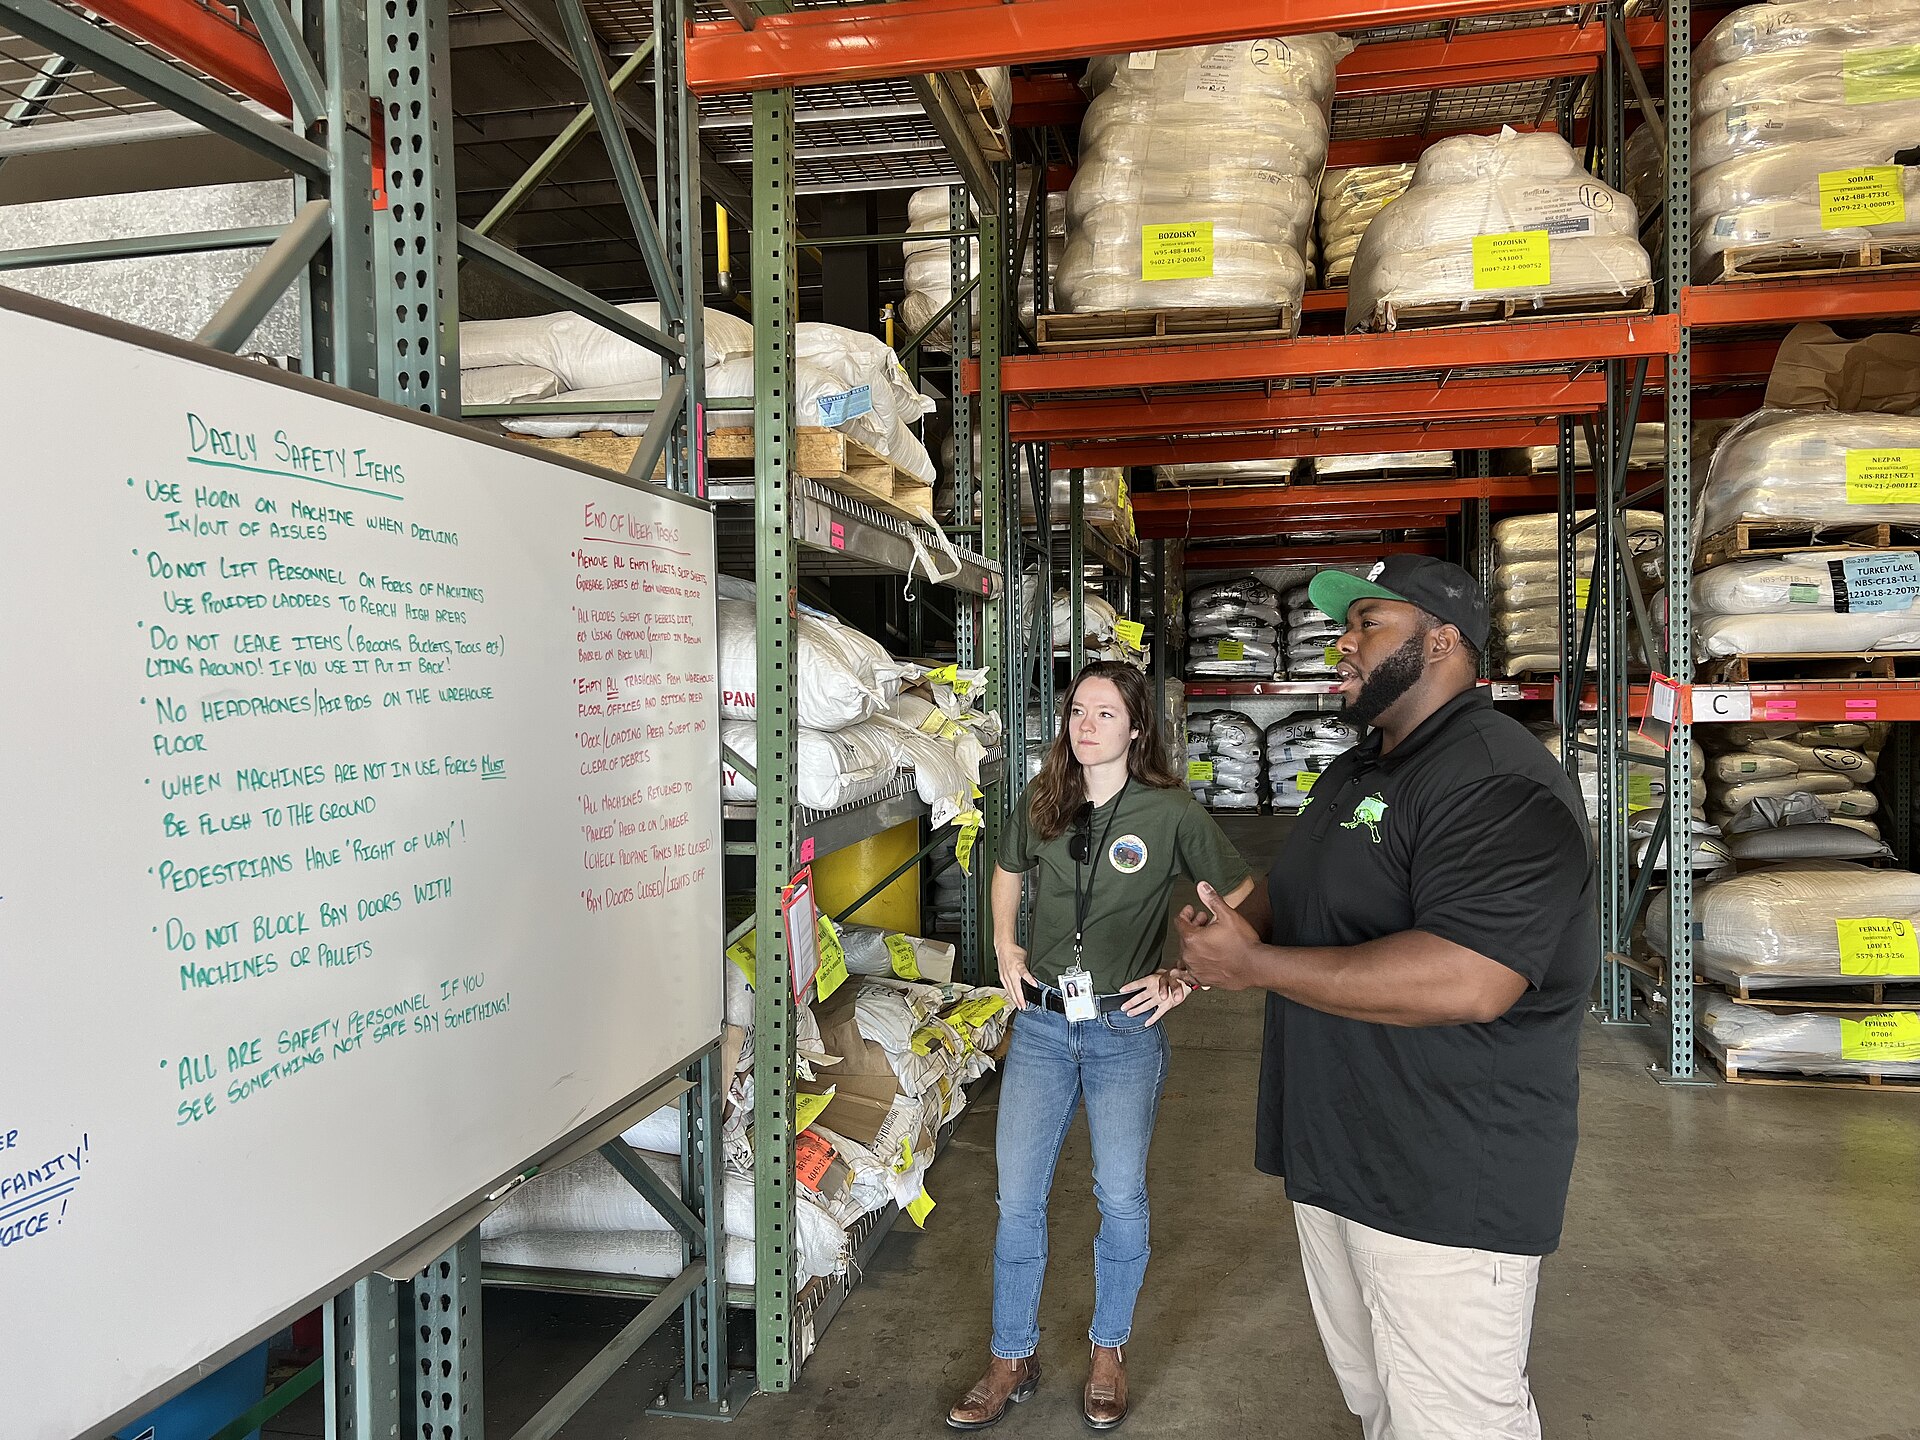
A loaded rack bay can carry ten tonnes or more, stacked higher than a house is tall, a few steps from where people walk. Racks almost never fail without warning: they fail after months of small warnings — a bent upright nobody reported, a missing safety pin nobody noticed, a level loaded past its sign because the heavy pallet had to go somewhere. Racking safety is therefore not a yearly event. It is the habit of seeing small damage early, when the fix is still cheap and nobody has been hurt.
One rule sits above everything else in this article: every hit gets reported, even the tap that left no mark. The driver who reports a tap is never in trouble; the tap that is hidden is the one that bends an upright a few millimetres, waits for a full load, and becomes an accident report. If your site punishes reporting, you will not get reporting — you will get silence and bent steel. Make reporting free, fast and thanked, and the rest of this guide becomes much easier.
Load signs: the limit, printed and posted#
Every rack run needs a load sign at its end, at eye level, where a forklift driver can read it before loading, not after. A proper sign states the maximum load per beam level, the maximum total per bay, the pallet type and size it assumes, and the beam-level spacing it was calculated for. It comes from the rack supplier or the installer, based on the actual uprights, beams and levels in front of you — not from a catalogue photo of a similar rack. Photograph every sign when racks are installed, and keep the load configuration drawing with your building documents.
Two traps undo load signs quietly. The first is beam creep: someone raises or lowers a beam level to fit a tall pallet, and the bay no longer matches the configuration the sign was calculated for — the same steel can carry much less with wider level spacing. Treat any beam-level change as an engineering change: move the beam, then get the sign values re-checked before loading again. The second trap is the mixed load: the per-level limit assumes weight spread evenly across the level, so three light pallets plus one very heavy one can overload part of a level while the total still looks fine. Heavy pallets go on the floor level or the lowest beam level, as a standing rule.
- No sign, or a sign you cannot read? Do not guess a limit from a neighbouring rack — racks that look identical can have different upright gauges. Ask the supplier, and until the answer arrives, load that run light and low.
- The sign belongs to one configuration: upright type, beam type, level spacing and pallet size together. Change any one of them and the sign is a historical document, not a limit.
- Teach the sign in induction, with a photo of your own racks: new drivers should be able to point at the sign and say the per-level limit out loud before they load their first bay.
Column protection: guards where the forks fly#
Almost all rack damage happens in the bottom metre of the front uprights: the corner a forklift clips while turning into the bay, the leg a pallet catches while being pushed in. Two kinds of protection cover it. Column guards (rack feet protectors) wrap or stand in front of a single upright and take the hit instead of the steel. End-of-aisle barriers and guard rails protect the whole rack end — the corner every truck passes — and guide traffic away from the structure. Corners of the building, dock edges and pedestrian crossings deserve the same steel, for the same reason.
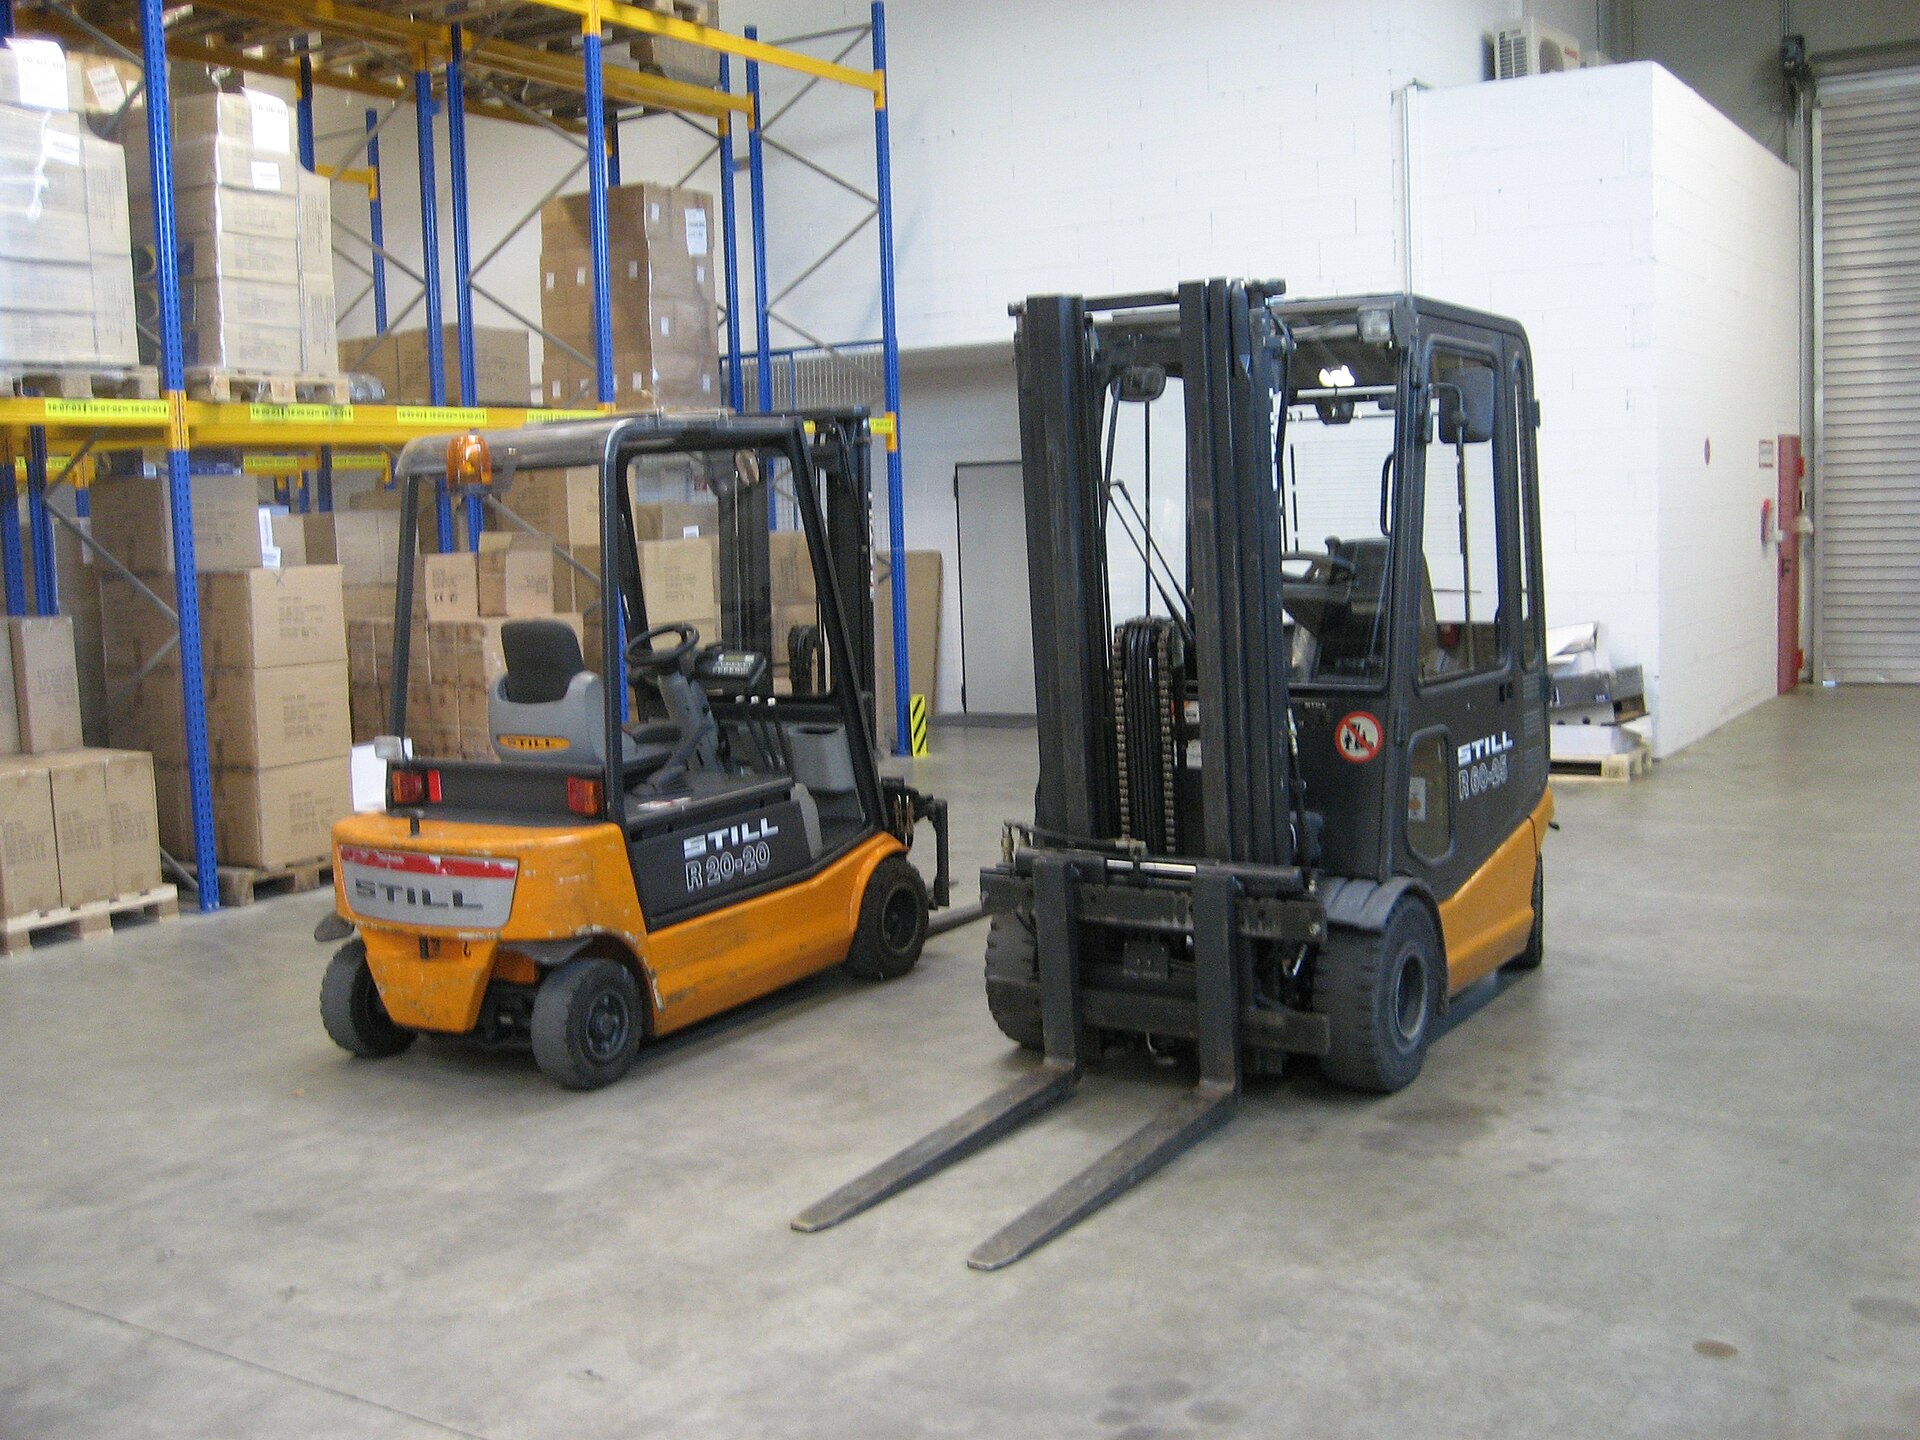
Protection has its own rules. Guards and barriers must be anchored to the floor on their own bolts, never bolted through the upright they protect — a hit should bend the guard, not tear the rack foot. Leave the small inspection gap the maker intends, and after any visible hit, unbolt or look behind the guard: a guard can hide a bent upright behind a brave face. A guard that has taken a hard hit and deformed has done its one job; straighten-or-replace it during the same week, and check the upright behind it before the bay is loaded again.
Beam safety pins: the small clip that holds the level#
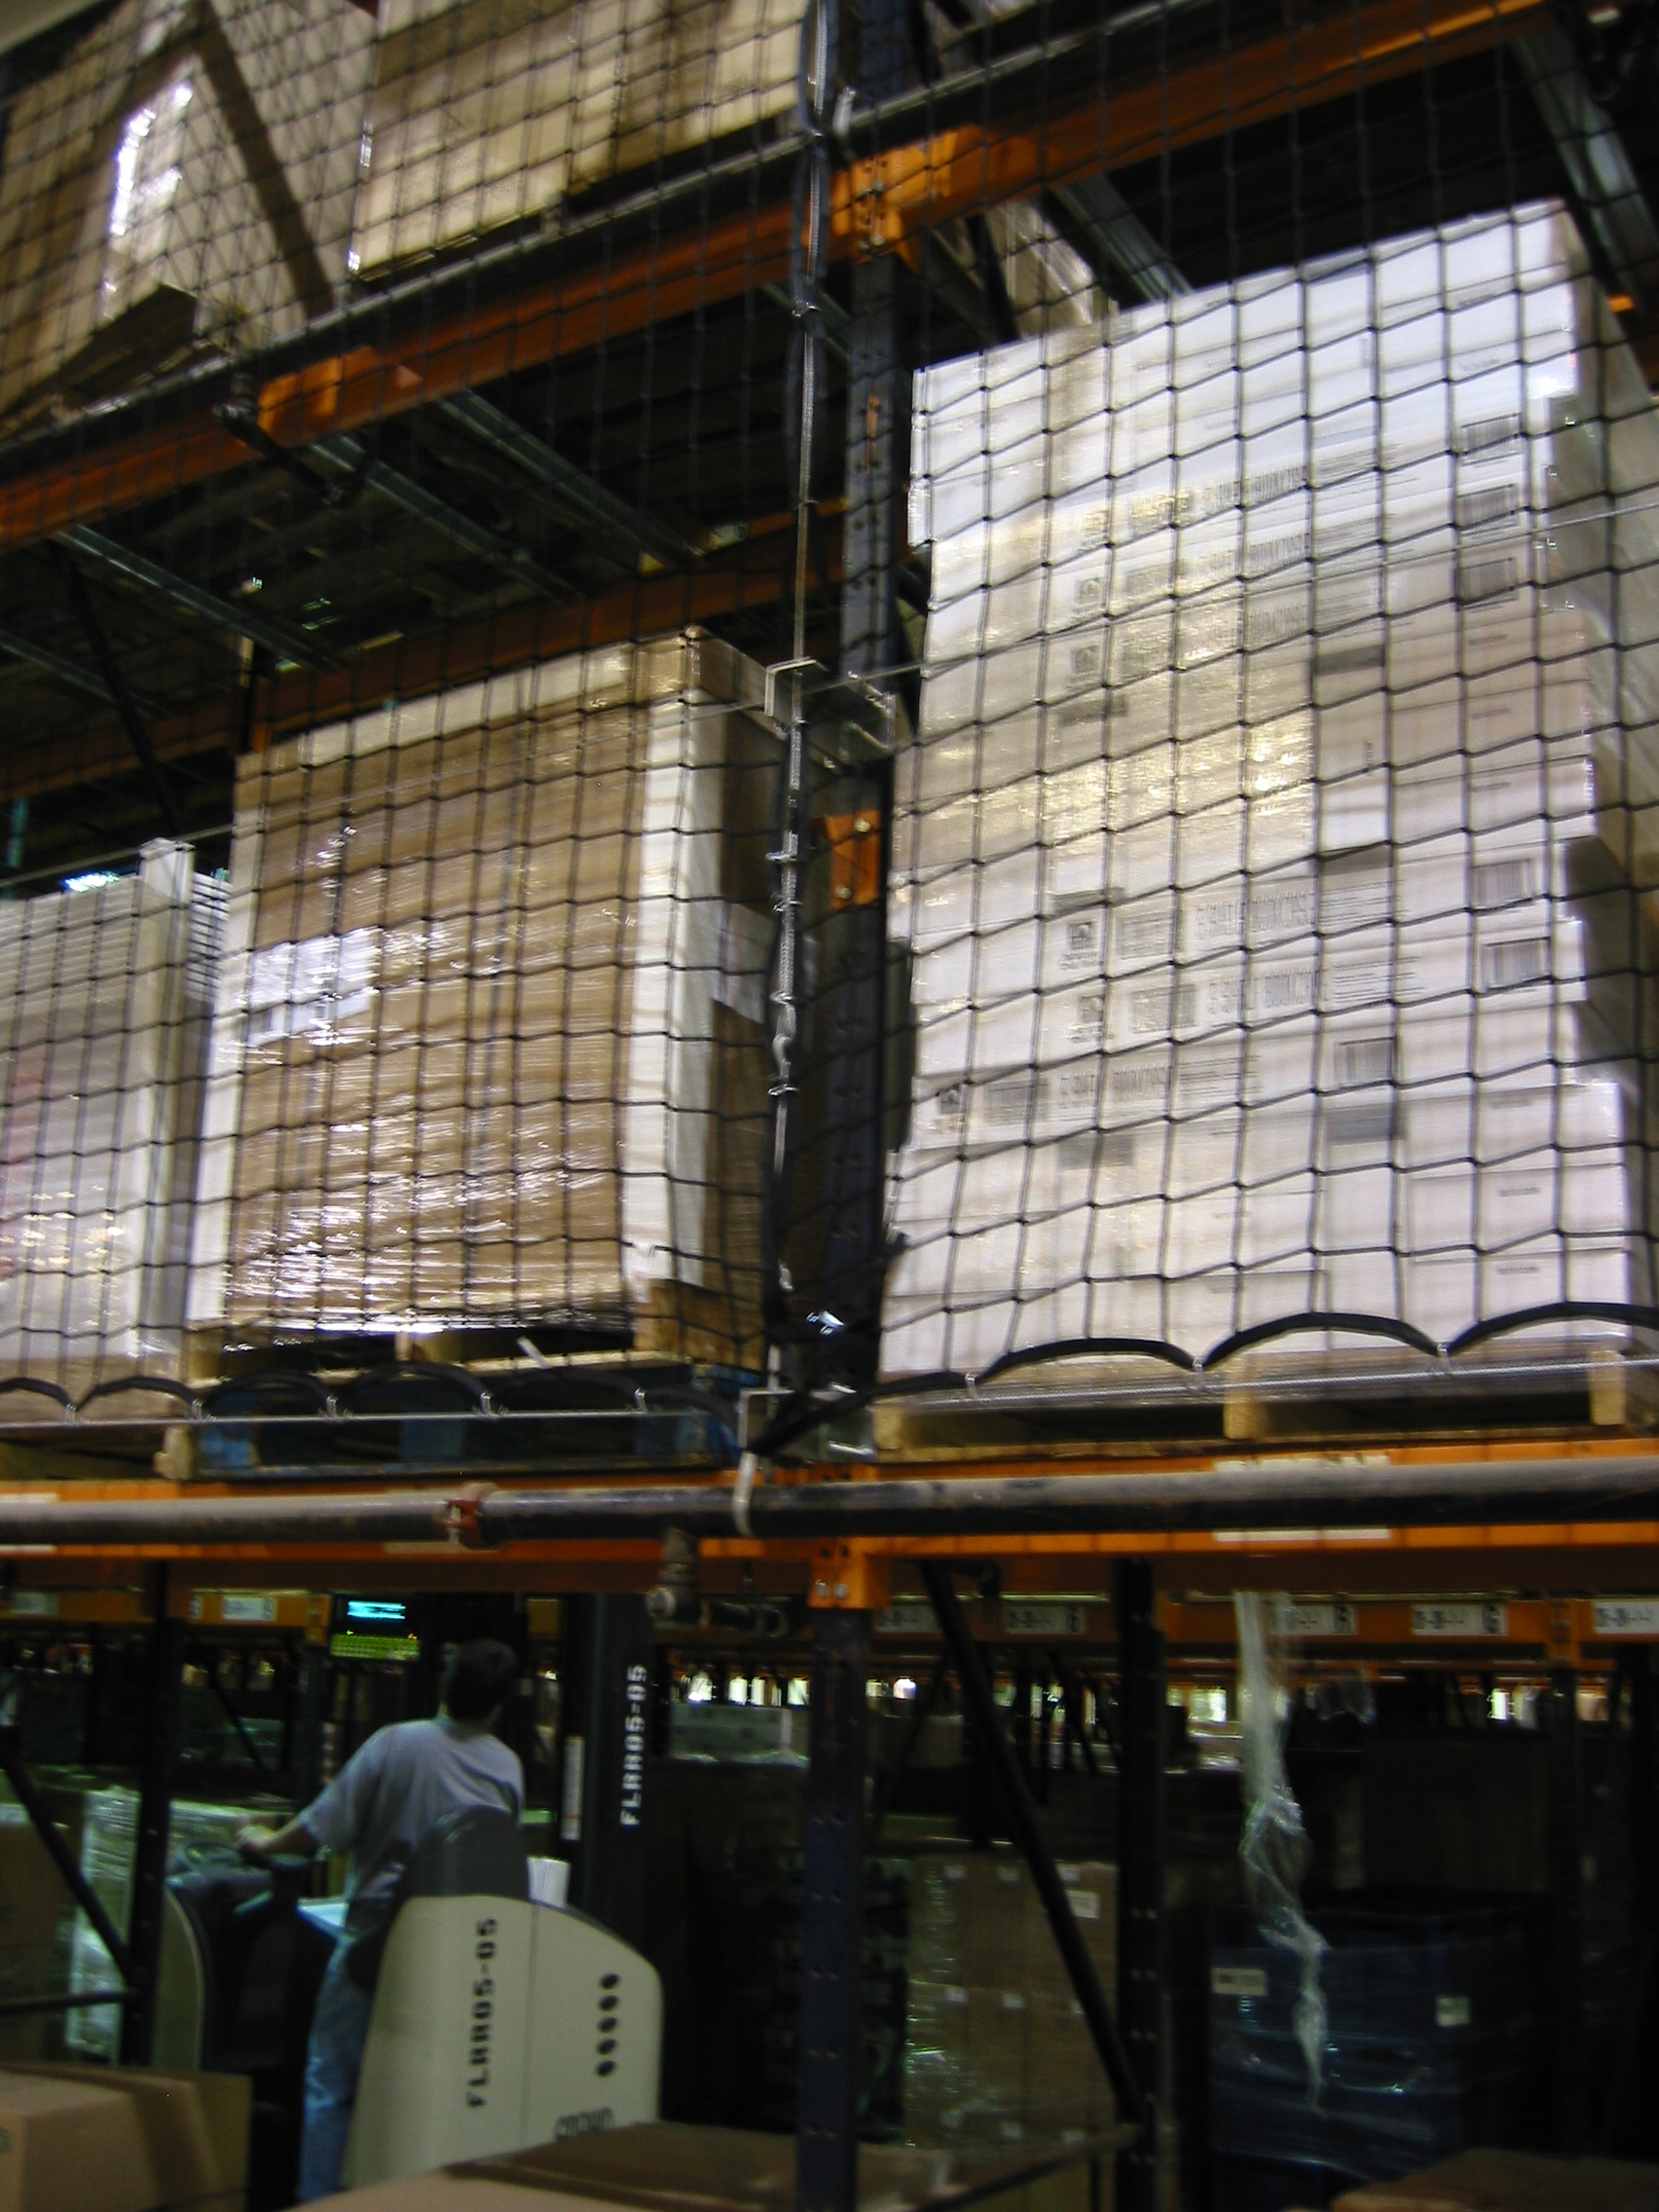
A beam does not rest on a shelf; it hooks into the upright with connectors, and a safety pin or locking clip drops through the connector so the beam cannot be lifted out by accident. That accident is easy to picture: a pallet being withdrawn catches the beam above from below, or a fork rises inside the bay and nudges the beam upward. Without the pin, the hook can ride up and out of its slots, and a loaded level comes down on one side. The pin costs almost nothing, weighs almost nothing, and is the only thing standing between a nudge and a collapse — which is why missing pins are treated as damage, not as tidiness.
Pins go missing in two ordinary ways: a beam level is moved and the pins are left in a pocket, or a pin is knocked out and rolls under the rack. Both are fixed in minutes — if someone looks. Build the look into the routine: every beam move ends with pins checked on both ends of every moved beam, and the monthly walk below includes a pin count on the runs it passes. Never substitute wire, cable ties or bent nails for a proper pin or clip; the substitute has to resist the same upward force, and improvised wire does not.
A hit upright: repair, watch, or take it out now#
When a hit is reported, judge the upright before the bay is loaded again. What matters, in order: where the damage sits (the front face of a front upright, low down, is the worst place — that face carries the bending load), how deep it goes (a paint scratch is not a dent; a dent that creases the steel is not a scratch), whether the upright as a whole has bent or twisted (sight along it, or hold a straight edge against it — a lean you can see is already serious), and whether welds, the foot plate or the anchor bolts have cracked or shifted. Damage spreads its cost: a bent upright quietly hands its load to its neighbours, which were not sized for it.
- Watch it — paint scratched or a shallow mark with no bend, no twist and sound welds: photograph it, log it with the date and the location code, and look again at the next inspection. Watching is a decision on record, not a shrug.
- Unload and book repair — a clear dent or crease, a guard torn off, or damage near the foot: take the load off the affected levels, keep the bay empty, and schedule an upright replacement with the rack supplier. Do not straighten a structural upright with a forklift or a hammer and call it repaired.
- Take it out now — the upright is twisted, torn, leaning, or its foot or anchors have moved: unload the whole bay (and the bays it braces with, if your inspector says so), fence the area off, and nothing goes back until the upright is replaced and the bay is re-checked. This is the only category where speed beats paperwork.
While a bay waits for repair, take it out of work in the system as well as on the floor. In Docklify, the affected locations can be disabled in WMS → Locations (the location list filters by status, including DISABLED), so put-away suggestions and pick tasks stop sending people and pallets to a bay that is fenced off in real life. Re-enable the locations only when the upright has been replaced and the re-check is logged — the system status and the steel should always tell the same story.
The inspection rhythm: monthly eyes, annual experts#
Two rhythms cover almost everything. The monthly walk is done by your own people — a supervisor with a torch, a phone for photos and this checklist — walking every aisle slowly, looking up as much as down. It takes about an hour in a mid-size warehouse and catches the fresh damage while it is still a dent, not a collapse study. The annual inspection is done by a qualified rack inspector (often from the supplier): a written report, damage marked bay by bay, load configurations re-checked, and a signature your insurer and your conscience can both lean on. Sites with heavy forklift traffic add a weekly glance at the known hot corners between the two.
| Check | What to look for | Rhythm |
|---|---|---|
| Uprights | Dents, creases, bends, twists — front faces and low sections first | Monthly + after any hit |
| Beams and safety pins | Bent or sprung beams, connectors fully seated, a pin or clip at both ends of every beam | Monthly |
| Base plates and anchors | Loose or missing anchor bolts, cracked concrete, plates lifted or shifted | Monthly glance, annual torque check |
| Bracing | Bent or missing diagonal braces in the frames and along the run | Monthly |
| Guards and barriers | Deformed guards, loose fixings, and the upright hidden behind each guard | Monthly + after any hit |
| Load signs | Sign present and readable at every run end; beam levels still match the signed configuration | Monthly |
| Loads themselves | Overhanging or leaning pallets, broken pallet boards, loads past the per-level limit | Monthly, and daily eyes |
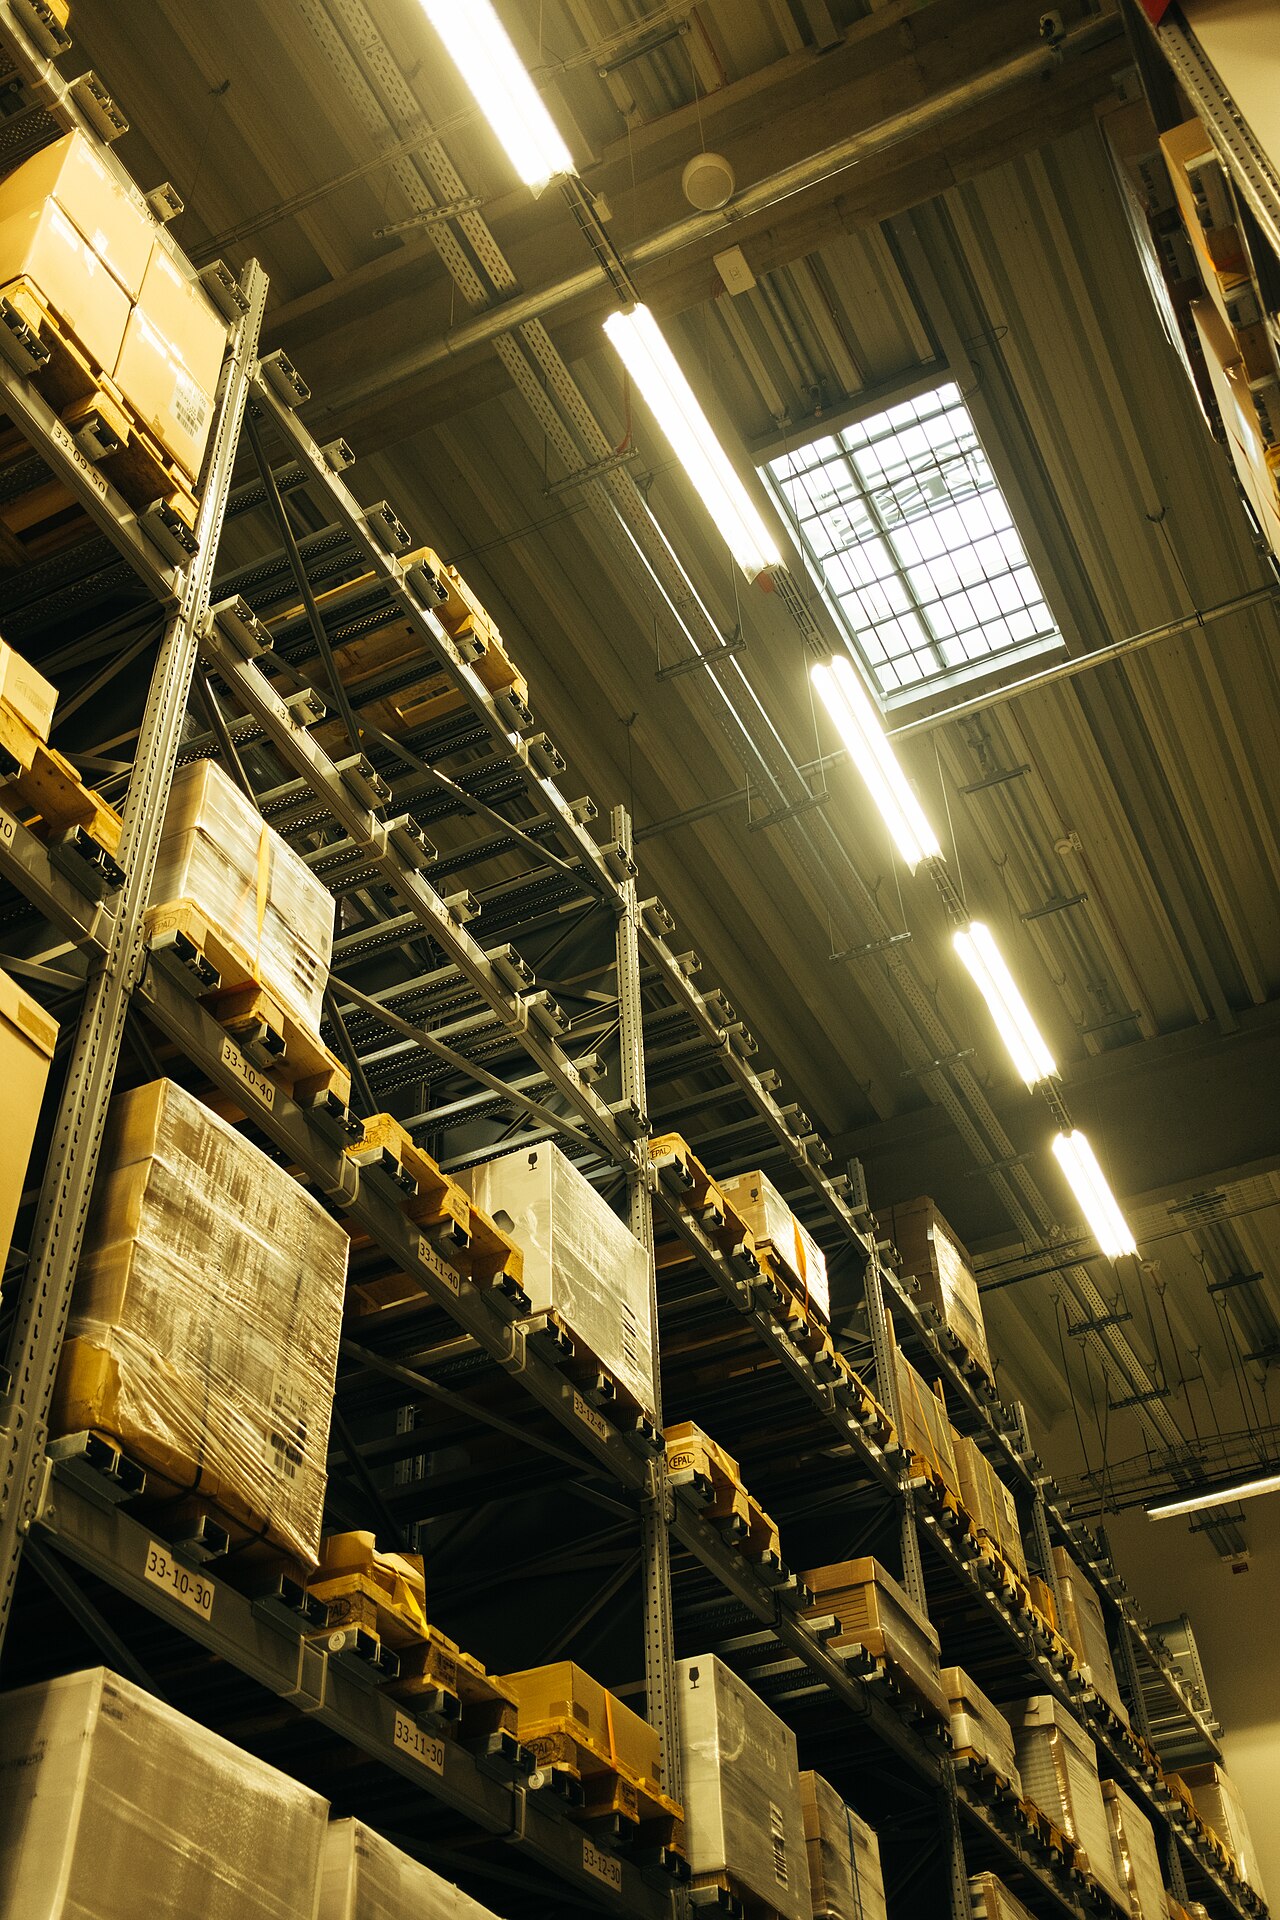
In Docklify the rack itself can live in the asset registry: register each rack row as a facility asset in Assets (with its warehouse and a plain-words position), and the row gets its own page and QR label like any machine. The checklist above becomes an inspection template in Assets → Inspection Templates — build it once per rack type, mark the upright and anchor items as critical, and every monthly walk runs the same list on a phone, with photos attached to the findings. Past records keep the wording they were inspected against, so the history stays honest even after the template improves.
A finding should not die in a checklist. From a failed inspection in Docklify you can raise a repair ticket in one tap — it lands in Tickets as a maintenance ticket linked to the rack asset, with the failed items, your notes and photos in the description, and a priority that rises when a critical item failed. The repair itself is then recorded against the same asset: what was replaced, which parts, the labour hours and the cost, so the row page shows the full story — inspections, damage, repairs — in one inspection-records history. For the annual expert visit, a maintenance service plan on the same asset (Assets → Maintenance, set to a yearly cycle) puts the due date on the reminder banner instead of in someone’s memory.
Anchoring in earthquake areas: bolted down, tied together#
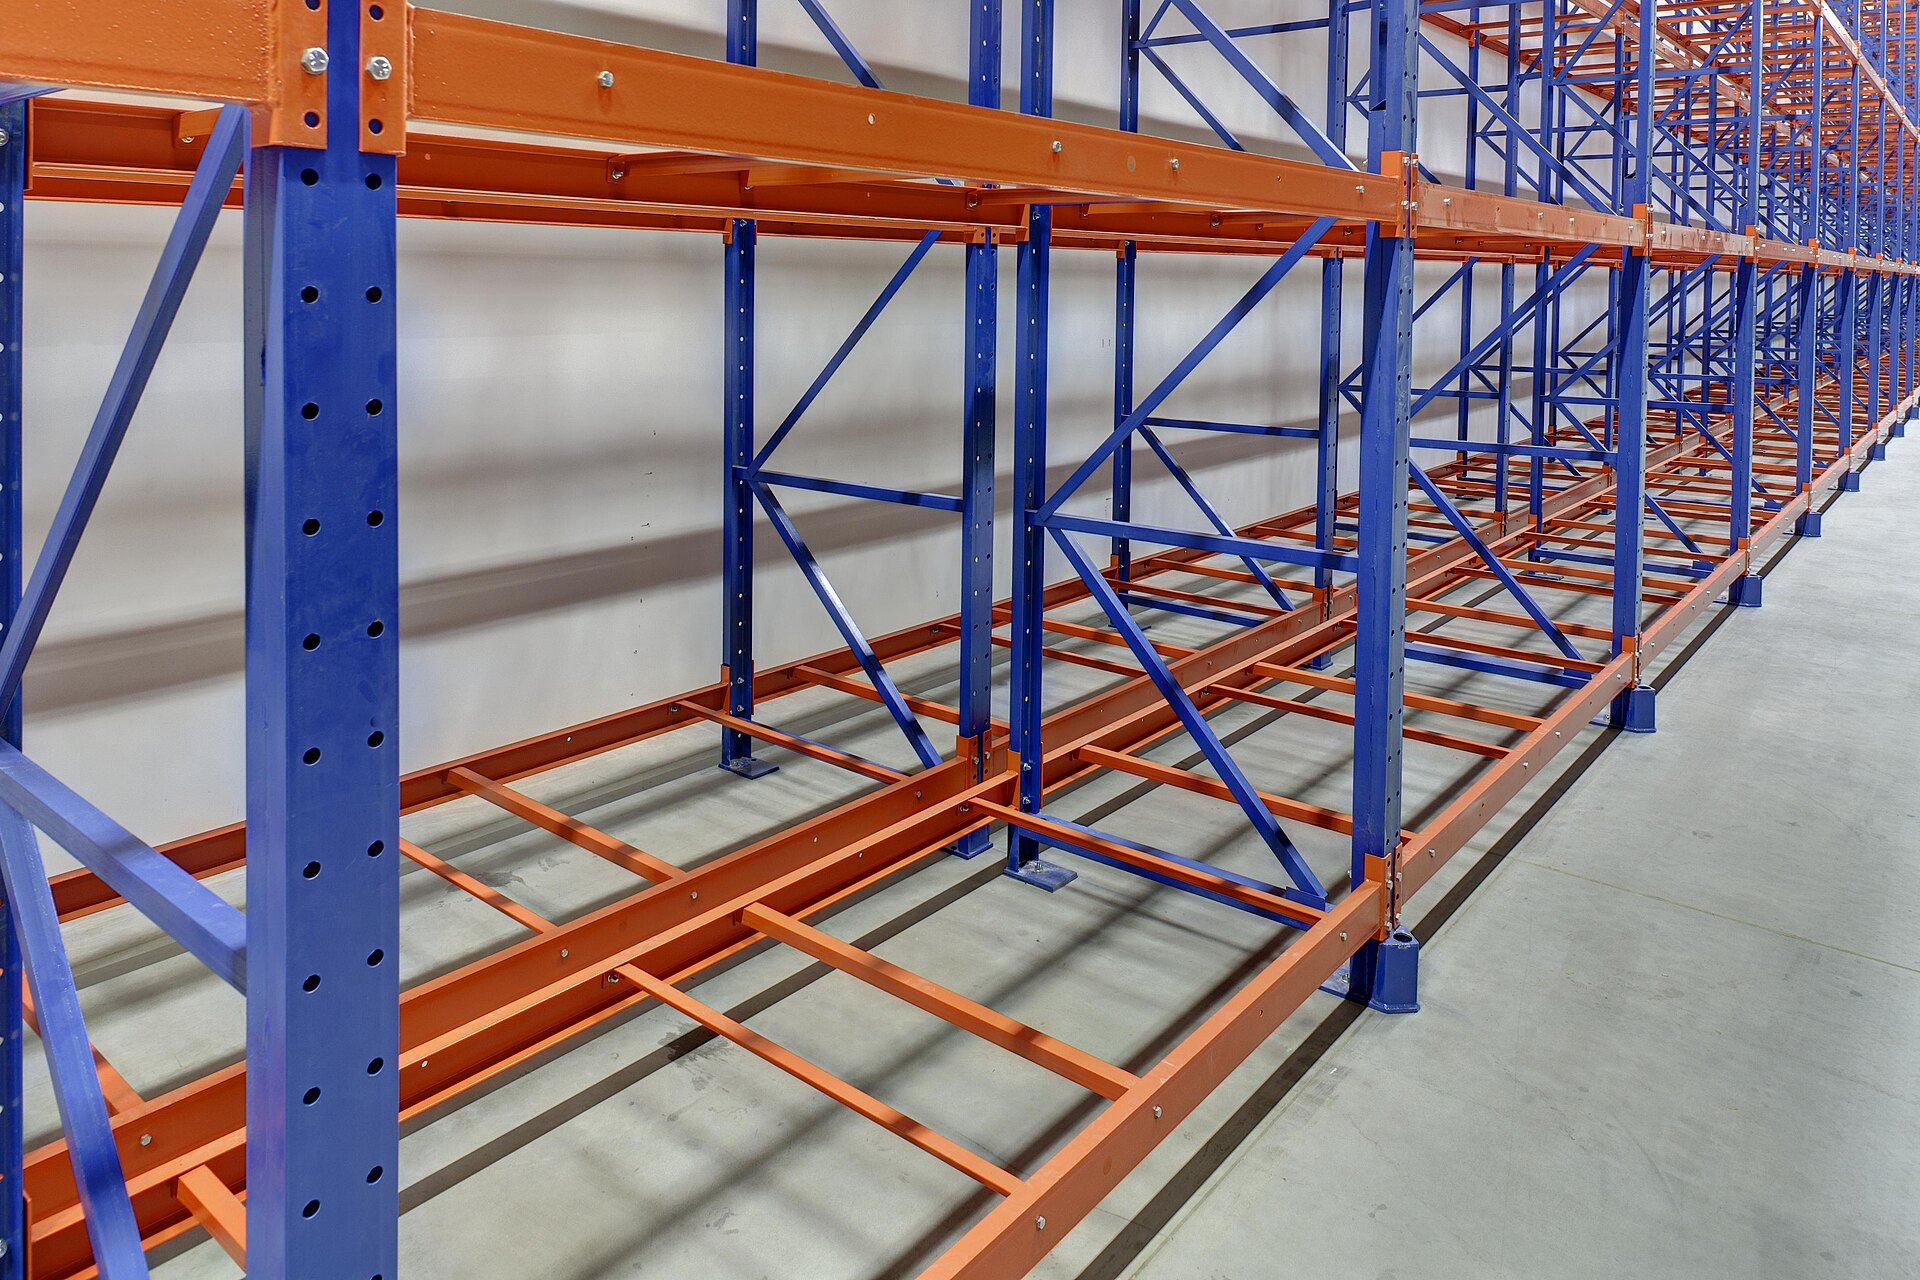
Every upright foot ends in a base plate, and the plate is meant to be bolted to the floor with anchor bolts — in quiet regions this mostly stops racks creeping out of line; in earthquake country it is what keeps a loaded row standing when the floor moves sideways. The details that matter: every foot anchored (not every second one), anchors of the size and embedment the rack maker specifies, nuts actually tight, and no anchors drilled so close to a slab edge or a crack that the concrete can break out around them. If you inherit racks with feet sitting loose on the floor, anchoring them is the first safety project, not an upgrade.
Anchors alone are not the whole seismic story. Rows are tied together with row spacers across the flue space and, on tall runs, ties at the top, so a row sways as one frame instead of as separate ladders; single rows against a wall are tied to the structure only where the rack maker and the building engineer both agree, because a rack tied wrongly to a building can pull on things that were never meant to hold it. After any earthquake you can feel, the rule is simple and absolute: nobody loads or unloads the racks until someone has walked them — looking for pulled anchors, cracked concrete at the feet, new leans, and pallets that have walked toward the edge. A rack that survived the shaking can still be one pallet-push away from failing.
- Never climb a rack. Not for a carton, not for a photo, not for a quick look at a dent — use a ladder, a lift or a camera on a pole.
- Keep the flue spaces and aisle ends clear: pallets parked in a flue space defeat sprinklers and hide damage exactly where nobody looks.
- Spread the weight story to everyone: heavy low, light high, nothing past the sign. Most overloads are not malice; they are a driver with a heavy pallet and thirty seconds to decide.
Docklify features used in this article#
- Asset registry — Assets: register each rack row as a facility asset with warehouse and plain-words position; its page carries the QR label, status and full history.
- Inspection templates and records — Assets → Inspection Templates and the asset page’s Inspection records tab: build the rack checklist once, mark critical items, run it on a phone, and keep dated results with photos.
- Repair tickets — from a failed inspection, one tap creates a maintenance ticket in Tickets, linked to the rack asset, with failed items, notes, photos and priority.
- Maintenance plans — Assets → Maintenance: a yearly-cycle service plan on the rack asset puts the annual expert inspection on the due-reminder banner, and repair records keep parts, labour and cost on the asset page.
- Disable a damaged location — WMS → Locations: disable the locations of a damaged bay (status DISABLED) so put-away suggestions and pick tasks stop using it until the upright is replaced and re-checked.