New warehouse opening checklist: from empty floor to first receipt
The full sequence for opening a new warehouse: measure the building and check floor load, plan the functional areas, buy racks and equipment, finalise location codes, build the warehouse and locations in the system, import products and opening stock, commission printers, scales and scanners, run a small trial, then open.
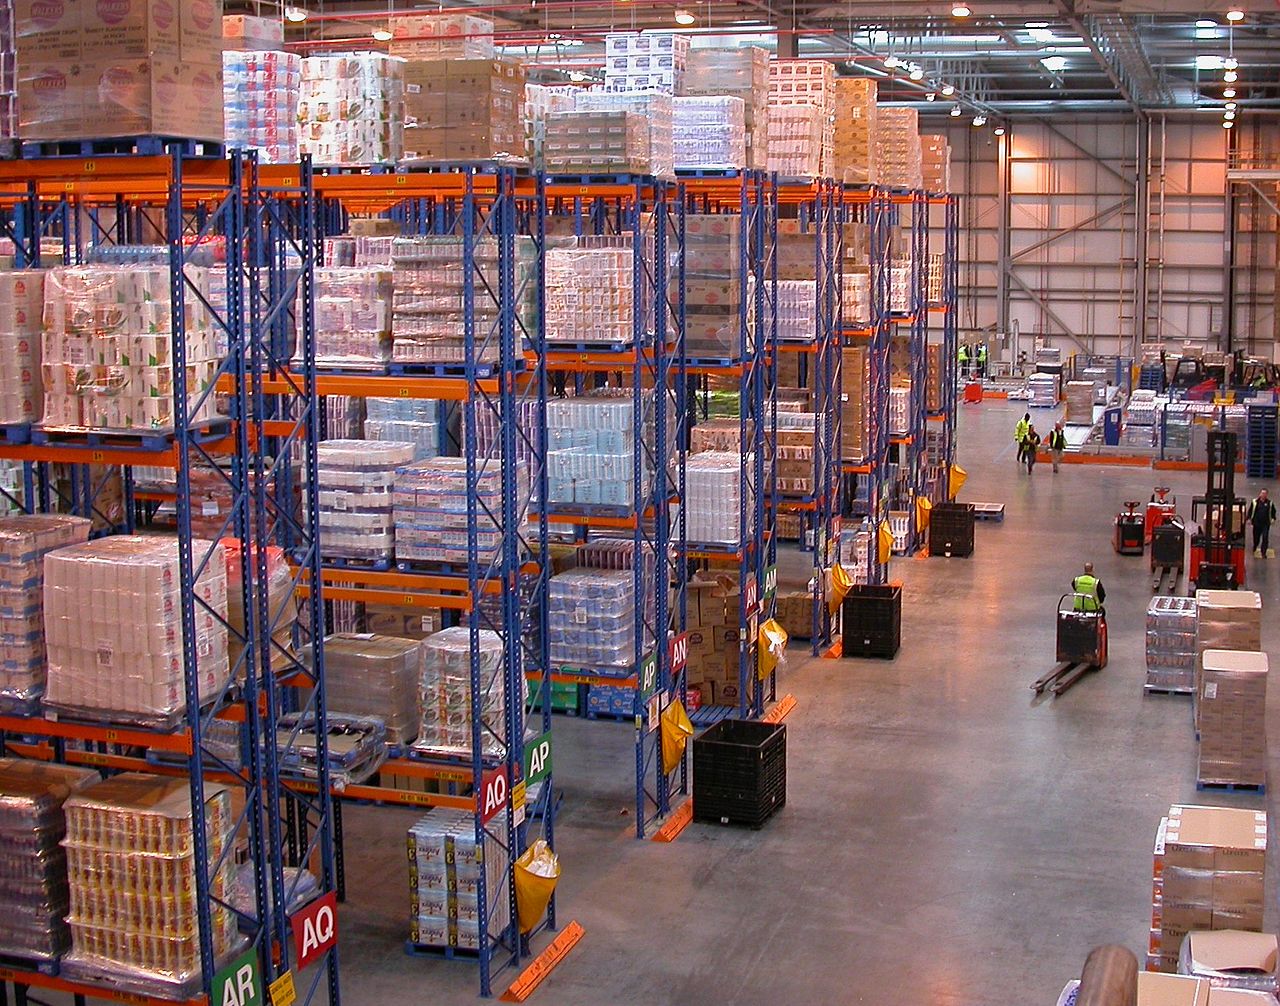
Opening a warehouse is not a shopping trip. New operators love to buy racks and forklifts first, then discover the racks do not fit between the columns, the locations were never coded, and the first truck arrives while the system still thinks the warehouse does not exist. A warehouse opens in one strict order: building first, layout second, codes third, system fourth, stock last. This checklist walks that order step by step — do not skip ahead, because every later step is built on the one before it.
How to use this list: work top to bottom, and treat each step as “done” only when its output exists on paper or in the system — a measured drawing, a signed-off code plan, an imported file. “We roughly know” is not done. The whole sequence takes most small warehouses two to four weeks; the trial run at the end is what turns those weeks into a calm opening day instead of a chaotic one.
Step 1 — Measure the building and confirm the floor load#
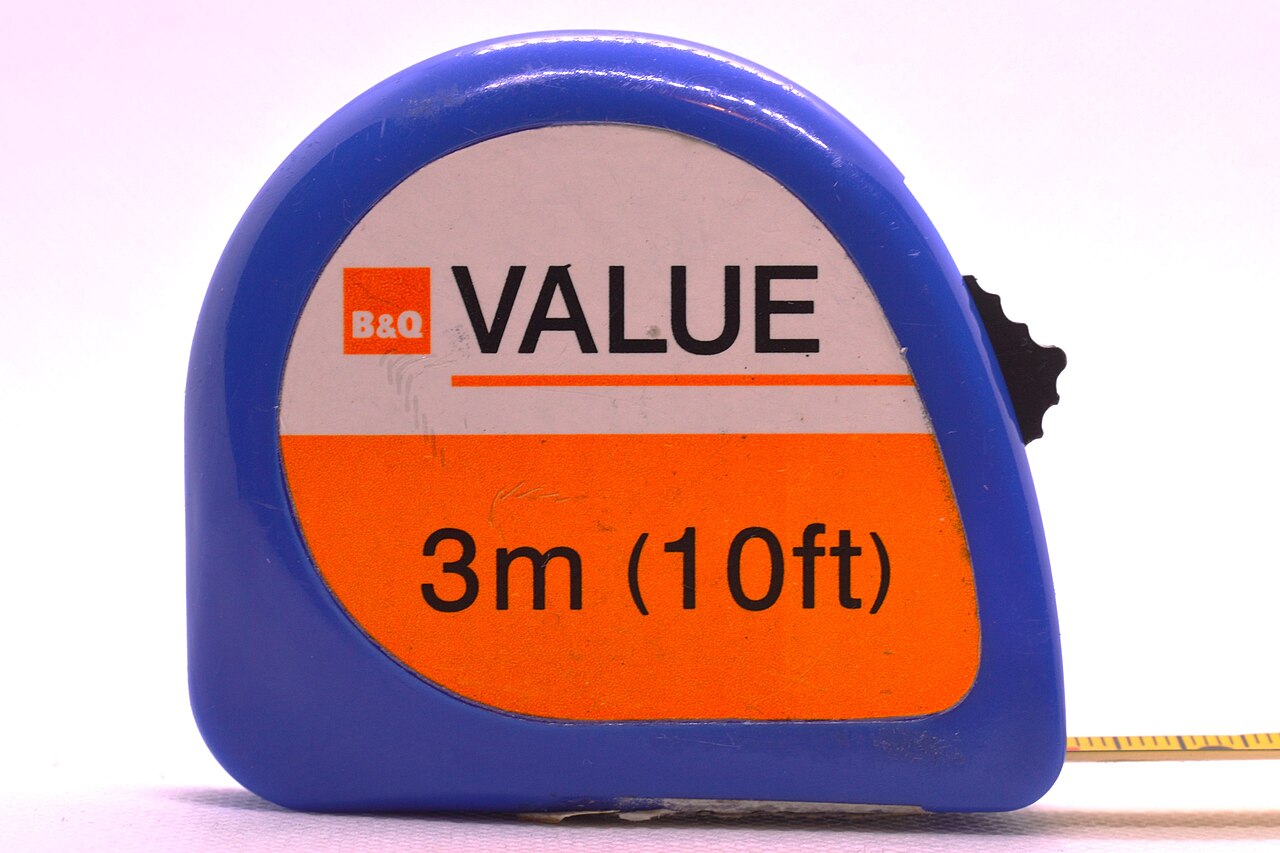
Before anything is bought, walk the empty building with a tape measure or a laser measure and record the facts racks and trucks will live with for years: clear length and width, ceiling height at the lowest beam (not the highest point), column positions and spacing, dock door count and sizes, and the floor. The floor question is the one people skip and regret: how much load can it carry per square metre, and is it flat enough for tall racks? Get the load figure from the lease, the builder, or an engineer — a fully loaded pallet rack bay can weigh several tonnes, and a floor that cracks under racking is an opening-day disaster, not a detail.
- ☐ A drawing with real measurements: walls, columns, dock doors, office and the charging corner all marked.
- ☐ Floor load figure in writing, plus a flatness check in the rack area — tall racks on a wavy floor lean, and leaning racks get worse, never better.
- ☐ Ceiling facts: lowest beam height, sprinkler lines, lights — the top beam of your racking must stay clear of all of them.
- ☐ Power and network points: where the office, packing benches, printers and chargers will plug in.
Step 2 — Plan the functional areas on the drawing#
With measurements in hand, draw the areas a shipment will walk through, in flow order: dock and receiving at the doors, QC next to receiving, storage in the rack field, picking close to packing, packing with its benches, staging between packing and the shipping doors. Then the supporting areas people forget until move-in day: a charging corner for forklifts and scanners, a pallet and carton store, an office corner, and clear pedestrian walkways between all of it. Draw it at real scale on the measured plan — an area that only fits on a wish list will not fit in the building.
- ☐ One-way flow: goods enter, move forward, and leave — receiving and shipping do not fight over the same floor at the same hour.
- ☐ Aisle widths from the trucks you will actually run: a reach truck and a counterbalance forklift need very different room to turn.
- ☐ Fire lanes and exits drawn in and kept empty on the plan — not filled later with “temporary” pallets (see the safety red lines article).
- ☐ Room to grow: leave roughly a fifth of the rack field empty in the plan; a warehouse that opens 100% full has nowhere to put the second client.
Step 3 — Buy racks and equipment against the plan#
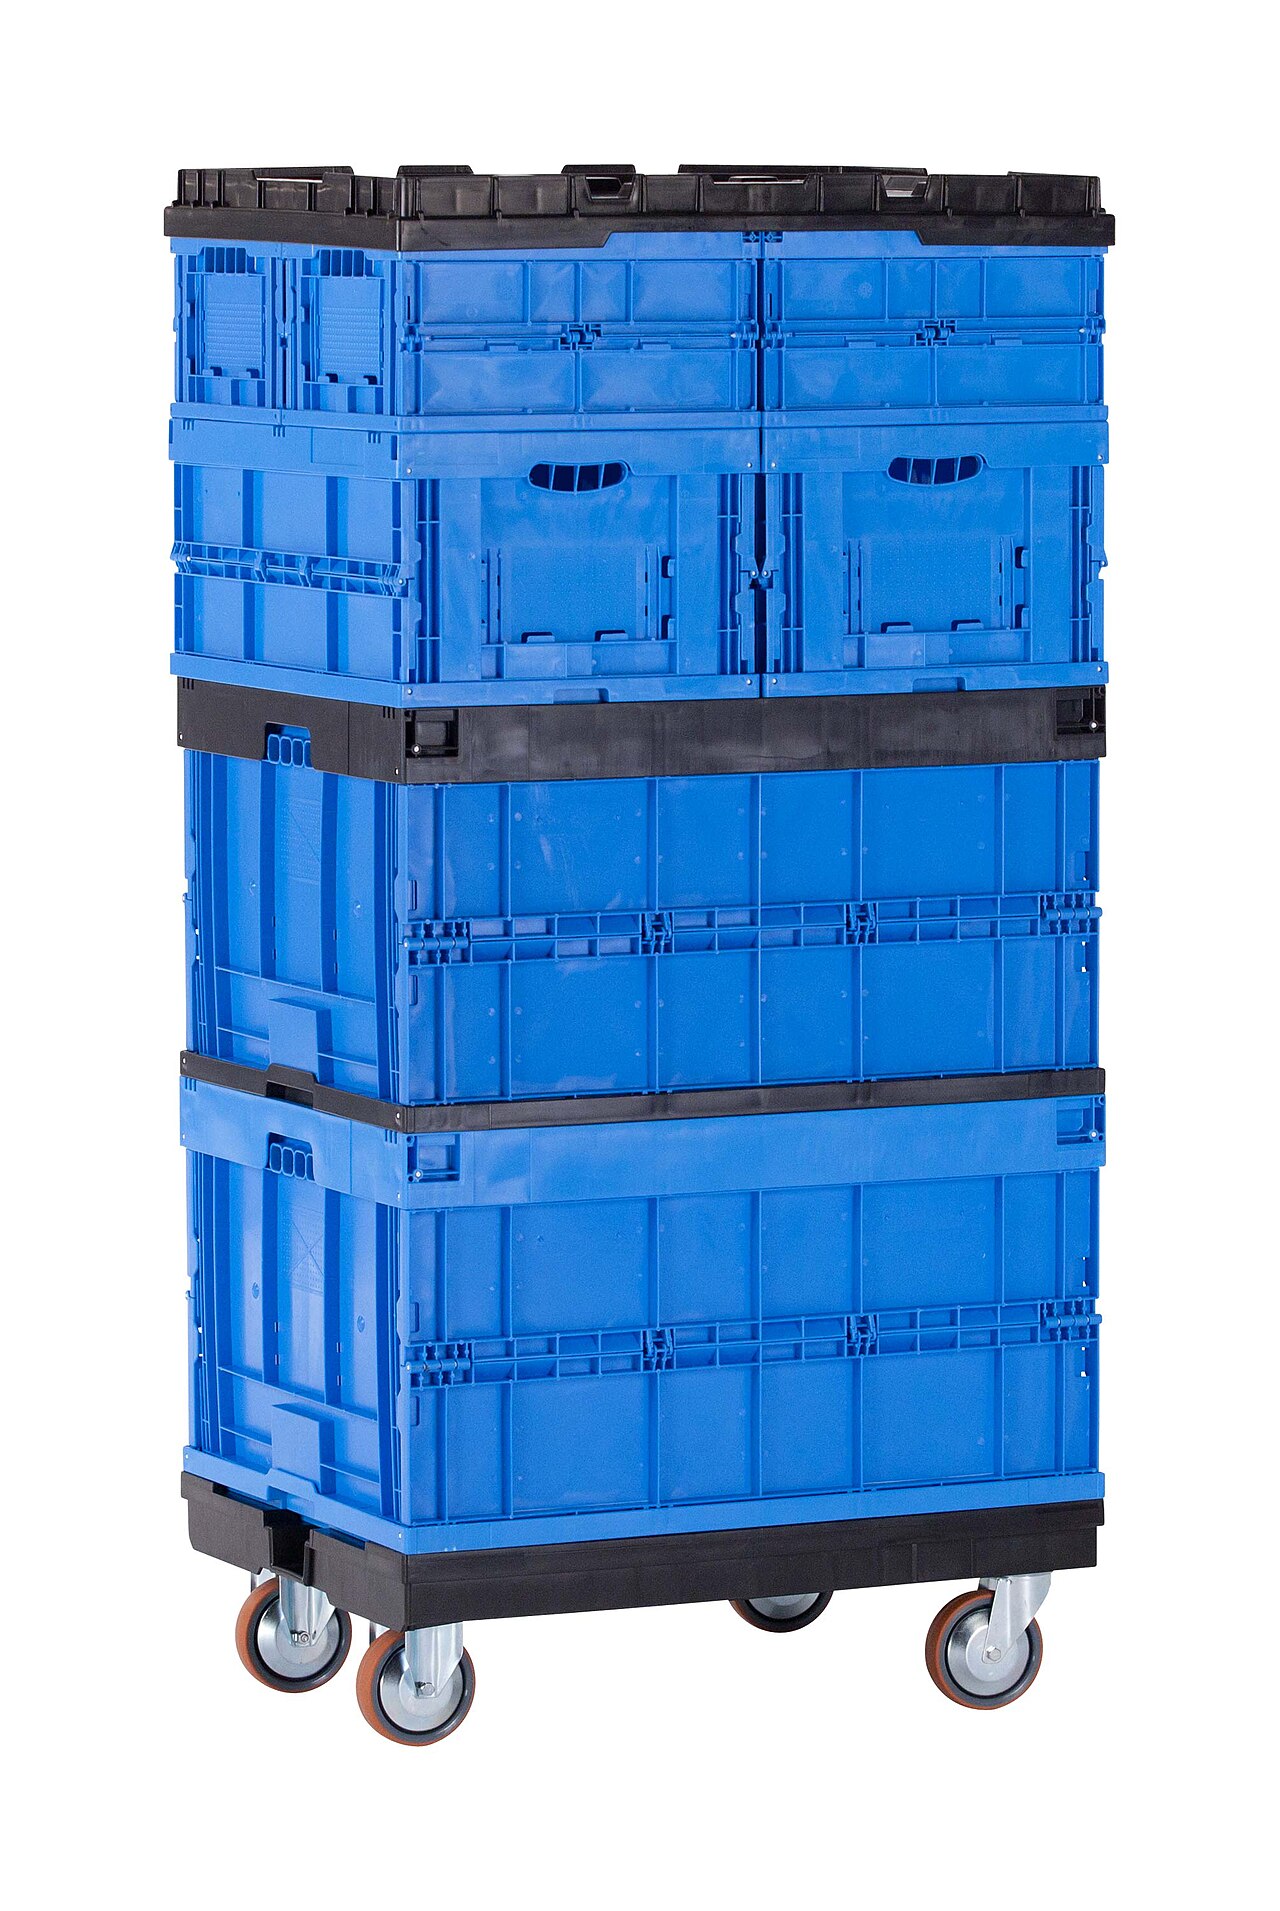
Now — and only now — buy. Racking comes from the drawing: bay widths from your pallet size, beam levels from your clear height and pallet heights, and the rack load rating from the heaviest pallet you expect, with margin. Equipment follows the work, not the catalogue: forklifts or reach trucks for the high levels, pallet jacks for the dock, totes and carts for picking, packing benches with scales and label printers, handheld scanners or PDAs for the mobile tasks, plus chargers for all of it. Order the unglamorous things too — rack labels, location label stock, spare batteries — because opening week has a way of running out of exactly those.
Step 4 — Finalise location codes before the first label is printed#
While racks are being installed, freeze the location code plan: the pattern (zone–aisle–bay–level, for example A-03-12-2), the four location types — picking, storage, staging, dock — and which physical slot gets which code. Codes are cheap to change in a spreadsheet and expensive to change once labels are stuck on beams and stock is already sitting in them, so this decision happens now, on paper, with the floor plan in front of you. The dedicated article in this guide (“Location codes and types”) covers the numbering rules in detail; for the opening checklist, what matters is that the plan is final and written down.
In Docklify, locations are created from exactly this plan: WMS → Locations supports a downloadable template and Excel bulk import — one row per location with its code, type and warehouse — so the frozen spreadsheet becomes the warehouse in one upload, instead of thousands of hand-typed forms. Import first, then print the labels from the same records, so what is stuck on the beams and what the system believes are born identical.
Step 5 — Build the warehouse and locations in the system#
The system build starts one level above locations: create the warehouse itself in Master Data → Warehouses, so every location, product strategy and task that follows has a home. Then the locations go in by the bulk import from step 4. Resist the urge to “fix codes while importing” — the import must match the frozen plan and the physical labels exactly; if the plan was wrong, fix the plan, reprint, and re-import, but never let the system and the floor quietly disagree.
Before any stock arrives, walk the system’s picture of the warehouse against the real floor in Docklify’s 3D Warehouse view (WMS → 3D Warehouse): the model is generated from your locations, so a missing rack row, a swapped zone or a typo in a code shows up as a visible hole or a wrong colour, not as a surprise during the first put-away. Fix discrepancies here, while they are still just data.
Step 6 — Import base data: products first, opening stock second#
Stock cannot exist in a system before the product does. Import products first — SKU, name, barcode, unit of measure, and the attributes your rules will need later, like expiry or serial tracking — and only then bring in the opening stock, counted physically on the floor as you do it. Opening stock is the number every later count is judged against, so count it twice: once when the pallet is placed, once from the system report against the floor. Discrepancies found today are typos; discrepancies found in three months are “shrinkage”.
In Docklify both halves are imports, not typing marathons: products import from a template file in Master Data → Products (there is a template CSV to download), and opening stock goes in with Import Inventory in WMS → Inventory. Keep the source spreadsheets after opening day — when a number is questioned in month two, the file you imported from is the fastest way to answer.
Step 7 — Commission the devices: printers, scales, scanners#
Devices are commissioned with real work, not with test pages: print a real location label and scan it back, weigh a real carton on the bench scale and check the number lands where the packing screen expects it, and run one full mobile task on each scanner or PDA — log in, scan a location, scan a pallet, confirm a quantity. Then check the boring killers: Wi-Fi coverage in the farthest aisle, charger capacity for a full shift of devices, and spare label stock at each bench. A device that works at the office desk and dies at aisle 12 is not commissioned; it is a rumour.
In Docklify, bench printers and scales reach the web system through Device Hub: install it on the packing-bench computer (download page: docklify.com/download), connect the printer and scale to that computer, and printing from the system goes to the local device. Scanners and PDAs run the mobile app and talk to the same system over your Wi-Fi — which is why the coverage walk in this step is done with the actual devices, in the actual aisles.
Step 8 — Trial run: one small batch, end to end#
Now prove the loop with one small, real batch before any client is watching: receive one delivery against a receipt, put it away, pick it for a test order, pack it, label it, stage it and ship it. Use the real people who will do the job on opening day, at real speed. Everything that goes wrong here is tuition; the same failure on opening day is a late shipment. Keep a written fix list as you go — label positions nobody can scan, a code pattern people keep misreading, an aisle the cart cannot turn in.
Step 9 — Opening day: freeze, staff the floor, close the loop#
- ☐ Freeze the setup: no code changes, no layout changes, no “quick” imports on opening day — every fix goes through the fix list from the trial run first.
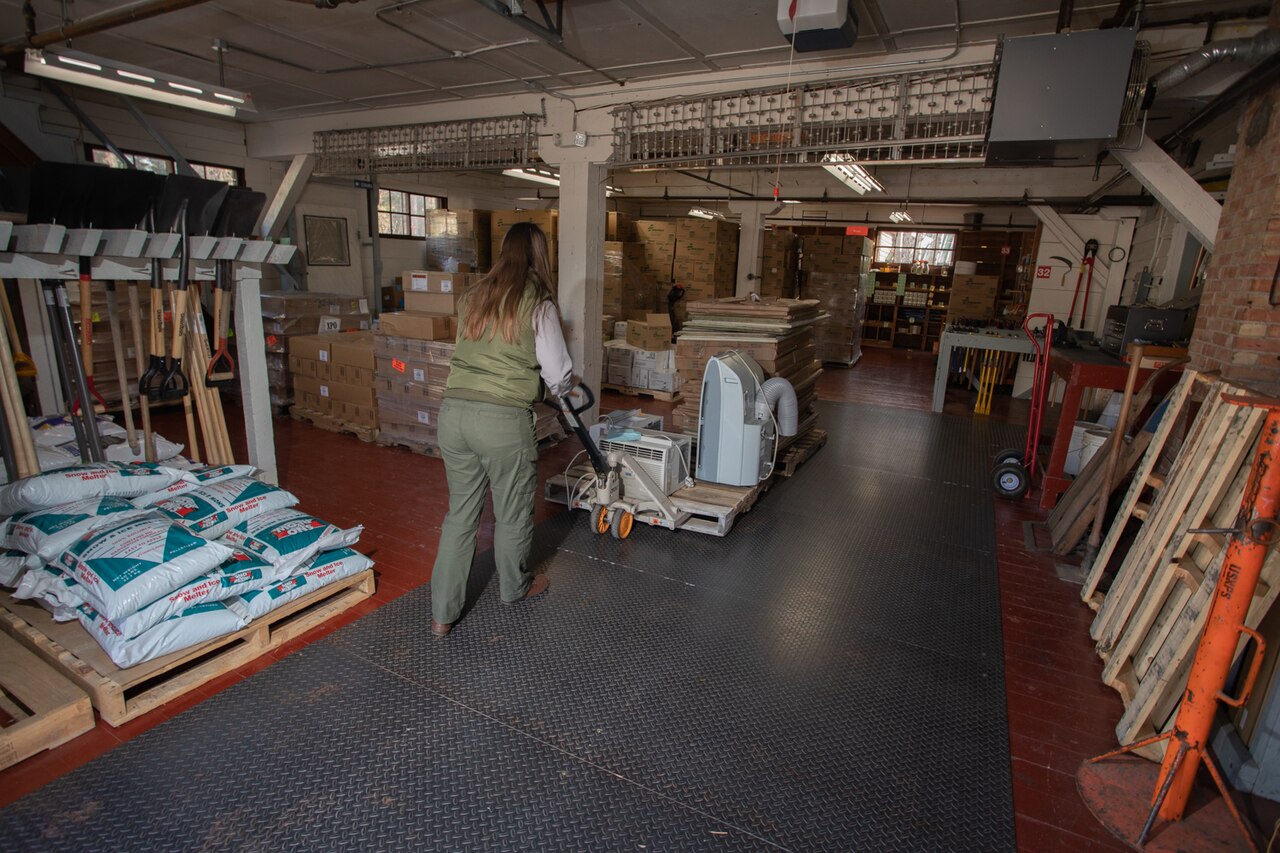
- ☐ The floor lead walks the loop, not the office: dock, put-away, picking, packing — problems are fixed where they happen.
- ☐ Close the day by the numbers: what was received, put away, picked and shipped, and what is still sitting in receiving or staging — an opening week that ends each day counted never drifts far.
A warehouse is not open when the racks are full — it is open when one batch can travel the whole loop without heroics: nobody’s memory, nobody’s private spreadsheet, nobody shouting across the floor. If your trial batch did that, opening day is just the same loop with more pallets. Welcome to the new warehouse.
Docklify features used in this article#
- Warehouses — Master Data → Warehouses: create the warehouse itself before any location or stock exists.
- Locations bulk import — WMS → Locations: template download + Excel import create locations from the frozen code plan.
- 3D Warehouse — WMS → 3D Warehouse: check the generated model against the real floor before stock arrives.
- Product import — Master Data → Products: import products from the template CSV before any stock.
- Import Inventory — WMS → Inventory: bring in the counted opening stock.
- Device Hub — installed on the bench computer (docklify.com/download): connects local printers and scales to the web system.